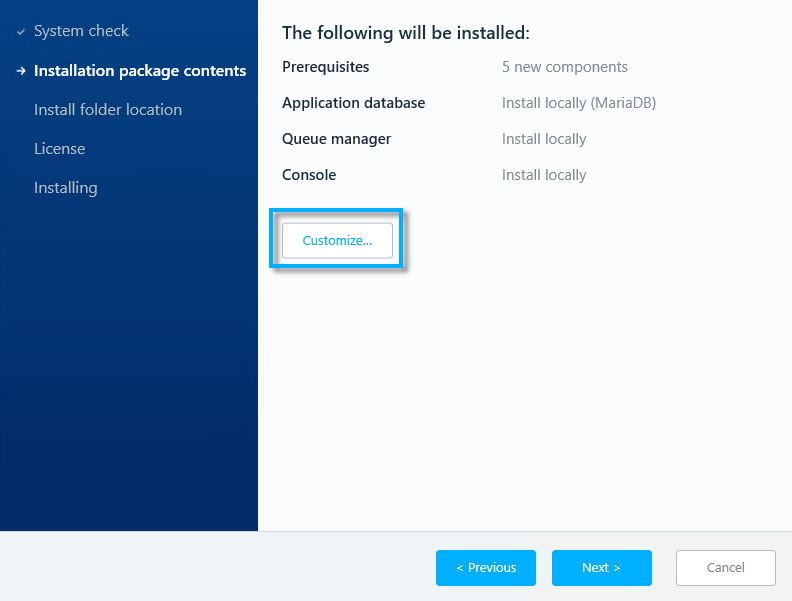
Step 7: Installation Package Contents
The default Installation package contents are displayed:
Customize prerequisites
Mandatory components cannot be customized, however, you will probably want to install Notepad++ and the HeidiSQL Database viewer, if not already installed.
-
Select the optional components you want to install.
-
Click Next.

To accept the default values, click Next and skip to Step 8: Set Install Folder Location; otherwise, click Customize and follow the steps below:
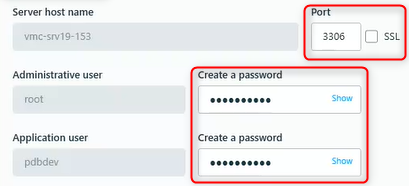
Customize application database
If you want to configure the database engine that's automatically installed as part of the installation package, you can use this window to:
-
Override the default port
3306. -
Provide strong passwords for the two users created: root and pdbdev (the default for both is
Kryon2022!).
Or, you can use this window to connect to a preinstalled database engine.
To configure the automatically installed application database engine:
-
Select Install locally.
-
Leave the default port
3306unchanged or enter another port number. -
Provide strong passwords for both the
RootandPdbdevusernames. -
Click Next

To connect to a preinstalled Application database:
-
Select Connect to an existing database.
-
Fill out the required fields.
-
Enter the preinstalled Server Host Name.
-
Enter the Port number of the existing database.
-
Enter the user names and passwords for both the Administrative and Application users.
-
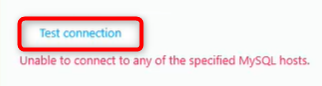
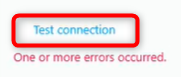
Click Test Connection to verify that your server connection is working.
-
-
-

-
When the test is successful:
 , click Next to continue.

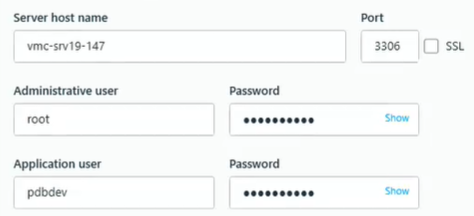
The Administrative user needs full permissions to create schema and tables.
Input details carefully to prevent error messages:
Customize Queue manager
If you want to configure the queue manager (RabbitMQ server) that's automatically installed as part of the installation package, you can use this window to:
-
Override the default port
5672. -
Provide a strong password for the admin user (the default is
Kryon2022!).
Or, you can use this window to connect to a preexisting RabbitMQ installation.
To configure the automatically installed Queue manager:
-
On the Customize Queue Manager window, select Install locally.
-
Leave the default port
5672unchanged or type in your port number (for SSL/TLS change the port to5671). -
Provide a strong password for the admin Username.
-
Click Next

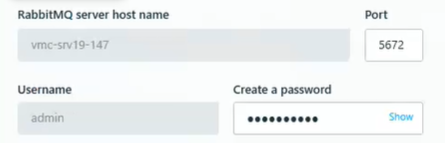
To connect to a preinstalled Queue manager instance:
-
On the Customize Queue Manager window, select Connect to an existing database.
-
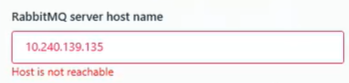
Enter the RabbitMQ Server Host Name
When testing the connection, a digit mistype can appear as an unreachable host.
-
Enter the port number of the preexisting RabbitMQ server.
-
Enter the Username and provide a strong Password.
-
Click Test Connection to verify that your server connection is working.
-
Click Next.

Customize Console
-
Leave the default port
80unchanged, or type in your port number (to work with SSL/TLS use port443). -
Click Next.
