Standard K2 Site Authentication
The K2 Site uses the built-in security mechanisms which are:
- Windows Authentication - Uses standard Windows authentication to automatically log in on the product Server as the current user. The K2 label is used.
- Forms Authentication - A specific Security Provider label has to be provided. The user will be required to provide a username and password as well as the label to log on. Forms Authentication uses the forms login screen and creates an encrypted authentication ticket using ASP.NET Forms Authentication for a successful login. The ticket details of the user are subsequently used for all connections to the Server.
The product installer sets the type of authentication according to the user manager of the environment.
You can change the type of authentication by using the Management Site or by changing the web.config file of the IIS site where SmartForms resides.
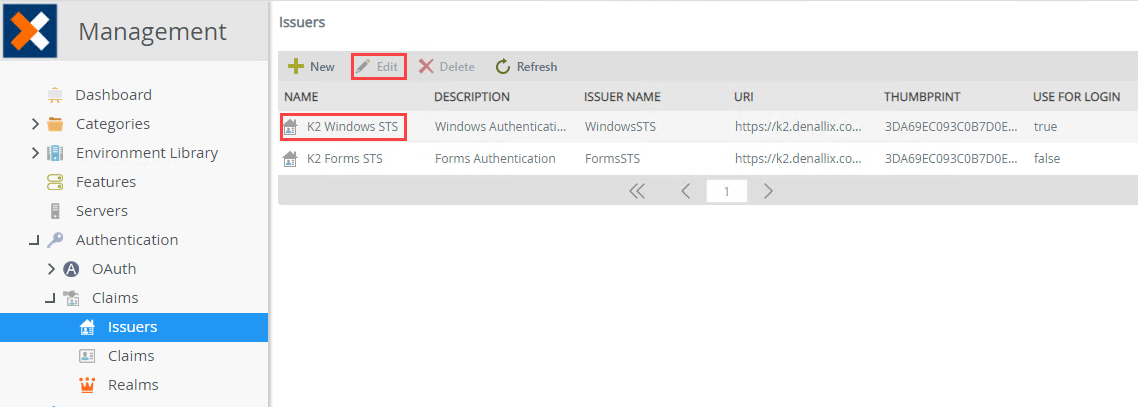
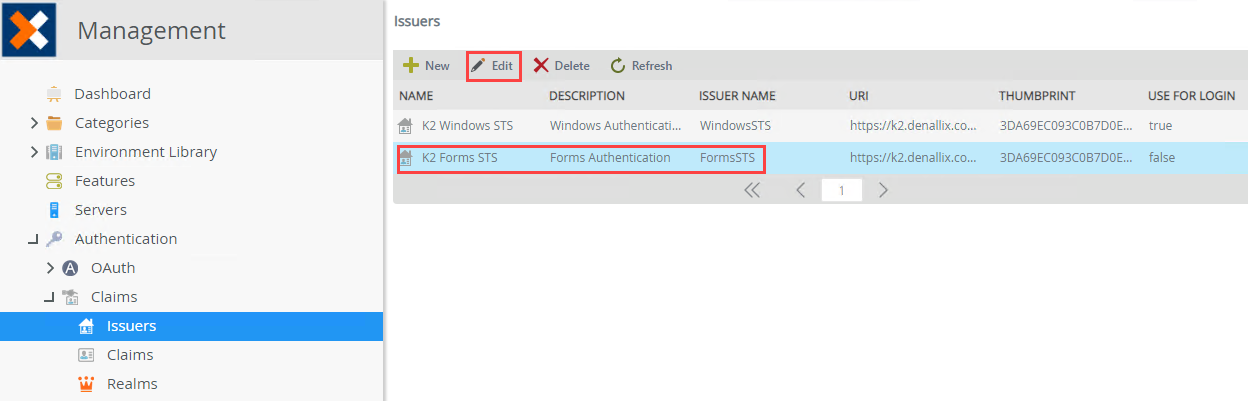
- Open the Management site, and expand Authentication > Claims >Issuers.
- Select the K2 Windows STS option and click Edit.
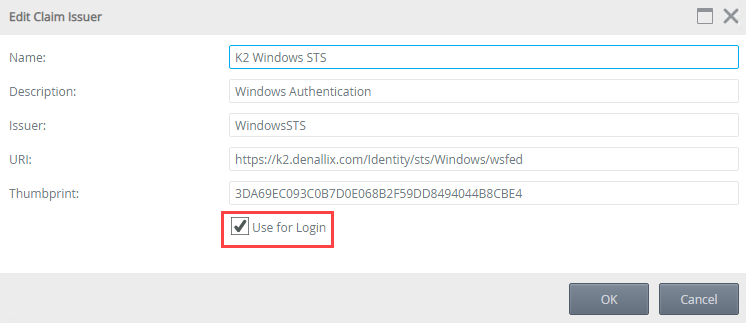
- On the Edit Claim Issuer screen ensure the Use For Login is selected.
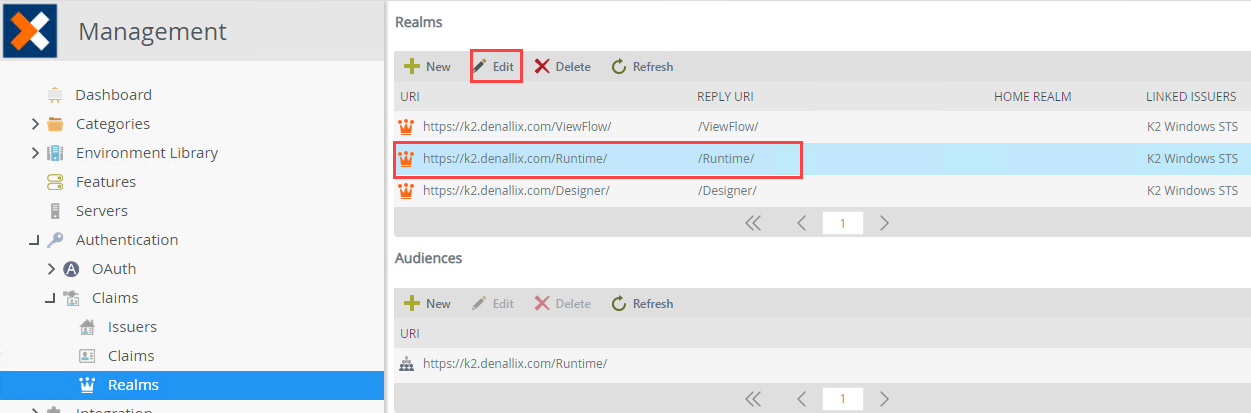
- Click Realms in the navigation tree. In this example the SmartForms runtime realm is selected. Click Edit.
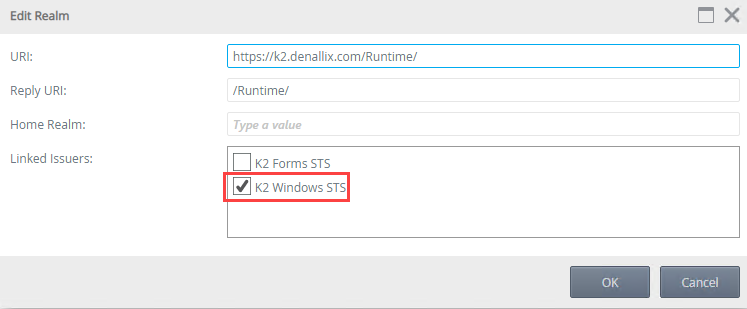
- On the Edit Realm page, select the K2 Windows STS option and click OK.
- When logging into a SmartForm at runtime, your credentials are automatically authenticated against the Security Provider and the form loads.
- Open the Management site, and expand Authentication > Claims >Issuers.
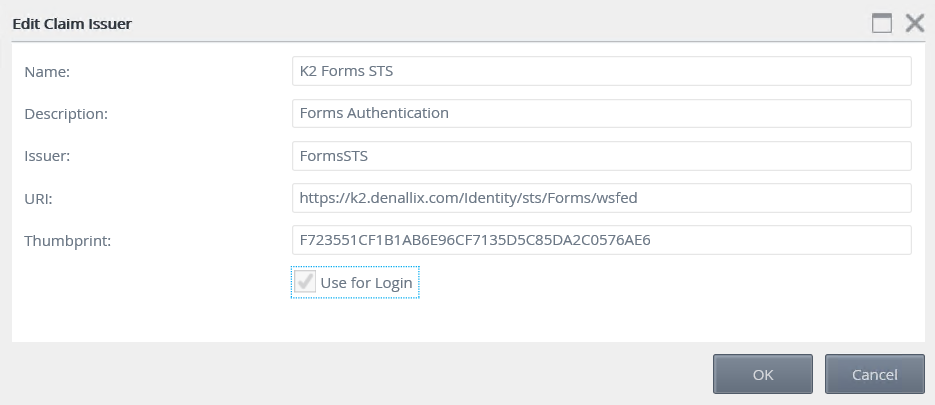
- Select the K2 Forms STS option and click Edit.
- On the Edit Claim Issuer screen ensure the Use For Login is selected.
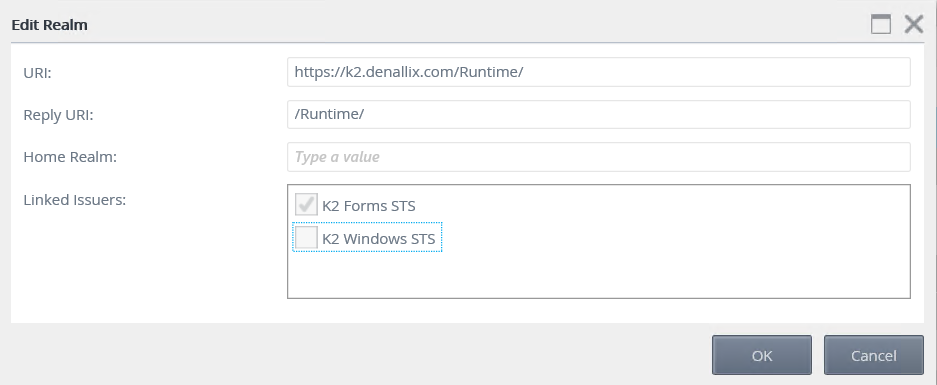
- Click Realms in the navigation tree, In this example we will edit the SmartForms runtime realm, click Edit..
- On the Edit Realm screen, select the K2 Forms STS option and click OK.
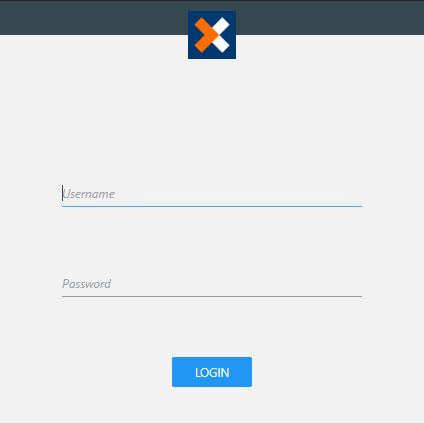
- When logging into a SmartForm at runtime, you are redirected to the following login page. Enter your username and password and click LOGIN using FormsSTS that you just set up.
Follow the steps below to change the security mechanism:
- Open Internet Information Services (IIS).
- Open the site where SmartForms has been installed.
- Click on Explore in the Actions panel on the right.
- Scroll down to the bottom until you find the web.config file.
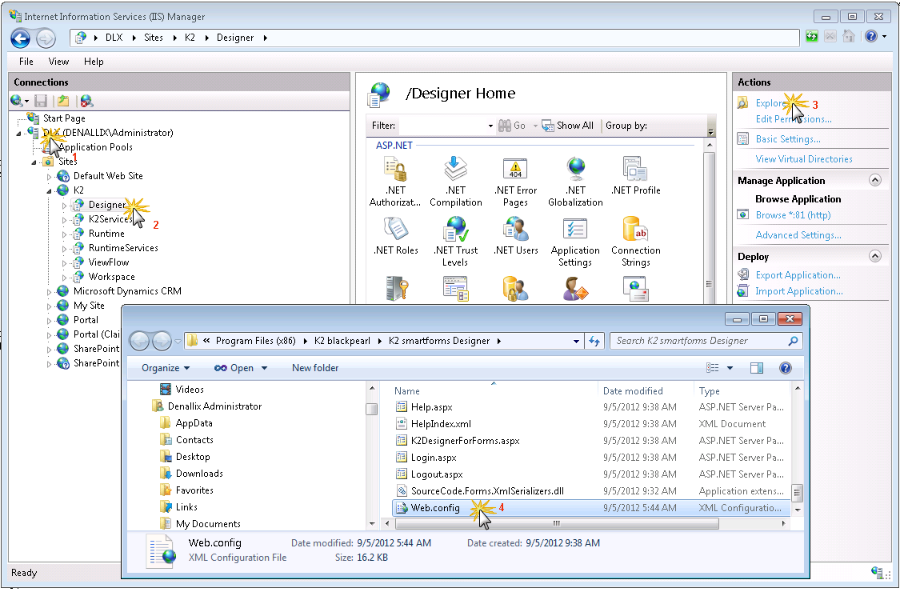
- Right-click the file and select Open With > Notepad.
- Search for the following "<authentication mode".
- Change the type to the required mode either windows or forms.
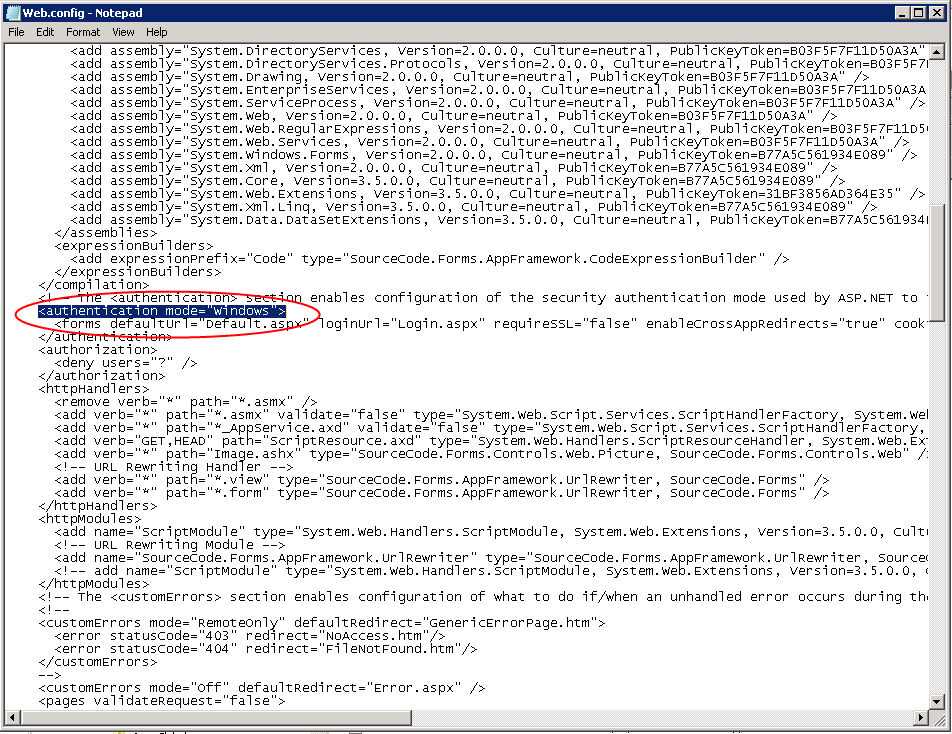
- Save the file.
- If Forms Authentication is selected, the following step is required:
In the web.config file search for “windowsAuthentication enabled”. Change the windowsAuthentication enabled from “true” to “false”.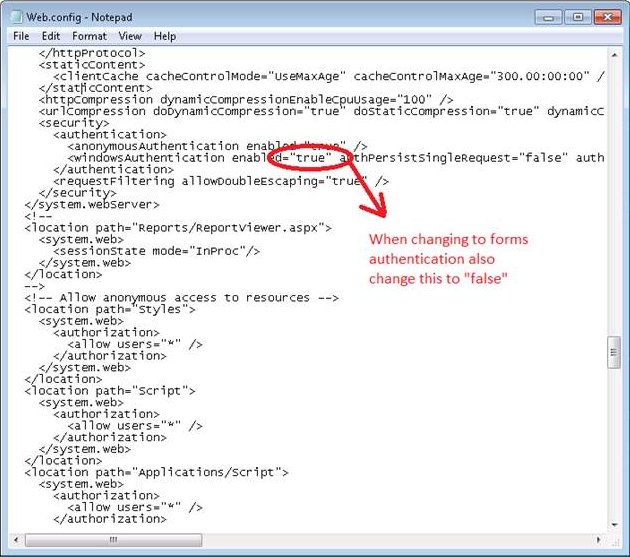
The login screen will be activated every time the user logs into the site.
| User Name |
The identity can be specified in one of the following formats: “user name” Authenticates with and without the current domain against all security labels. “K2 label:user name” Authenticates with and without the current domain against the specified security label. “domain\user name” Authenticates with the specified domain against all specified security labels. “K2 label:domain\user name” Authenticates with the specified domain against the specified security label. |
| Password |
Can include upper and lower case letters, numbers and symbols. |
Troubleshooting Tip
When using Forms Authentication, the following error will appear if the webconfig windowsAuthentication setting is not changed to False.
Design Time/Runtime Permissions
No extra permissions are required for SmartForms to work. SmartForms uses product permissions and rights with regards to SmartObjects and Workflows.
However, rights can be set in IIS on the design time or runtime site level. The design time and runtime sites have different web.config files and each site can be set up to use its own type of security mechanism. This enables administrators to allow certain people to design SmartForms and other people to use SmartForms in runtime.
Follow the method mentioned above to set the authentication on the SmartForms sites in IIS. Alternatively, set the rights in the web.config files that can be located in the following locations:
Designer: "%ProgramFiles%\K2\K2 smartforms Designer\Web.config"
Runtime: "%ProgramFiles%\K2\K2 smartforms Runtime\Web.config"
See also:
Anonymous Access for SmartForms Sites
How to set up a secondary SmartForms Runtime site for Anonymous Access