Integrating the product with Exchange Online using MSGraph and OAuth with lesser permissions
The product previously used Exchange Web Services (EWS) and Azure app-only OAuth authentication for Exchange Online integration. It has now transitioned to Microsoft Graph (MSGraph) for Exchange Online. The recommended approach for configuring this integration is through the Exchange Feature in K2 Management. This topic provides manual steps to set up MSGraph with OAuth using user-delegated permissions.
Use the information in this topic to manually set up an app in Azure with the required minimum permissions, and configure product integration. The final section of this topic is a demonstration of the steps needed to test the integration.
This article requires knowledge of Azure, SQL, and K2 OAuth configuration.
Prerequisites
- The minimum TLS settings required for the product to send mail. See the product and TLS 1.2 Support article for information.
-
Ensure your local Active Directory (AD) Service account (this is the user account that runs the K2 Server) email address is the same as the Service account email address in Microsoft 365 (Office 365/AAD). If you already have Entra ID configured, you can skip this.
Other than the Service Account, this article uses a recipient, Jane Doe, with the email address: janed@{your domain name}.onmicrosoft.com in the testing section. To use this recipient and follow the testing section exactly, make sure you have this email address in local AD and in AAD, otherwise use one of your own user accounts.
Create an app in Azure with the needed permissions scope that will allow product integration with Exchange Online using OAuth authentication.
Log in to Azure on https://portal.azure.com. Then perform the following steps.
- Click Entra ID.
-
Click the Add drop down, and select App registration.
- Give your app a Name (this is the user-facing display name for this application).
- Select who can use this application or access this API in the Supported account types.
- Specify a Redirect URI by selecting Web and then entering your Redirect URI.
- Get your Redirect URI by navigating to Management, expand Environment Library and look for your Web Service URL SSL value. For example:
https://{WebServiceURLSSLValue}/identity/token/oauth/2. - Copy the Redirect URI for the product configuration steps.
- Get your Redirect URI by navigating to Management, expand Environment Library and look for your Web Service URL SSL value. For example:
- Click the Register button at the bottom to create your app.
For example: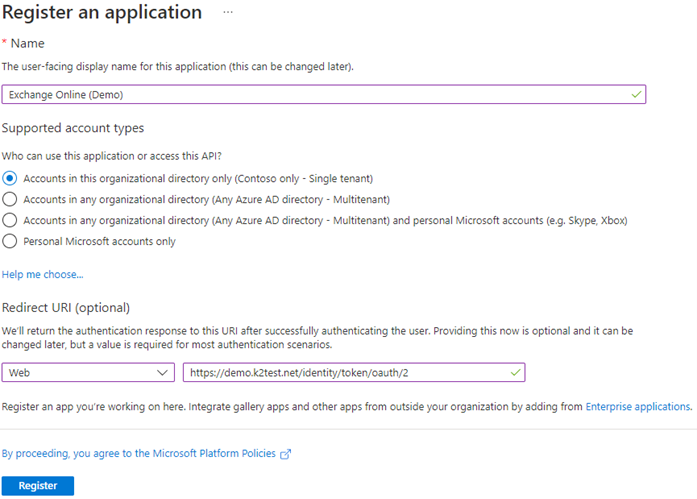
Details needed for the product configuration
To retrieve the values required for the product configuration follow the steps below:
-
Click the link next to Applications on the Entra ID page.
-
Click the All Applications tab.
-
Click the name of the application that you created.
- Copy the following values to use in the product configuration steps later in this topic.
- Application (client) ID
- Directory (tenant) ID
- Once your app has been created, click Endpoints.

Copy the following values:- OAuth 2.0 authorization endpoint (v1)
- OAuth 2.0 token endpoint (v1)
- Federation metadata document
Configure Permissions
Configure permissions to allow the application to make API calls.
-
In the left pane under Manage, click API permissions.
The following default permission is shown:
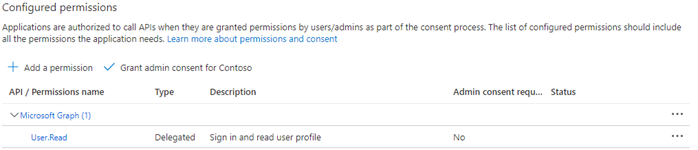
- Click on the ellipsis on the right of the permission and click on Remove all permissions

- Add a new permission
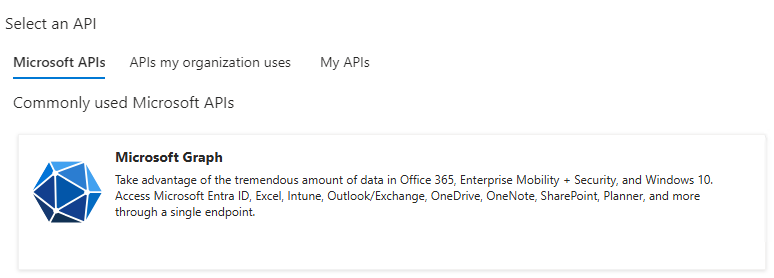
- Click Add a permission.
- On the right-hand side click on Microsoft Graph.
-
Select the API that is returned and click on Delegated permissions.
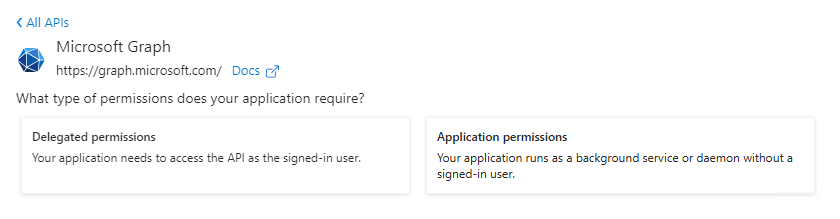
- Navigate down to MSGraph and click the check box for Mail.Send and Mail.ReadWrite, then click the Add permissions at the bottom of that pane.
For example:
Create a client secret
Create a client secret to be used in Management when configuring your OAuth resource
- In the left-hand menu click Certificates & secrets.
- Under Client secrets (0), click New client secret.
- Enter a Description and a value for Expires. Then click Add.
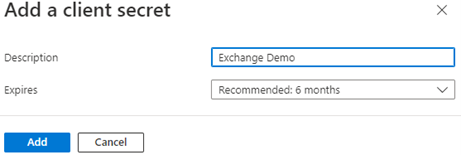
- Copy the newly created client secret value for use later.
- Navigate to Management.
- In the menu on the left, expand Authentication > OAuth.
- Click Resources.
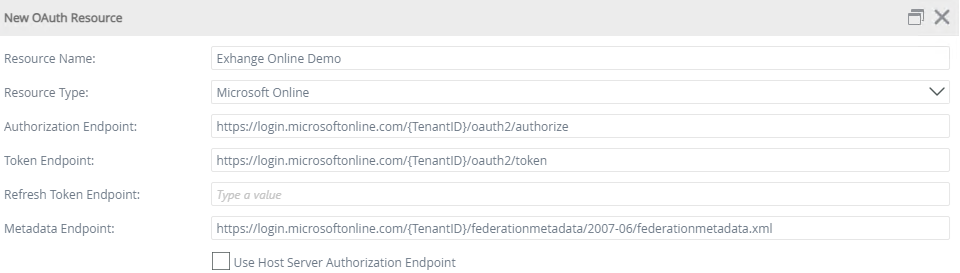
- On the right-hand side, click New under Resources.
-
Enter the values you copied earlier for each of the fields as shown in the example below:
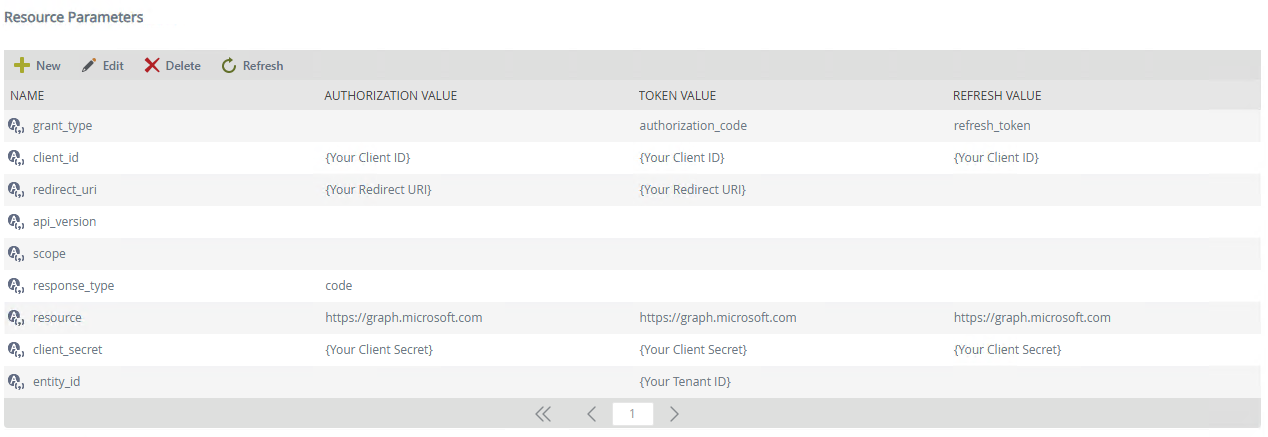
- Copy your Resource Name to use later.
- Click your newly created resource to select it and edit the Resource Parameters as shown in the example below. Use the values you copied earlier:
Create a new instance of the Exchange Online service type and configure it to authenticate using the OAuth resource you created earlier.
For this step you must open your browser as the Service Account (the account that runs the server):
- Hold down the Shift key.
- Right-click the browser icon.
- Then click the Run as different user option.
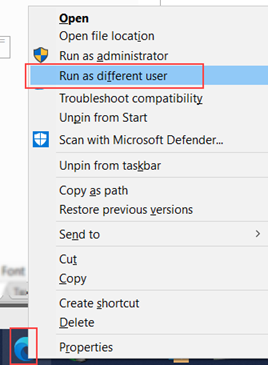
- Log in with the local Service Account credentials.
- Navigate to your Management site.
- In the menu on the left, expand Integration.
- Click Service Types.
- On the right-hand side, find and select the Exchange Online service type.
- Click New Instance.
- Enter a Display Name and select the OAuth Resource you created earlier. Make sure the other fields are the same as shown in the image below.
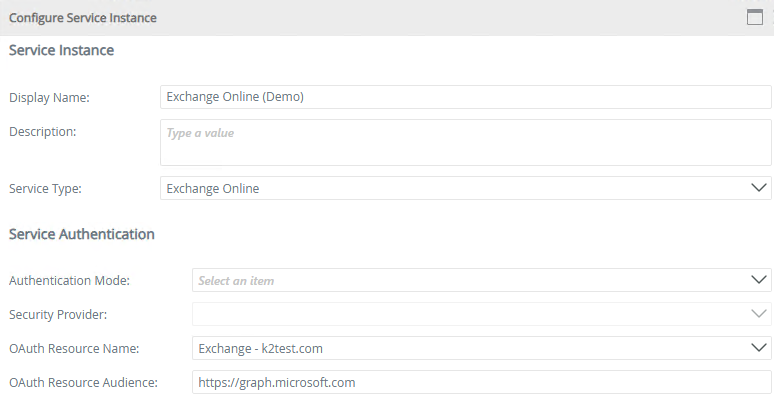
- Optional: To cache the OAuth token for the service account for using SmartObjects in workflow steps, check the box in the Extra section, like in this image.

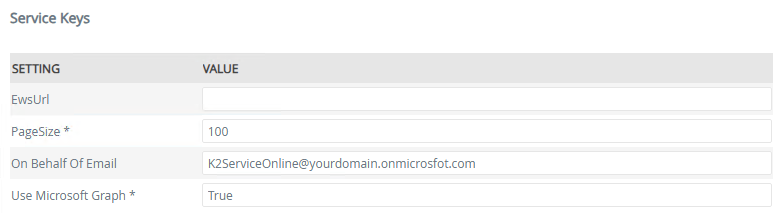
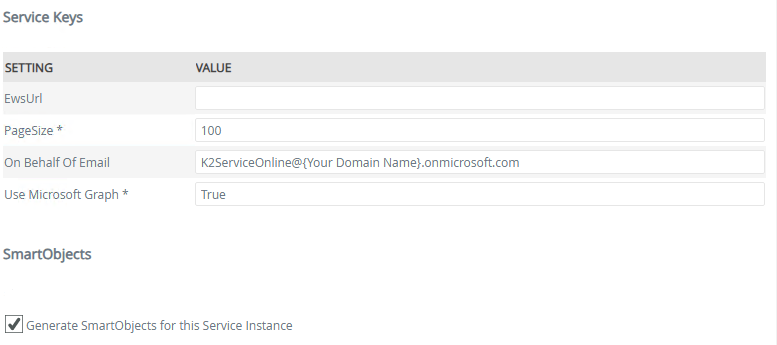
- Under the Service Keys section, enter the following values:
- On Behalf Of Email: Your Microsoft 365 K2 Service Account email address
- Use Microsoft Graph: true
- Click OK to register the Service Instance.
- The following OAuth error will pop-up, click OK.

- When you're prompted, sign-in to your tenant using your Microsoft 365 K2 Service Account credentials.
- When prompted for permissions, click Accept.
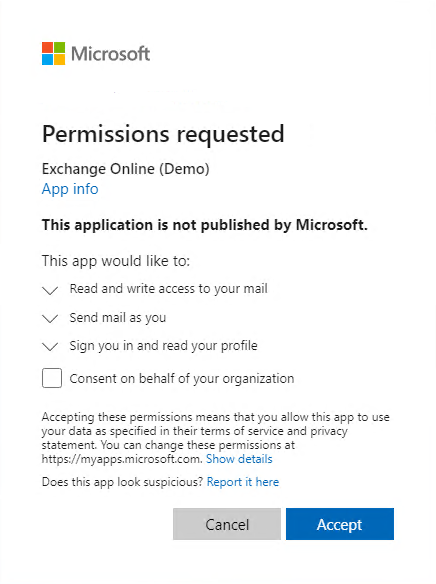
The result:
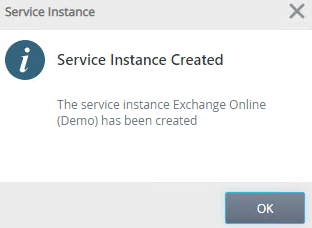
- Click on your Management tab to return to the registration dialog and click OK again. When prompted with the Service Instance Created dialog, click OK to close it.
Open the Connection Editor to edit the connection strings and configure for OAuth authentication.
- Navigate to the HostServer\Bin folder in your product installation folder. You can find the file in the following location: "%ProgramFiles%\K2\Host Server\Bin".
- Launch the ConnectionStringEditor.exe.
- Once launched, the following connections are shown on the left-hand side:
SourceCode.MessageBus.MsGraph.MsGraphConnection (Your Microsoft 365 K2 Service Account email address)
SourceCode.MessageBus.MsGraph.MsGraphDestination (Your Microsoft 365 K2 Service Account email address)
SourceCode.MessageBus.MsGraph.MsGraphDestinationThese connections will show if you have previously configured the product to integrate with Exchange Online. Yours may be different. - Click each list item and change the Connection values on the right-hand side to reflect these values:
- OAuth Resource: Enter the name of the OAuth Resource you created earlier.
- OAuth Resource Audience: https://graph.microsoft.com
- User ID: Enter your Microsoft 365 K2 Service Account email address.

- Click Save and when prompted to update database, click Yes.

-
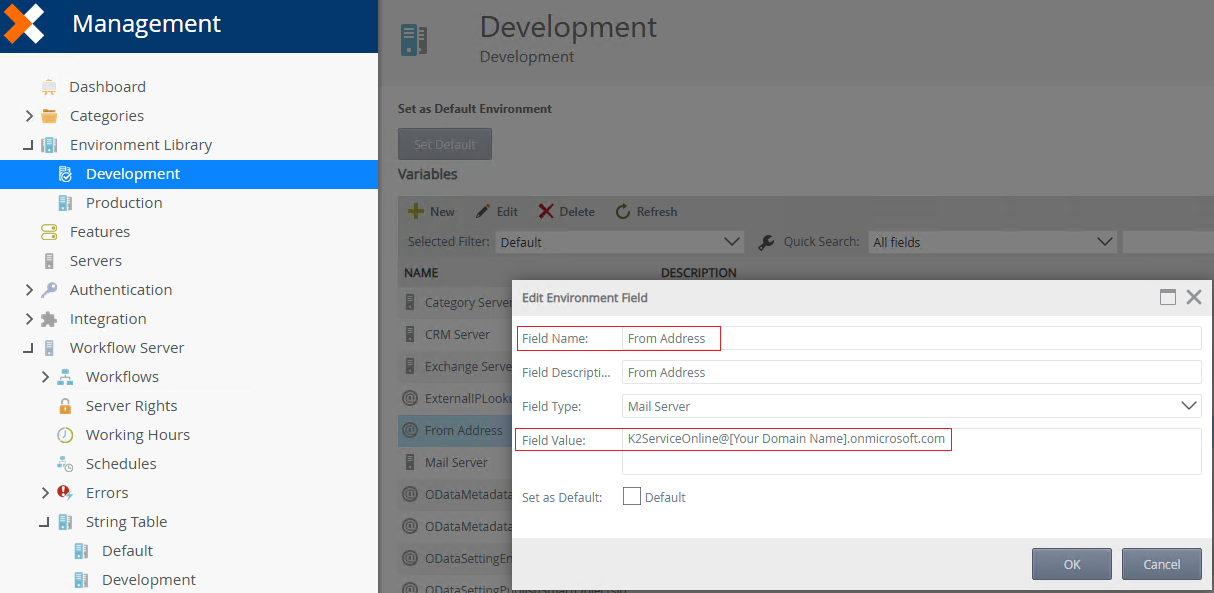
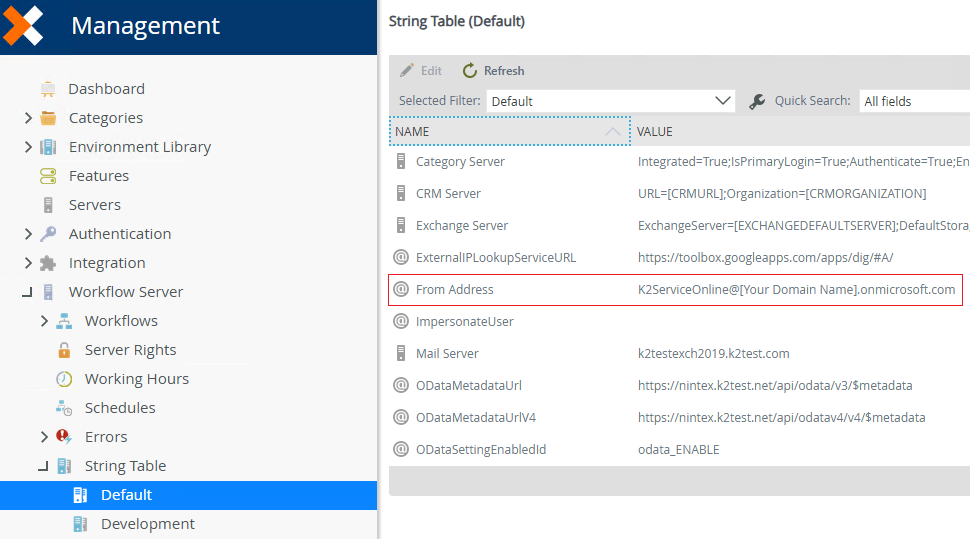
Use Management to update the From Address to use your K2 Service email address in the Environment Library variables and in the Workflow Server > String Table variable. You access these properties in Management as shown below:
-
Management > Environment Library > Development
-
Management > String Table >Default
-
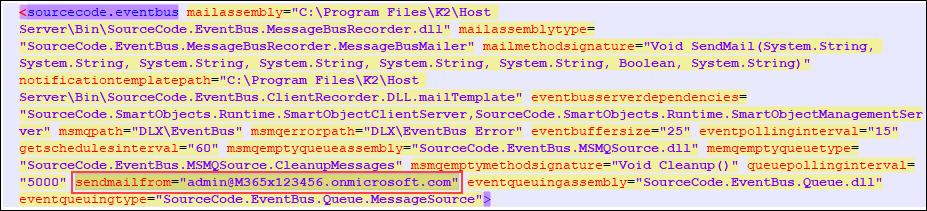
In the K2HostServer.exe.config file located at ["%ProgramFiles%]\Host Server\Bin\K2HostServer.exe.config", update the system self tag. The value specified must be the fully qualified name (FQN) of the user that has the SmartActions Inbox email address as email property.
-
Still within the K2HostServer.exe.config file, search for the sendmailfrom property and update the value to the correct From address email address.
-
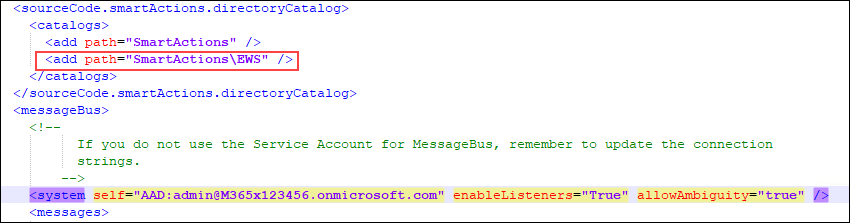
Still within the K2HostServer.exe.config file and if you are using SmartActions, check if these properties: enableListeners="true" and "SmartActions\MSGraph" are set. If "SmartActions\EWS" is listed under directoryCatalog, please comment it out, as in the image below.
-
Restart the K2 Server.
For details on configuring email security, see the topic Customizing SmartActions E-mail Security on the Server.
The following three examples show methods of using Exchange Online integration with the product. Use these examples to test your manual integration.
Other than the Service Account, these examples use a recipient, Jane Doe, with the email address: janed@{your domain name}.onmicrosoft.com. To use this recipient and follow the testing section exactly, make sure you have this email address in local AD and in AAD, otherwise use one of your own user accounts. The user's, email address in your local Active Directory must be the same as their email address online in Microsoft 365.
Design time set up
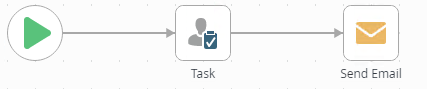
Create a workflow with a Task event and a Send Email event, then deploy the workflow.
- Navigate to your Designer.
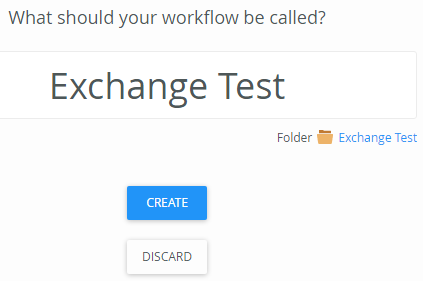
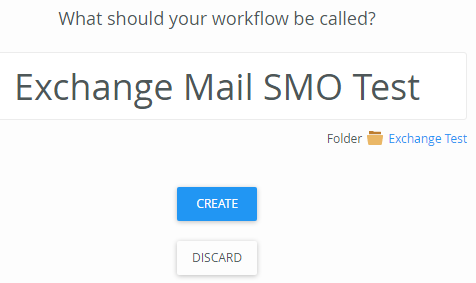
- Create a new workflow called Exchange Test, in a new folder also called Exchange Test.
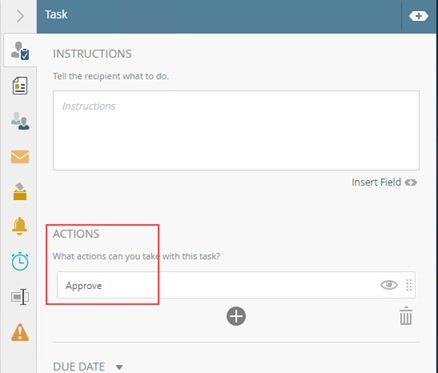
- Drag a Task event onto the canvas and configure it as follows:
- Set the Actions to Approve.
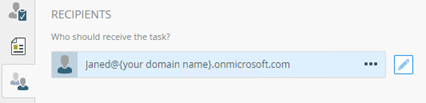
- Set the Recipients to your test user. For example, Jane Doe (janed@{your domain name}.onmicrosoft.com).
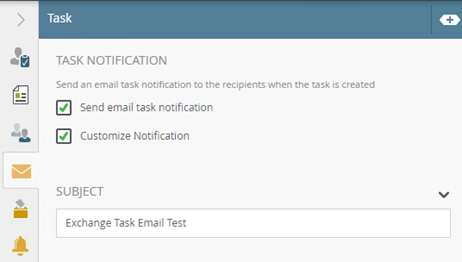
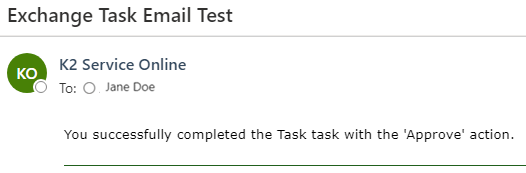
- Check the Customize Notification field in Task Notification tab, and enter a subject. For example, Exchange Task Email Test.
- Set the Actions to Approve.
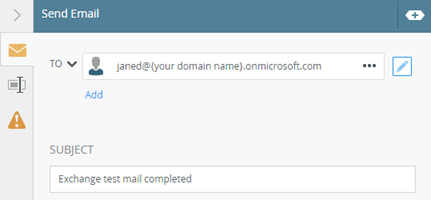
- Drag a Send Mail event onto the canvas and configure it as follows (using your recipients email):
- Connect the events and deploy the workflow.
Runtime test
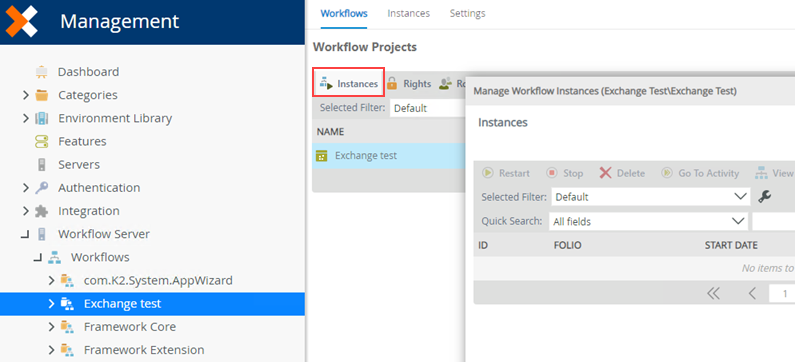
- Navigate to Management.
- Start a new instance of your workflow.
- Open Outlook as your recipient (the user you are using to test).
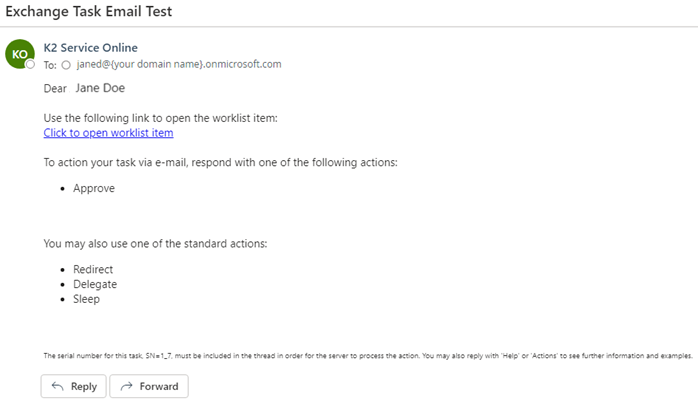
- Reply to the email with Approve.
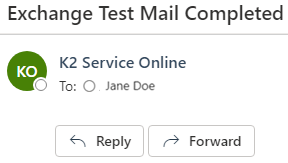
- If integration is successful, you will receive a confirmation.
- Navigate to Management as the service account.
- Edit your Exchange Online service instance and check the Generate SmartObjects for this Service Instance box.
- Navigate to Designer as a normal user.
- Create a new workflow.
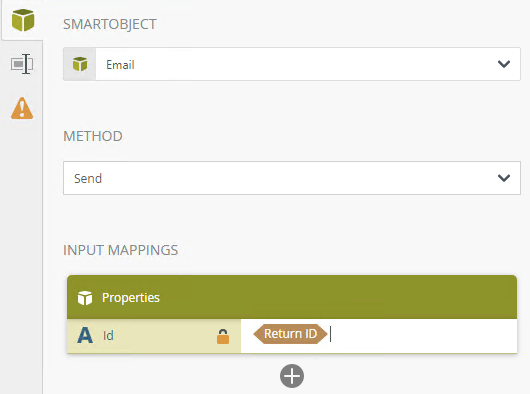
- In the workflow toolbox, browse to the Email SmartObject that was just generated. For example at: SmartObjects > Exchange Online > Exchange Online Test
- Drag two Email events onto the canvas.
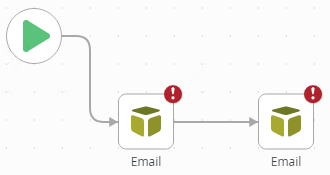
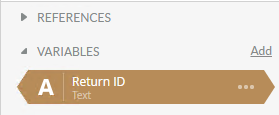
- Add a variable called Return ID with a data type string.
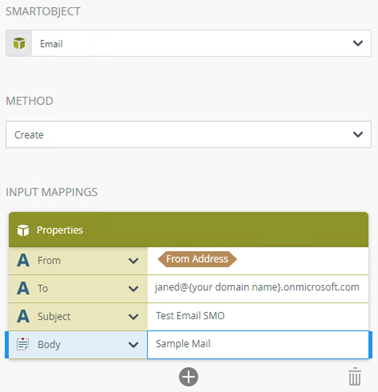
- Configure the first email event as follows (using your test user):
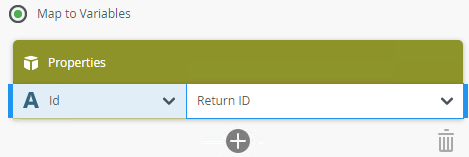
- Map the return Id to the newly created variable Return ID.
- Configure the second email event as follows:
- Deploy your workflow.
Runtime test
Start a new instance of your workflow. The workflow creates and sends an email to your test user (janed@{your domain name}.onmicrosoft.com).
When a normal user executes one of the SmartObjects generated in Example 2 above, they will be redirected to login because they do not have a token: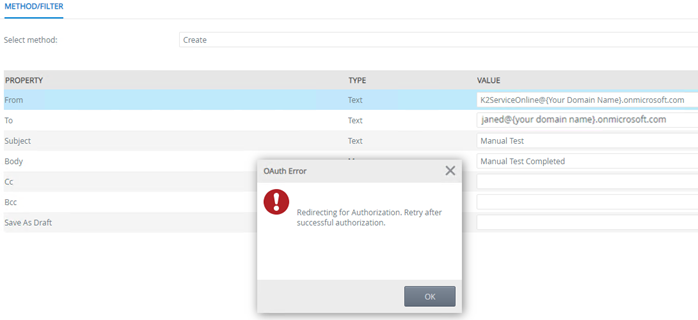
Troubleshooting
- If your workflow fails on the Send Mail event, refer to the Prerequisites at the top of this article (the product and TLS point).
Once you have applied the TLS settings, you will need to restart the server and retry the failed workflow instance