
|
 |
|
 |
|
 |
|

|
Message templates used by the 'Request approval' action can be defined globally for the farm in SharePoint Central Administration, for a specific site collection or for individual sites.
To change the Message Template for the Web Farm:
- Navigate to SharePoint Central Administration.
- In the Quick Launch, click on Nintex Workflow Management, click on Message Templates.
To change the Message Template for the Site Collection:
-
Navigate to the top level site home page.
-
In the Settings Icon
 , found on the top right-hand side, click on Site Settings.
-
In the Nintex Workflow section, click on Message Templates.
-
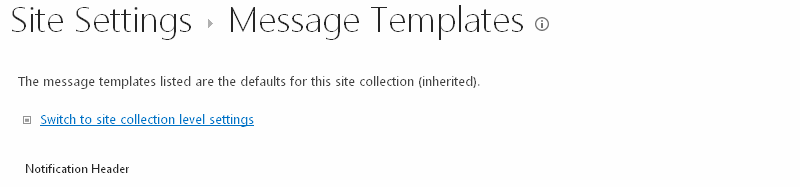
Click on Switch to site collection level settings.
To change the Message Template for a Site:
- Navigate to the Site level home page.
- In the Nintex Workflow section, click on Message Templates.
- In the Settings Icon, found on the top right-hand side, click on Site Settings.
The Message Templates page displays:
- The current settings for the standard message header and footer.
- The current default messages used for the scenarios 'Approval Required' and 'Approval No Longer Required'. Note: The default content style for the message templates is Rich Text, which provides the ability to use different fonts, colours and simple HTML styles. Nintex Workflow uses the Rich Text toolbar provided by SharePoint.
- Once you have made all the changes necessary to the various sections of the message template, click the OK button.
Various sections of the email messages can be edited. One of the important features is to add content that is dynamically created using the insert reference function.
Note: Changes made to the message templates will not affect workflows in progress. Changes will only be seen when new instances of the workflow are started.