
|
 |
|
 |
|
 |
|

|
This page is used to manage context data that are available when designing Nintex Workflows. Users can edit existing context data or create new custom context data and deploy them using this settings page.
To configure context data:
- Navigate to SharePoint Central Administration.
- In the Quick Launch, click on Nintex Workflow Management, click on Manage context data.
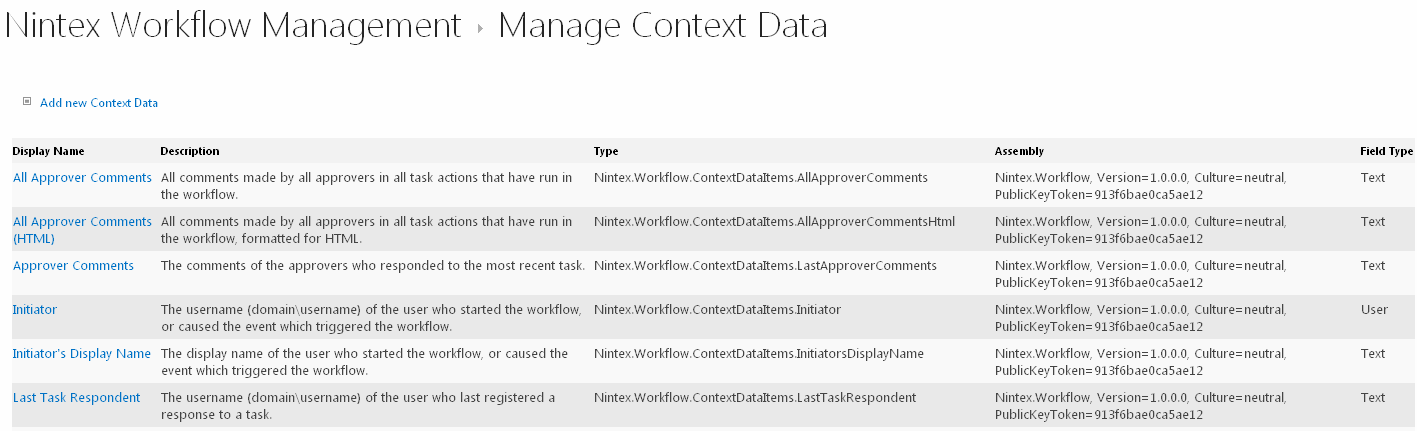
Add new Context Data
To add a new Context Data item:
- Click the Add new Context Data link.
- Fill in the appropriate details for the Context Data and when completed, click the OK button.
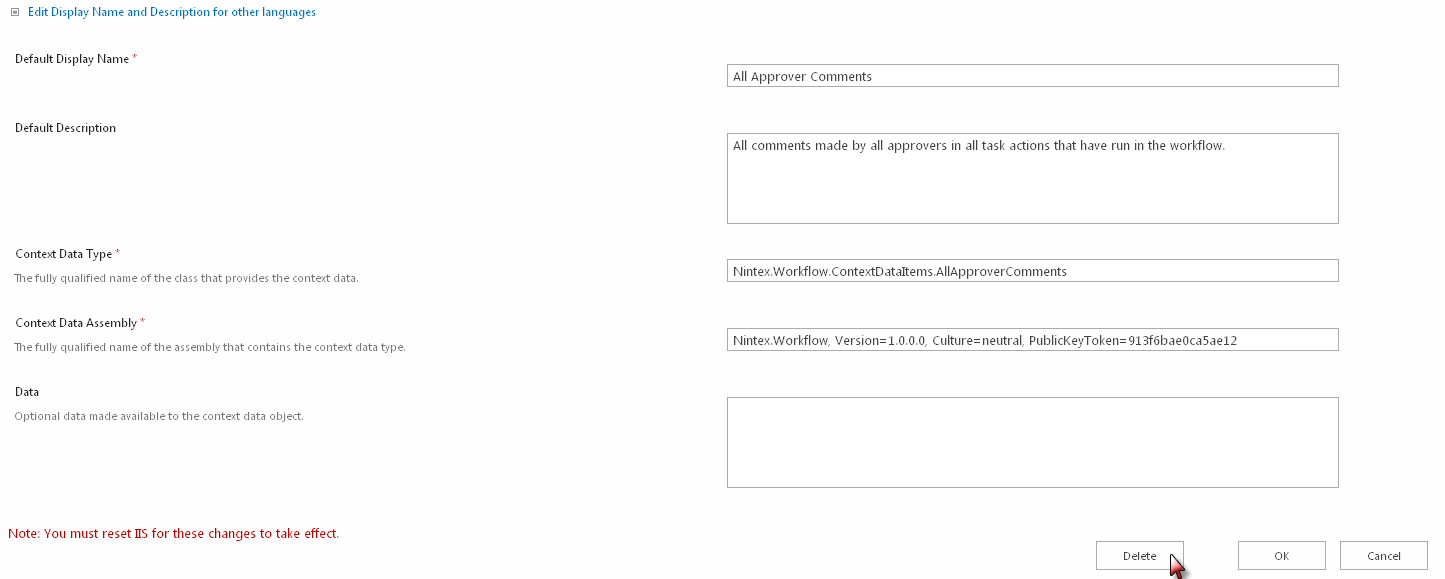
Edit/Delete Context Data
To edit an existing item:
- Click on the Context Data Display Name link in the Manage Context Data screen.
- Make the changes required for the Context Data and when completed, click the OK button.
Note: If other languages are available in the SharePoint environment, the Display Name and Description for the Context Data can be set for a specific language. Click on the Edit Display Name and Description for other languages link to edit the details for other languages.
To delete an existing item:
- Click on the Context Data Display Name link in the Manage Context Data screen.
- Click the Delete button.
Edit Display Name and Description for other languages
Configure Display and Description labels for the context data item when used in sites of a non default language.
To edit the Display Name and Description for other languages:
- Click on the Context Data Display Name link in the Manage Context Data screen
- Click on the Edit Display Name and Description for other languages
- In the Language drop-down, select the language of the Context Data to be edited
- Make the changes required and when complete, click the OK button.