|
 |

|
 |

|
 |

|

|
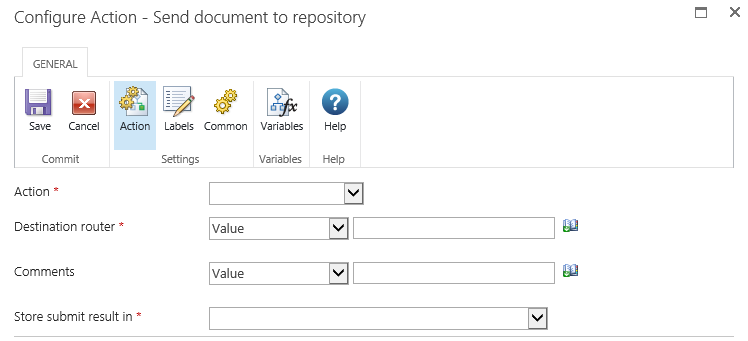
This workflow action can be used to specify by what method and to which repository or records center a document is sent.
To be able to set rules and send documents, the 'Content Organizer' SharePoint site feature has to be enabled in the SharePoint site.
To use the workflow action:
-
Locate the action in Workflow Actions Toolbox (located on the left hand-side);
-
Click on the Category listings to reveal the actions; OR
-
Search for the action using a keyword.
-
Select the action, drag it onto the design canvas and drop it onto a design pearl.
Alternatively
-
Left-clicking the pearl, mouse-over Insert Action and then the Categories to reveal the actions, click the required action from the list.
To change the settings used by the action:
-
On the action’s title click the down arrow to activate a drop-down
-
Select Configure; OR
-
Double-click the action's icon.
For more information on the other options in the drop-down, please refer to the Getting started with the Nintex Workflow designer.

Options in this action
Action
Select how the document will be sent. Select one of the following values:
- Copy: Select this option to create a copy of the document and send the copy to the destination repository.
-
Move: Select this option to copy the document to the destination repository and delete the document from its original location. Users will no longer be able to access the document from its original location.
-
Move and Leave a Link: Select this option to copy the document to the destination repository, delete the document from its original location but leave a link at the original location, indicating that the document was moved. When a user clicks this link, a page will appear that displays the URL of the document and the document’s metadata.
Destination Router
Enter the URL to the Content Organizer for the destination site. The URL can be found in the Submission Points section of the 'Content Organizer: Settings' page of the destination repository. For example: 'http://mycompany.com/_vti_bin/OfficialFile.asmx'.