
|
 |
|
 |
|
 |
|

|
This page is used to manage the LazyApproval feature of Nintex Workflow. It provides the options to edit the current list of recognized terms or add others, edit the LazyApproval notification footer and set phrases to ignore. LazyApproval must first be enabled for the system. Please refer to the About LazyApproval for more information.
Enabling / Disabling LazyApproval
There are two LazyApproval methods that can be enabled for Nintex Workflow:
-
LazyApproval via email: Workflow task actions can be configured to accept responses from users via an email reply.
-
LazyApproval via instant message:Workflow task actions can be configured to accept responses via an automated OCS or Lync conversation. This feature is only available for Nintex Workflow Enterprise only.
To enable LazyApproval for the farm:
-
Navigate to SharePoint Central Administration on your server.
-
In the Quick Launch, click on Nintex Workflow Management, click on LazyApproval settings.
-
Click on Enable / Disable LazyApproval.

LazyApproval via email
Note: If the link Configure server incoming mail settings is shown in the Enable or disable LazyApproval via email option then those settings are not configured for SharePoint. Please configure them according to your SharePoint configuration documentation. Return to this page after completing your configuration. If those settings are configured, the link Enable / Disable LazyApproval which be shown instead.
To configure LazyApproval via email:
-
In the Enable LazyApproval via email option, select Yes.
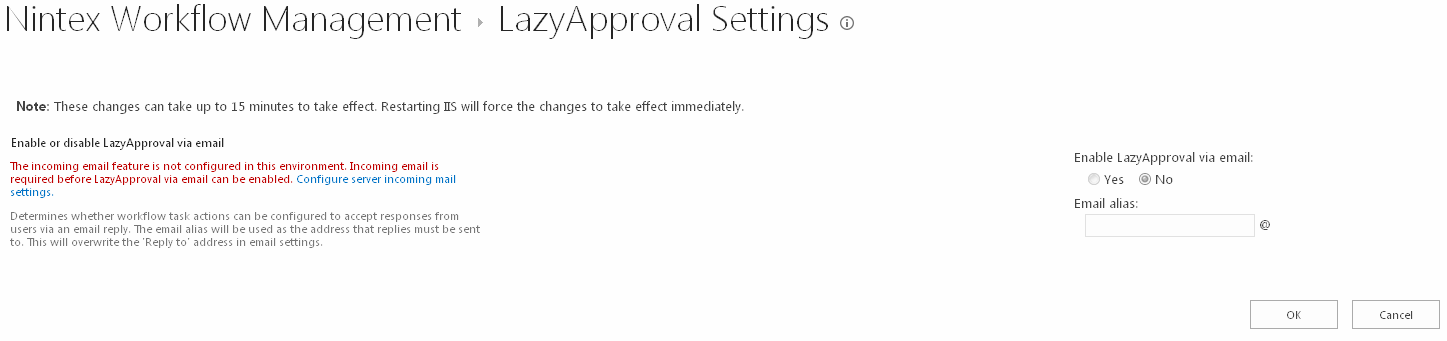
-
The Alias is the name that will be used in the email address that sends the notifications and accepts the LazyApproval replies.
-
When all settings are configured, click the OK button.
LazyApproval via instant message
Note: If the Enable or disable LazyApproval via instant message option is not available, please ensure that Instant messaging settings have been configured in the Global Settings.
To configure LazyApproval via instant message:
-
In the Enable LazyApproval via instant message option, select Yes.
-
Click the OK button.
Managing Phrases
A list of allowed words will appear which are those that will be recognized by the LazyApproval process. Phrases or terms can be added or removed as required.
To create a new phrase:
-
Click Create a new LazyApproval term for the current server farm.
-
Enter a phrase that will be recognized by the LazyApproval system, as well as an outcome (Approve or Deny). The maximum string length is 255 characters.
-
When all settings are configured, click the OK button.
To edit or delete an existing phrase:
-
Click the phrase hyperlink and make the changes required.
-
Click the OK button to commit the changes.
Managing Phrases to Ignore
By creating a phrase to ignore, the LazyApproval will discard email messages that contain the phrase in the subject line. This is useful for out of office and automated replies that an approver may have. If this is not configured, when a automated reply is sent to the LazyApproval alias it will cause the LazyApproval feature to go into a loop where the LazyApproval alias will send a response to the sender each time the sender sends an automated reply.
To create a phrase to ignore:
- Navigate to Central Administration.
- In the Quick Launch, click on Nintex Workflow Management, click on LazyApproval Settings
- In the Phrases to ignore section, click on Create a term to ignore.
- Enter a term/phrase, click OK.
To delete an existing phrase to ignore:
- In the Phrases to ignore section, for the term which needs to be deleted, click the Delete hyperlink.