


|
|
|
|
|
|
|
|
|
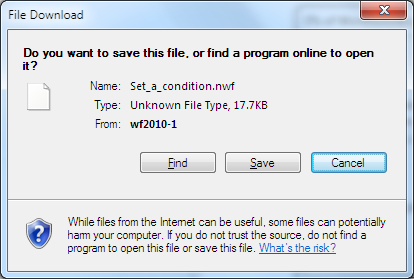
Nintex workflows can be imported and exported to the local file system as '.nwf' files. This can be used to copy workflows from one server to another, or other file transfer scenarios.
For Reusable Workflow Templates, the workflow designer ribbon button Export to VS is enabled, allowing users to export the workflow as a '.wsp' file which can be imported into Microsoft Visual Studio 2010. Please refer to the SDK for further details.
To export a workflow:
The Export button also contains a drop down menu option Export to Visual Studio. Click this option to export the workflow as a Visual Studio 2010 solution file.
Note: Not all workflow types such as list workflows or site workflows can be exported to Visual Studio. Only Reusable Workflows created in Nintex Workflow can be exported to Visual Studio.
To import a workflow:
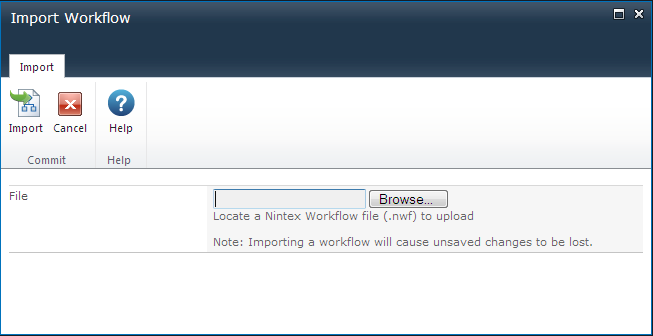
The previously exported workflow, with all its settings should now be displayed on the design canvas.
Note: Only workflows created by Nintex Workflow 2010 can be imported.