Dynamic Commands
About
No more dependencies or limitations when working with advanced commands. The new commands are dynamic, and they know how to move. A customer experiencing an issue with a specific command? No problem, replace it in a second.
Are you missing a specific command? Tell us all about it and soon you’ll be using it.
The first batch of Dynamic Commands contains:
-
Excel - The new commands offer faster execution, easy troubleshooting and you don’t even need to have Excel installed!
Macro command is the only command that requires Excel to be installed
-
UI automation - FlaUI2 and FlaUI3 are both supported inside a single command and offer a wider range of discovered objects and tables. This is relevant for both recording and playing automation.
-
Folder - cleaned, refactored, and added automation testing to fit our new standards.
.xls and .xlsm files are supported in DACs
.xlsx file is supported only in ACs
-
No more dependency between Studio and commands - Dynamic Commands are installed separately independent from the server installation
-
Bugs in commands are now easily resolved as all u need to do is to run the Rerun command
-
Future support for Citrix and SDK
Available Dynamic Commands
|
Category |
Available as Dynamic Command |
|---|---|
|
Excel Commands |
All Excel Commands:
To use the Query from Excel DAC, the Microsoft.ACE.OLEDB.12.0 component needs to be installed. |
|
UI Automation Commands |
|
|
Folder Commands |
|
|
File Commands |
|
| Java Commands |
|
Installation and Usage
Step 1 - Run the Dynamic Commands Installer
Step 2 - Open Studio and Start using the commands
Step 1 - Run the Dynamic Commands Installer
Make sure that the Studio is installed before the DAC installation.
The Nintex Updater service MUST be running for DAC to work properly. This can be validated by opening the Services.msc and checking the Nintex Updater service.
/Dynamic Commands DAC.png)
-
Download the Dynamic_commands_installer.exe file:
https://public.kryon.io/#RPA-Versions/Kryon-addiotional-solutions/DAC-installer/
-
Run the Dynamic Commands installer.

-
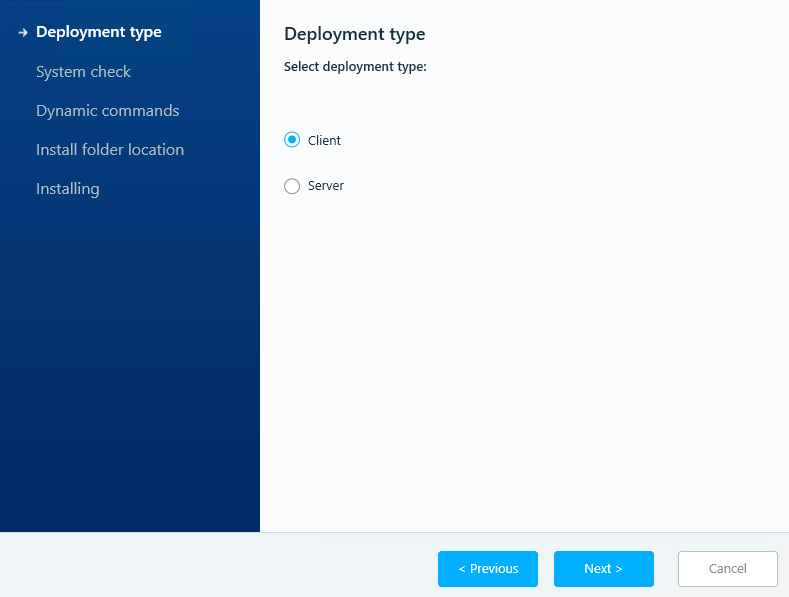
Select the Deployment Type.
 By selecting Server deployment, the DACs will automatically be distributed to all clients.
 -
Allow the installer to perform a System check.
/Dynamic Commands DAC_2.png)
-
Select the Dynamic Commands you wish to install.
/Dynamic Commands DAC_3.png)
-
Select the Installation folder path(recommended: c:\Kryon\DynamicCommands).
/Dynamic Commands DAC_4.png)
-
Click Next to initiate the installation.
In addition to installing the Dynamic Commands, the installer will also install Microsoft Windows Desktop Runtime to allow the system to run the new host service.
-
The execution of the Dynamic Commands is performed by the new host service, not from Studio.
-
-
Restart the server.
-
To confirm that the service is running, open Task Manager and look for Kryon.DC.Remote.Host service:.
/Dynamic Commands DAC_5.png)
The service "Kryon.DC.Remote.Host.service" starts only when the studio and/or robot are up and running, and not when they are idle.
-
Make sure to run the installation on every client machine that needs to use the Dynamic Commands.
Once installation is complete, the commands will appear under the installation folder as follows:
/Dynamic Commands DAC_6.png)
Naming convention
The naming convention is : Kryon-ac-commandname-year.month.version
-
"
ac" stands for "advanced command" -
The date stands for the release date of the dynamic command + its version
Step 2 - Open Studio and start using the commands
Once installation is complete and the server is restarted, you can open Studio and start using the commands as you would normally do.
What happens if a dynamic command fails?
If during command run-time or editing there is an issue with the commands, the systems automatically roll back to the native command and resume working.
Where do I get the latest update of a Dynamic Command from?
https://public.kryon.io/#RPA-Versions/Kryon-additional-solutions/DAC-installer/