31. Create the Expense Claim Report Form
In this step, you create a form for your two reporting views. This form becomes a dashboard-style report that displays data from your expense claim processes.
-
From the Forms category, add a new form. Name it Expense Claim Report Dashboard.
- The last step in creating your reporting dashboard is to create a form, then add your views. Begin by right-clicking the K2 Learning\Expense Claim\Forms category. Select New Form.
- Name the form
Expense Claim Report Dashboard
then click CREATE.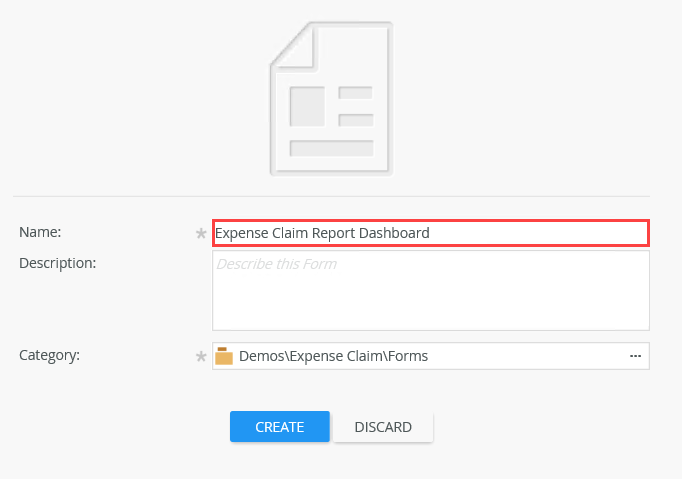
-
Add the Expense Claim Report Item View to the form canvas, then change the name to Claim Number and Duration Charts.
- Now, you will add the item view to the form design canvas. Click the Views tab on the left side of your screen. Drag the Expense Claim Report Item View onto the form design canvas.
- Change the view title to
Claim Number and Duration Charts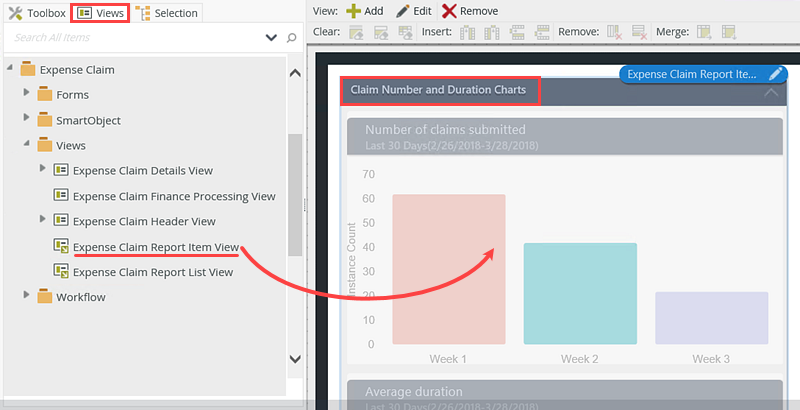
- Add the Expense Claim Report List View below the item view, then change the name to Process Instances.
- Drag the Expense Claim Report List View below the item view.
- Change the view title to
Process Instances.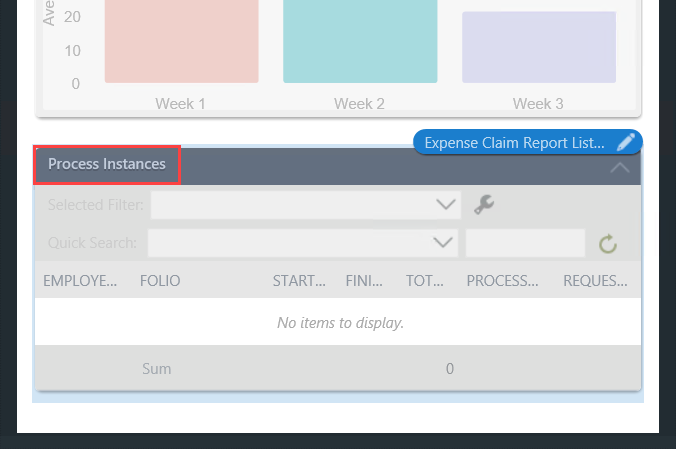
- Edit the form initializing rule and add an action that calls the List Process Instances method for the Expense Claim Report List View. There are no action configurations, so you can finish the form at this point to save and exit.
- The last configuration for your report dashboard is to add an action that retrieves the composite records as the form loads. Click the RULES tab. Edit the When the Form is Initializing rule.
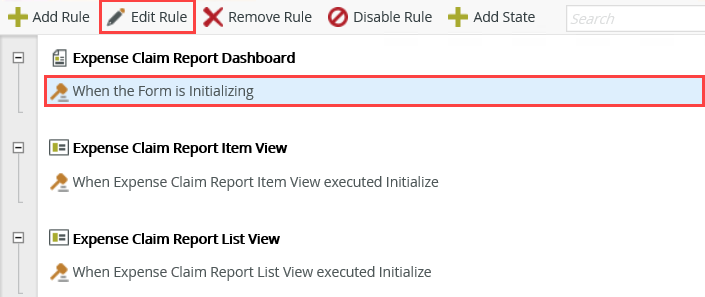
- Confirm the Actions tab is active. Click Execute a View method to add it to the rule definition pane. For the view, select Expense Claim Report List View, then for the action, select List Process Instances. Click OK to save and exit this setting.
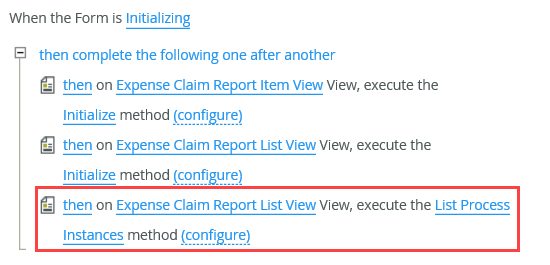
- Your reporting dashboard form is complete! Click FINISH to save and exit the form.
- The last configuration for your report dashboard is to add an action that retrieves the composite records as the form loads. Click the RULES tab. Edit the When the Form is Initializing rule.
Review
In this step, you created the reporting dashboard form and added your two reporting views. You completed the form by adding an action to load the list view content from the composite SmartObject. In the next step, you will test your reporting dashboard!