K2 Workflow Designer - Event Notification Settings
- E-mail Control
- Adding a link to the relevant Worklist in the notification
- Load HTML Template
- File
- Document Library
When selecting the Notify participants when they receive a work item option on the Participants screen and clicking next, the Event Notification Settings screen is opened. By selecting this option, the destination Participants will receive a notification using the default mail template.
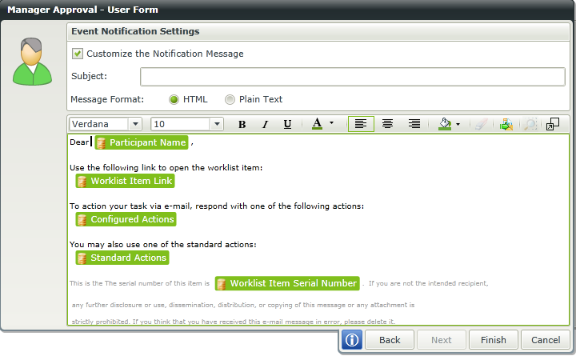
Fig. 1. Event Notification Settings
| Feature | What it is | How to use it |
|---|---|---|
| Customize the Notification Message | Specifies that a customized notification message should be sent to the selected destination users | Select whether to customize the notification setting |
| Subject | Supplies the customized subject line for the notification message | Type in the relevant Subject for the notification message in the supplied text box |
| Message Format | Specifies which message format should be used for the notification message | Select either Plain Text or HTML as a format for the notification message |
E-mail Control
When selecting the Maximize/Minimize E-mail Control option from the Event Notification Settings wizard, the e-mail screen will be maximized or minimized. The maximized e-mail screen provides a bigger environment to customize the e-mail that will be sent to the selected destination users.
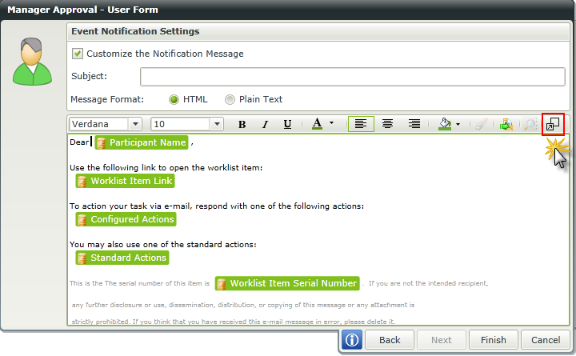
Fig. 2. Minimized
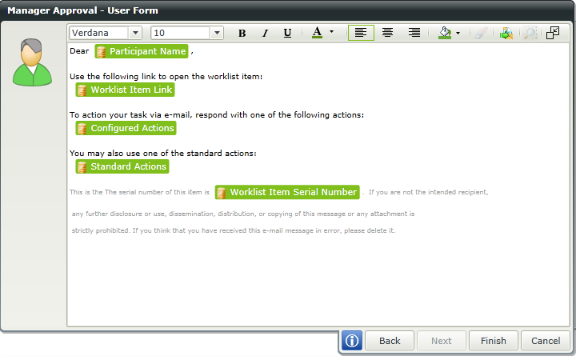
Fig. 3. Maximized
Adding a link to the relevant Worklist in the notification
It is possible to add a link to the relevant Worklist item in the notification e-mail by performing the following steps:
- Expand the Context Browser
- Expand the Work Item Context item
- Drag the Worklist Item Link item onto the wizard screen
- The relevant worklist item will be added as a clickable link on the notification e-mail
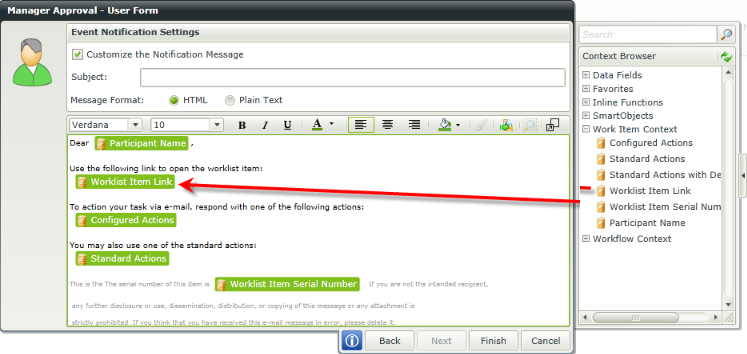
Fig. 4. Worklist link
Load HTML Template
When using HTML as the message format, HTML can be loaded from a file in a network location. To access this functionality, click on the Load HTML Template icon as shown below.
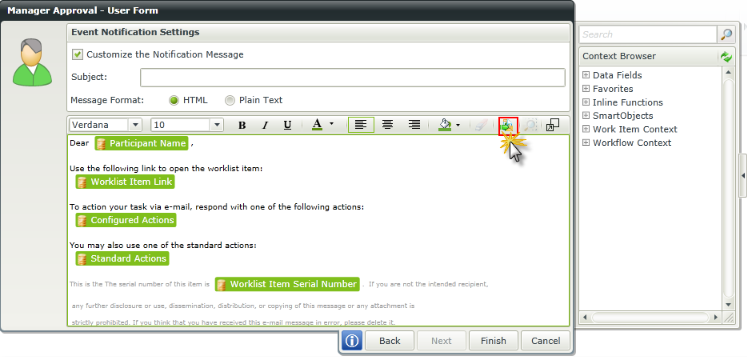
Fig. 5. Load HTML Template icon
The HTML Templates screen opens. Select File if a file should be uploaded from a network location or document library.
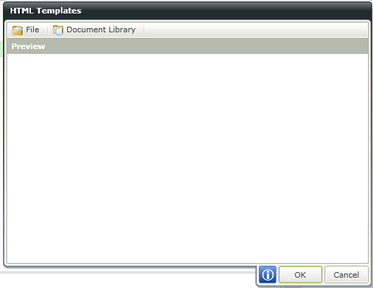
Fig. 6. HTML Templates
File
When selecting File on the HTML Templates screen, the following screen opens. Navigate to the location where the file resides and select the file. Click Open.
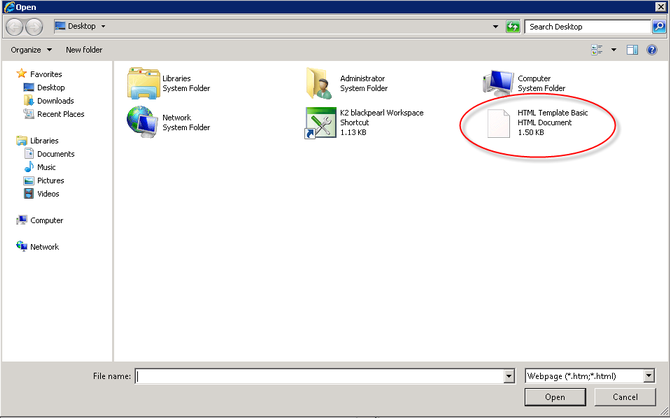
Fig. 7. File Upload
The HTML is loaded into the Preview pane as shown below.
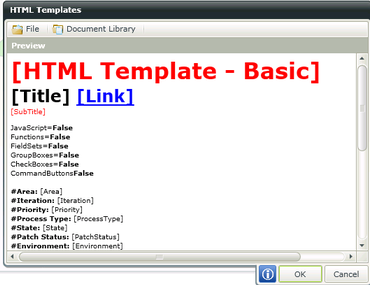
Fig. 8. Preview
Document Library
When selecting Document Library on the HTML Templates screen, the following screen opens. Select the Document Library where the HTML file resides then select the file and click OK.
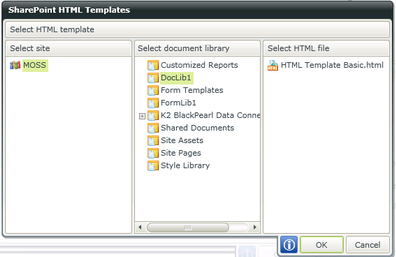
Fig. 9. Document Library
The HTML is loaded into the Preview pane as shown below.
Fig. 10. Preview