SmartForms Integration Wizard
The SmartForms Integration wizard is available in the K2 Toolbox of K2 Studio and K2 for Visual Studio. Configuring this wizard allows your workflow to be started with a SmartForm.
How is it used?
A workflow can be started by completing an online form. You can, for example, start a new instance of a Purchase Order Delivery workflow when the Purchase Order form is completed. Use the SmartForms Integration wizard to do this, and then use the SmartForm Client Event wizard to allow people to action workflow tasks using the same SmartForm or a different one.
Wizard Shortcut Key: Control + Shift + M
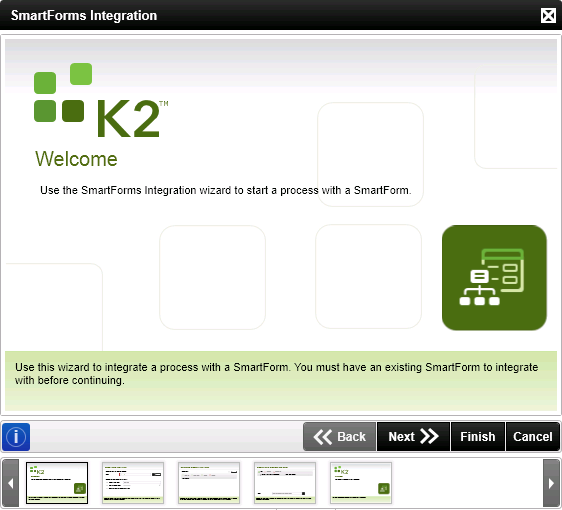
The SmartForms Integration wizard is located under Process Wizards in the K2 Toolbox. Drag the wizard from the toolbox and drop it on the design canvas. The wizard opens and the Welcome page is displayed.
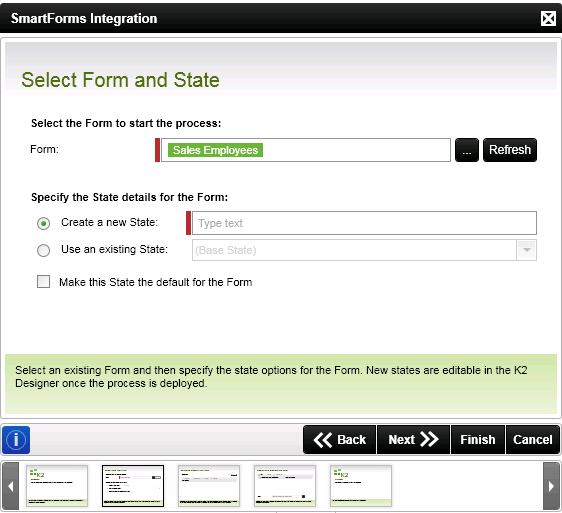
Use the Select Form and State page to pick the form that starts the process. You can create a new state using this page. Form States are typically used when different rules are required on the same form for different events of the workflow. For more information about configuring rules, see Rules section of the Form Designer.
| Feature | What it is | How to use it |
|---|---|---|
| Form | The form to be used to start the process | Select the form by clicking on the ellipses to the right of the form field to open the context browser. Open the environment node, expand the SmartForms Server(s) > SmartForms Server node and browse to a form. |
| Create a new State | Creates a new state which can be used with different Rules on different events of a workflow. A form can have multiple States with each state rendering the same form in different configurations depending on the task. | Select the option, and then type a name for the new State |
| Use an existing State | Lists existing states of the form | Select the state you want to use for this event |
| Make this State the default for the Form | The selected state is used as default for future events of the workflow | Select the option |
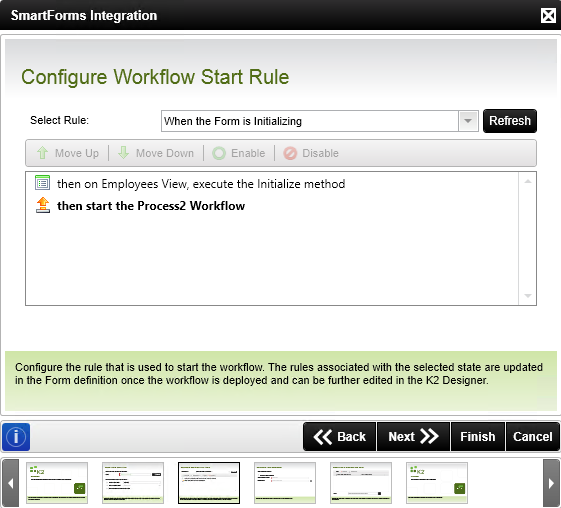
Use the Configure Workflow Start Rule page to configure the rule to start the workflow. Various rules containing rule actions can be configured in the Rules section of the Form Designer. These rules are listed in the drop down menu on this page. Select the rule to start the process and then configure the rule actions.
| Feature | What it is | How to use it |
|---|---|---|
| Select Rule | Lists the rules available on the form as configured in the Rules section of the Form Designer. | Select the rule from the drop down list |
| Move Up | Moves the selected rule action one position up. The order of the rule actions determines the execution order. | Select a rule action and click Move Up |
| Move Down | Moves the selected rule action one position down. The order of the rule actions determines the execution order. | Select a rule action and click Move Down |
| Enable | You can enable a rule action if it was previously disabled in the rule. | Select the rule action and click Enable |
| Disable | You can disable a rule action if it was previously enabled in the rule. | Select the rule action and click Disable |
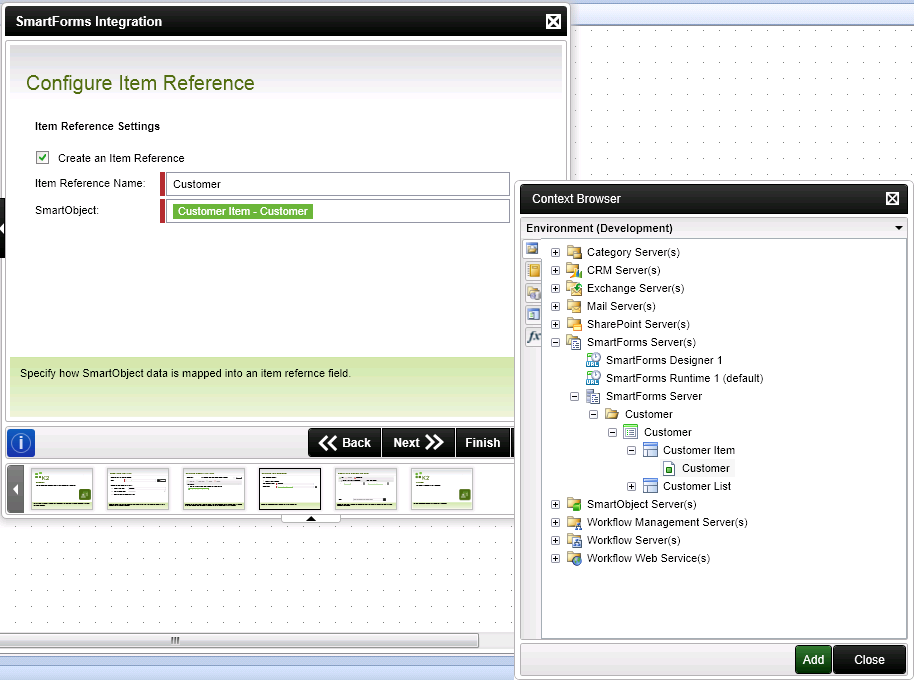
Use the Configure Item Reference page to optionally create an item reference to be used later in the workflow. The item reference is a pointer to the SmartObject used in the form, which you can then use in subsequent steps. See the Item References topic for information about using references.
| Feature | What it is | How to use it |
|---|---|---|
| Create an Item Reference | The item reference automatically binds the SmartObject data used in a form to the workflow, making it more convenient to design a workflow. This eliminates the need to manually configure certain rules such as the rule to return data on a form and the need to define data fields to track information from the form. | Select the option if a SmartObject is to be used to create an item reference |
| Item Reference Name | The name of the item reference. | Specify a unique name |
| SmartObject | The SmartObject used to create the item reference. The SmartObject bound to the form is used by default. | Select the SmartObject from the context browser if the field is blank or another SmartObject. |
Use the Specify Data Bindings and Folio page to set the folio and data bindings. Values from the form can be stored in process data fields for future use in the workflow. However, using an item reference is usually faster and more convenient that using data fields.
| Feature | What it is | How to use it |
|---|---|---|
| Add | Adds a data binding between a form field and a process data field. | Click Add |
| Remove | Removes a data binding between a form field and a process data field. | Select the binding and click Remove |
| Remove All | Removes all data bindings. | Click Remove All |
| Data Field (Destination) | Represents the process data field used in the data binding. | Drag and drop a field from the context browser |
| Form Field (Value) | Represents the form field value used in the data binding. | Drag and drop a field from the Context Browser |
| Folio | The folio to be used to identify the instance. The folio is a free-text field that is commonly used so that it is easier to distinguish between instances of the same workflow. | Type text or drag and drop a field from the context browser |
The final page of the wizard. Click Finish to close the wizard and return to the design canvas.
There are two options in K2 Studio to edit the SmartForms Integration wizard after you've configured it.
Double click the Start event of the process to open the process General Properties page.

Click on the SmartForms Integration icon in the left side panel.
The SmartForms Integration wizard opens.
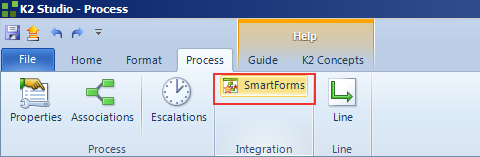
Click on the SmartForms icon found in the toolbar under the Process tab as shown in the image below.
The SmartForms Integration wizard opens.
There are two options in K2 Designer for Visual Studio to edit the SmartForms Integration wizard after you've configured it.
Double click the Start event of the process to open the process General Properties page.
Click on the SmartForms Integration icon in the left side panel.
The SmartForms Integration wizard opens.
