SmartForms Client Event Wizard
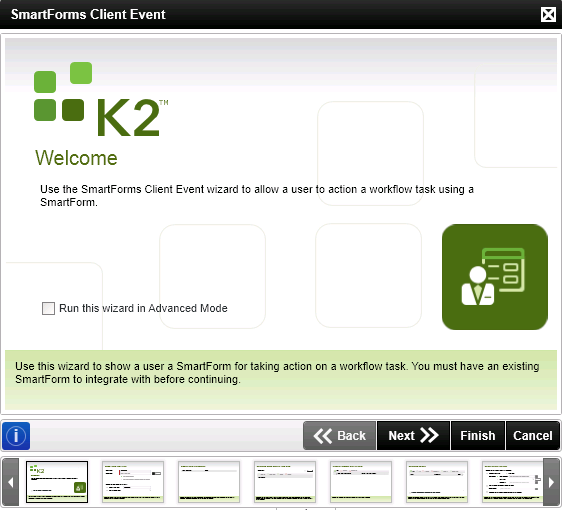
The SmartForms Client Event wizard is available in the K2 Toolbox of K2 Studio and K2 for Visual Studio. Configuring this wizard allows you to action a workflow task using a SmartForm.
Note: It is not necessary to use this event to show SmartForms when actioning workflow tasks. You may choose a more loosely-coupled approach of integrating forms in your workflow by using the Default Client Event wizard to configure the URL of the form, and manually configuring rules in your forms and views.
How is it used?
A workflow may, for example, require a manager to approve an employee leave request. You can use the SmartForms Client Event to show a leave request form for a manager to approve or deny.
| Field | Description | Notes |
|---|---|---|
| Run this wizard in Advanced Mode | When using Advanced Mode, you are able to specify a Runtime URL. | Check the option |
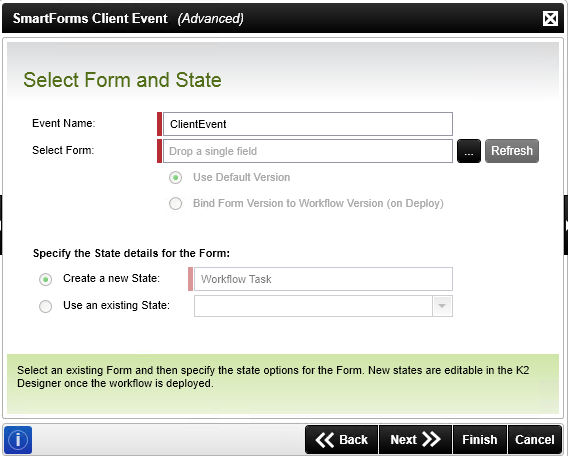
Select the form and state to be used in the client event. You can use an existing state or create a new one. Form states are typically used when different rules are required on the same form for different events of the workflow. You can configure rules in the Rules section of the Form Designer.
| Field | Description | Notes |
|---|---|---|
| Event Name | The name of the event in the workflow. | Specify a name for the event. |
| Select Form | The form to be used in this event of the workflow. | Select the form by clicking on the ellipsis |
| Use Default Version | Disabled functionality. | |
| Bind Form Version to Workflow Version (on Deploy) | Disabled functionality. | |
| Create a new State | Creates a new state. Different states can be used with different rules on different events of a workflow. | Select the option, then type a name for the new state. |
| Use an existing State | Lists the existing states created for the form in the designer. | Select the state required for the event in the workflow. |
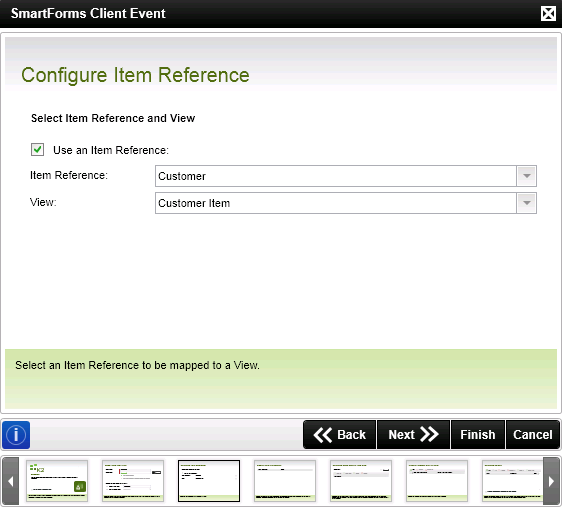
Optionally configure an item Reference, which is an XML structure that contains all the information of the specific SmartObject, typically representing the main entity in the workflow such as a document or list item. The item reference automatically binds the SmartObject data (in the form) to the workflow, making it more convenient to design a workflow. This eliminates the need to manually configure certain rules, such as the rule to return data on a form at approval, and the need to define data fields to track information. See the Item References topic for information about using references.
| Field | Description | Sample Value |
|---|---|---|
| Create an Item Reference | The item reference automatically binds the SmartObject data used in a form to the workflow, making it more convenient to design a workflow. This eliminates the need to manually configure certain rules such as the rule to return data on a form at approval and the need to define data fields to track information. | Select the option if a SmartObject should be used to create an item reference |
| Item Reference Name | The name of the item reference. This name is used further in the workflow when the item reference data can be used. | Type a name or select a SmartObject which will populate the name by default |
| SmartObject | The SmartObject used to create the item reference. The default SmartObject that is bound to the form is used by default. If the field is blank, there are more than one view linked to the form and the specific SmartObject to be used to create the item reference should be selected from the context browser | Select the SmartObject from the context browser if the field is blank or another SmartObject is required. An item reference is created using the SmartObject selected |
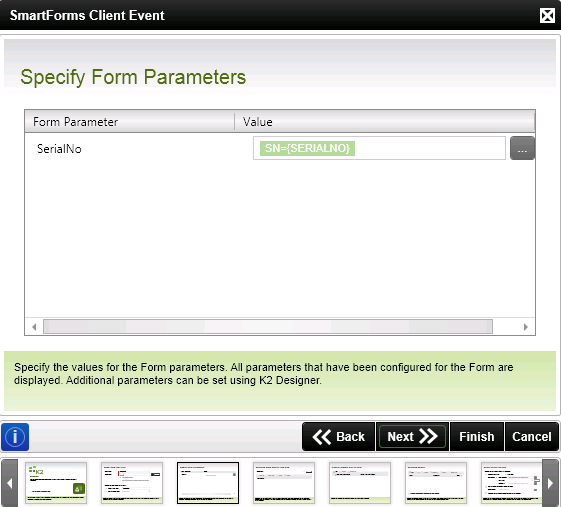
Use the Specify Form Parameters page to specify values for any parameters. If the form already exists, a default value for the SerialNo is automatically populated. See the topic on Using a Form Parameter for more information about using parameters.
| Field | Description | Notes |
|---|---|---|
| Form Parameter | The form parameter name | Form parameters are configured when creating a form in the Form Designer |
| Value | The value of the form parameter | Form parameters are configured when creating a form in the Form Designer |
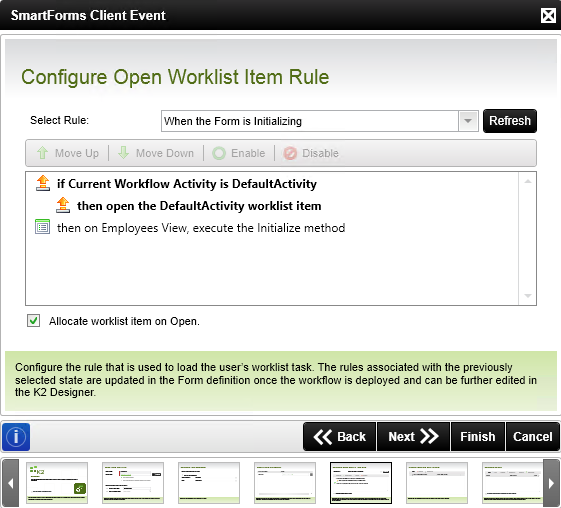
Configure the rule to use when opening this event of the workflow.
| Field | Description | Notes |
|---|---|---|
| Select Rule | Lists the rules available on the form as configured in the Rules section of the Form Designer | Select the rule from the drop down list |
| Move Up | Moves the selected rule action one position up. The order of the rule actions is the execution order. | Select a rule action and click Move Up |
| Move Down | Moves the selected rule action one position down. The order of the rule actions is the execution order. | Select a rule action and click Move Down |
| Enable | You can enable a rule action if it was previously disabled in the rule. | Select the rule action and click Enable |
| Disable | You can disable a rule action if it was previously enabled in the rule. The rule action is not deleted from the rule, but does not execute. | Select the rule action and click Disable |
Specify if workflow data is to be transferred to the form. Workflow data can be saved in Data or XML fields, which you can then display on the form.
| Field | Description | Notes |
|---|---|---|
| Add | Adds a data binding between a form field and a process data field. | Click Add |
| Remove | Removes a data binding between a form field and a process data field. | Select the binding and click Remove |
| Remove All | Removes all data bindings. | Click Remove All |
| Form Field (Destination) | Represents the form field value used in the data binding. | Drag and drop a field from the context browser |
| Process Data Field (Value) | Represents the workflow data field used in the data binding. | Drag and drop a field from the context browser |
Use the context browser to drag and drop values into the fields.
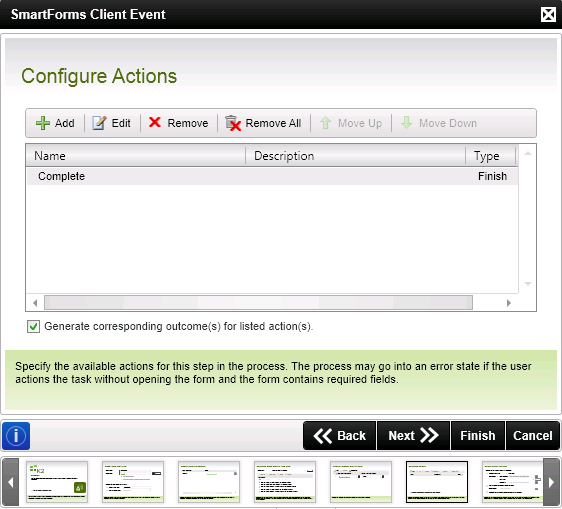
Configure the actions available for this step of the workflow. These are the potential actions a user who is assigned a task can take at this point in the workflow.
| Field | Description | Sample Value |
|---|---|---|
| Add | Adds an action | Click Add |
| Edit | Edits an action | Select the action and click Edit |
| Remove | Removes an action | Select the action and click Remove |
| Remove All | Removes all actions | Click Remove All |
| Move Up | Moves an action one position up | Select an action and click Move Up |
| Move Down | Moves an action one position up | Select an action and click Move Down |
| Name | Name of the action | |
| Description | Description of the action | |
| Type | Type of the action | |
| Generate corresponding outcomes for listed actions | Automatically generates corresponding outcomes for the listed actions |
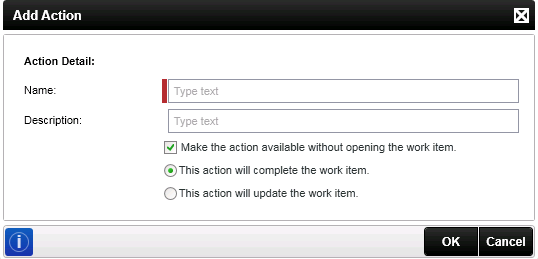
When you clickthe Add button, the Add Action page opens. Configure the action on this dialog.
| Field | Description | Notes |
|---|---|---|
| Name | Adds an action to the workflow step | Specify the name of the action |
| Description | The description of the action | Specify a description, if applicable, for the action |
| Make the action available without opening the work item | The action is made available in the worklist without having to open the work item (called batch actioning, also enables SmartActions) and via email using SmartActions | |
| This action will complete the work item | If this action is executed, the work item is completed after the action is taken. | |
| This action will update the work item | If this action is executed, the work item is updated after the action is taken. |
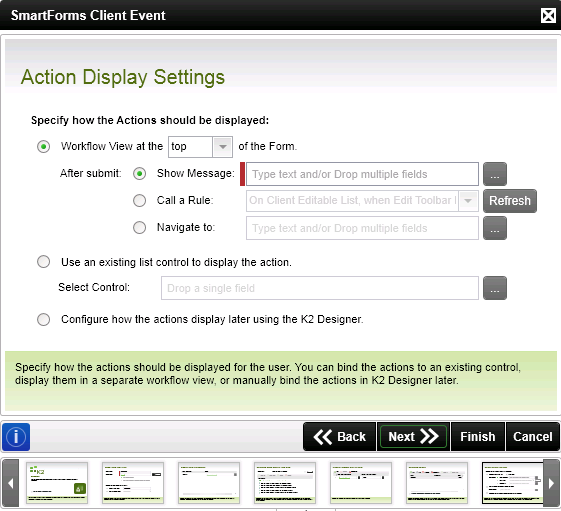
Configure how the actions are displayed on the form.
| Field | Description | Notes |
|---|---|---|
| Workflow View at the top of the Form | Indicates where the process view is displayed on the form. | Select the option from the drop down list |
| After Submit: Show Message | Shows a message after the action has been submitted | Select the option and type a brief message to be displayed or use the Context Browser to drop fields |
| After Submit: Call a Rule | Calls a rule after the action has been submitted | Select the option and select the rule from the drop down list |
| After Submit: Navigate to | Navigates to another form after the action has been submitted | Select the option and type a form name or use the context browser to drop a field with the form name |
| Use an existing list control to display the action | A list control can be used to display the actions | |
| Select the control | The list control to be used to display the actions | Drag and drop a field from the Context Browser by clicking on the ellipsis |
| Configure how the actions display later using the K2 Designer | Enables configuration at a later stage |
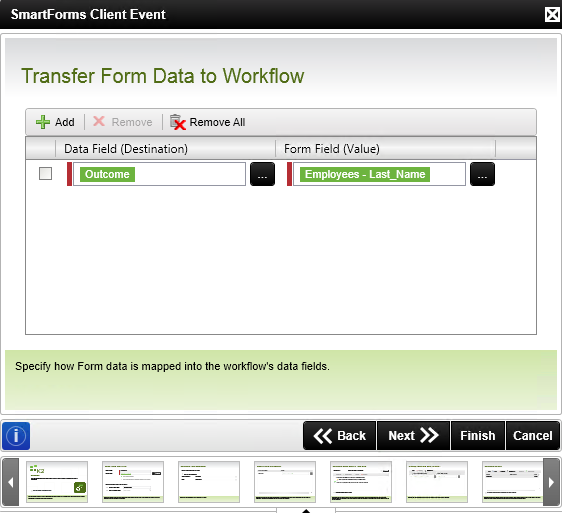
Specify if form data should be transferred to the workflow. Values from the form can be stored in process data fields for future use in the workflow. However, if you use item references you may not have to store any data in workflow data fields..

| Field | Description | Notes |
|---|---|---|
| Add | Adds a data binding between a form field and a process data field | Click Add |
| Remove | Removes a data binding between a form field and a process data field | Select the binding and click Remove |
| Remove All | Removes all data bindings | Click Remove All |
| Process Data Field (Destination) | Represents the process data field used in the data binding | Drag and drop a field from the context browser |
| Form Field (Value) | Represents the form field value used in the data binding | Drag and drop a field from the context browser |
Use the context browser to drag and drop values into the fields.
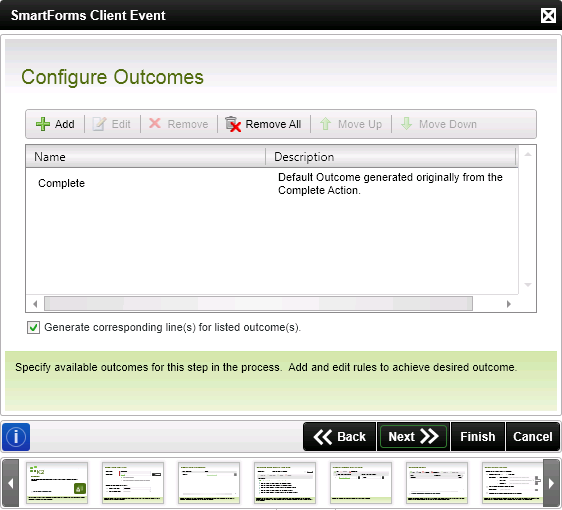
Configure the outcomes used for this step in the process. You configure outcome rules or line rules by adding a new outcome or editing an existing one. For more information about outcome rules, see the topic on Line Rules. Move outcomes up and down to control the order in which the outcome lines appear on the canvas.
| Field | Description | Notes |
|---|---|---|
| Add | Adds an outcome to the process step | Click Add |
| Edit | Edits an outcome of the process step | Click Edit |
| Remove | Removes an outcome from the process step | Select an Outcome and click Remove |
| Remove All | Removes all outcomes from the process step | Click Remove All |
| Move Up | Moves the outcome one position up | Select an outcome and click Move Up |
| Move Down | Moves the outcome one position down | Select an outcome and click Move Down |
| Generate corresponding lines for listed outcomes | Generates lines for the outcomes listed on this screen to enable continuation of the process. New events can be linked to these outcomes to continue the process | Select the option if lines are required for each outcome. |
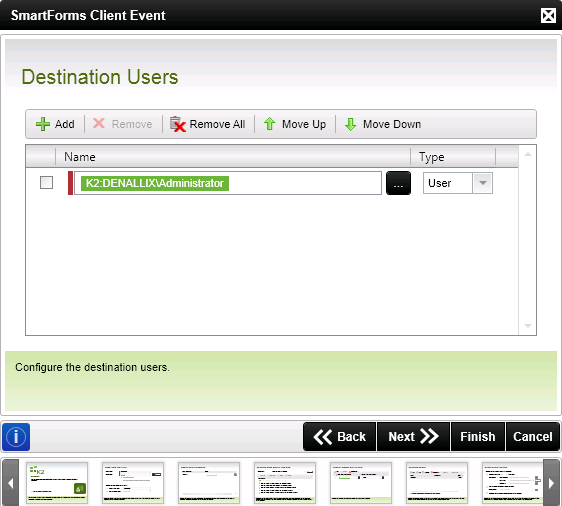
Add the destination users who are to receive the worklist task for this step of the workflow.
| Field | Description | Sample Value |
|---|---|---|
| Add | Adds a destination user for the process step | Click Add |
| Remove | Removes a destination user from the process step | Select a destination user and click Remove |
| Remove All | Removes all destination users from the process step | Click Remove All |
| Move Up | Moves destination user one position up | Select a destination user and click Move Up |
| Move Down | Moves the destination user one position down | Select a destination user and click Move Down |
| Name | The Name of the destination user | Type the name or drag and drop a destination user from the context browser |
| Type | The type of destination user. Can be a user, group or role. See Destination Rule for more information | Select a type from the drop down list |
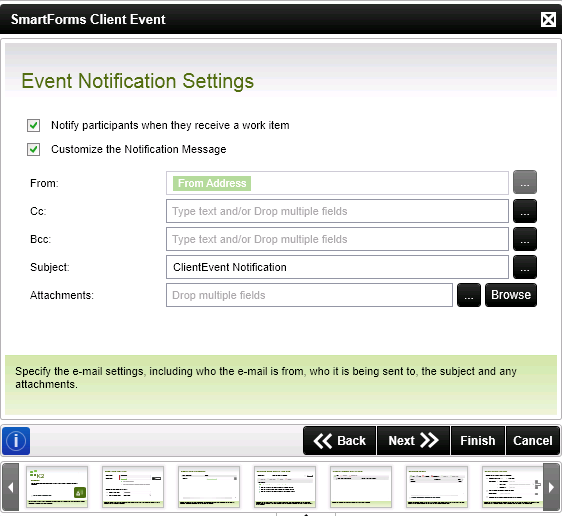
Configure the event notification. You can send a standard or customized notification to the destination users when the event is started. See Event Notification for more information.
| Field | Description | Sample Value |
|---|---|---|
| Notify participants when they receive a work item | Sends an email notification to the destination user, informing the user of a new event requiring attention. | Select whether a notification should be sent to the destination user. |
| Customize the Notification Message | Specifies that a customized notification message should be sent to the selected destination users. | Select whether to customize the notification setting. |
| From | The email address to appear in the From field - usually the email setup for the K2 server. | Type text or drag and drop a field from the context browser. This field is pre-populated with the value of the From Address environment library field. |
| Cc | Copy a recipient. | Type the email address of the person who should be copied or select a dynamic field from the context browser. |
| Bcc | Copy in a recipient without allowing other recipients to view BCC addresses. | Type the email address of the person who should be blind copied or select a dynamic field from the context browser. |
| Subject | The subject line of the notification message. | Type in a subject for the notification message, including workflow context data to help destination users know more about their task.. |
| Attachments | Drag and drop fields from the context browser for attachments. |
The following items are supported:
Note: Any field that you drag from the context browser that is not a SmartObject property or Inline Function is wrapped in the Get Attachment from Content File inline function. This allows you to specify a file name for the attachment |
| Message format | Specifies which message format should be used for the notification message | Select either Plain Text or HTML as a format for the notification message |
| Open Larger Message Body Screen | Opens the E-mail Event page which provides an extended environment for editing the notification message | Click on the image to open the E-mail Event wizard page |
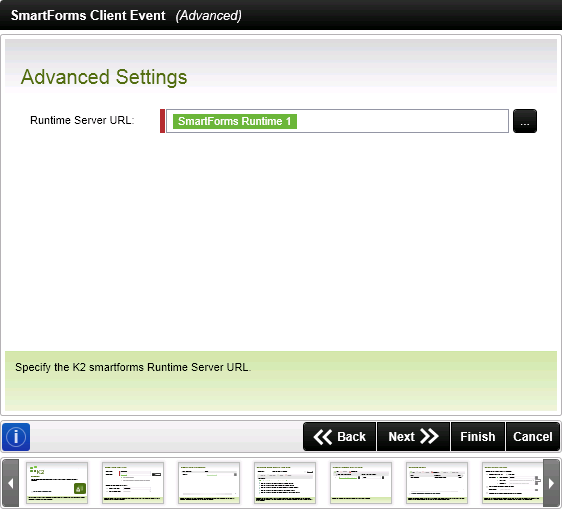
Provide the runtime URL of the SmartForms server by specifying the URL or dragging a URL from the context browser after clicking on the ellipsis. This page is only available if you selected Advanced on the Welcome page.
| Field | Description | Sample Value |
|---|---|---|
| Runtime Server URL | Specify the SmartForms runtime URL required to display the Form. By default the field is populated using the runtime URL found in environment Library. | https://dlx:4444/Runtime/Runtime |
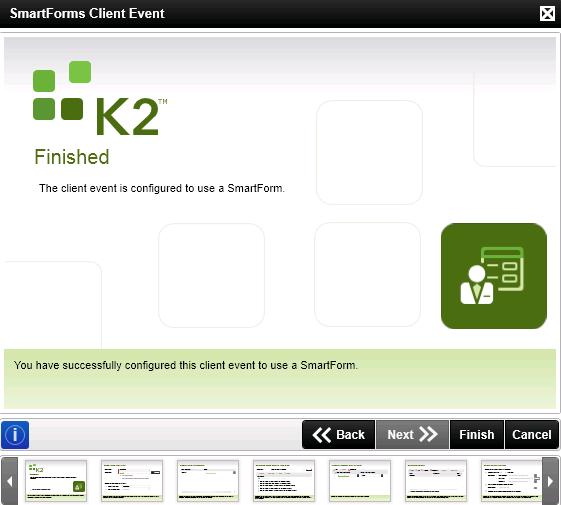
The Finished page is displayed. The workflow is now integrated with SmartForms.
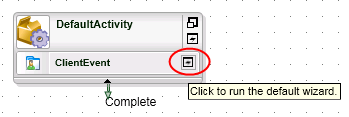
To edit the SmartForms Client Event wizard, click the icon to run the default wizard as shown below. The SmartForms Client Event Wizard opens.