Form tab
Use the Form tab to select a form for recipients to use to action the task.
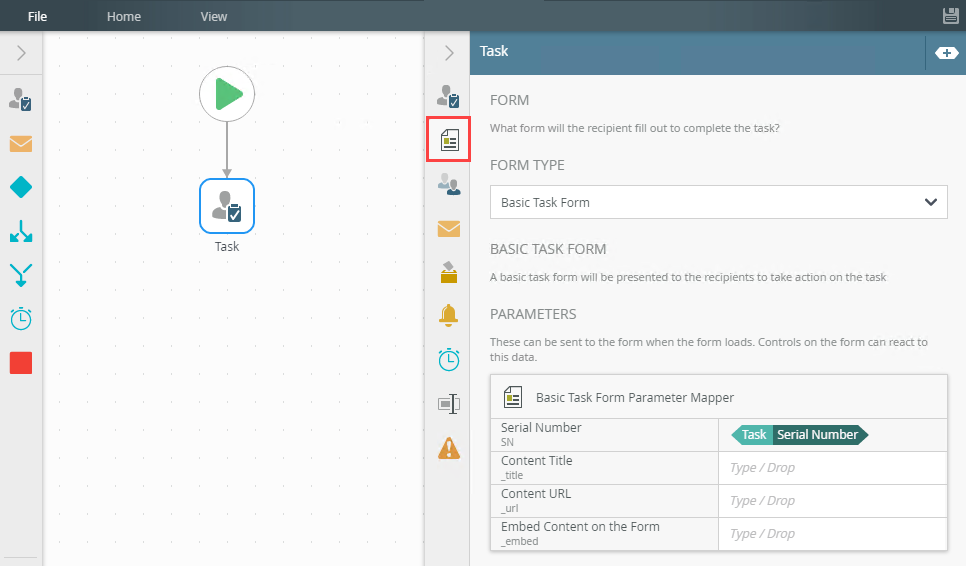
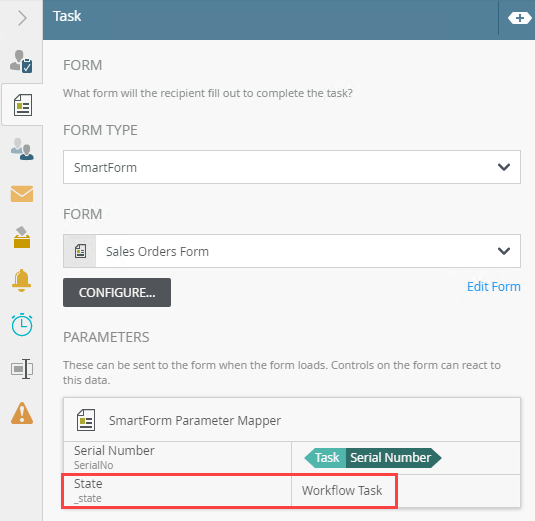
Example of a configured Form tab

- Select the Task step and click the Form tab.
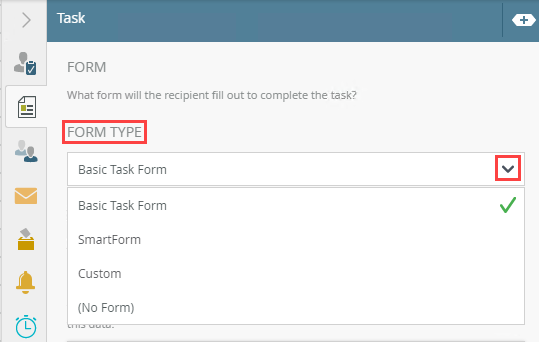
- Basic Task form
- SmartForm
- Custom
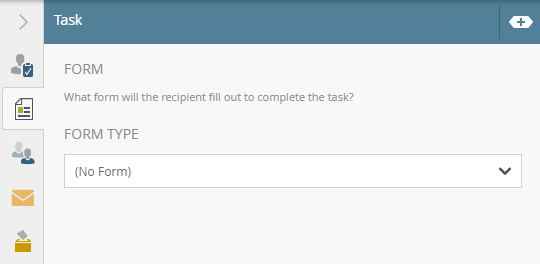
- (No Form)
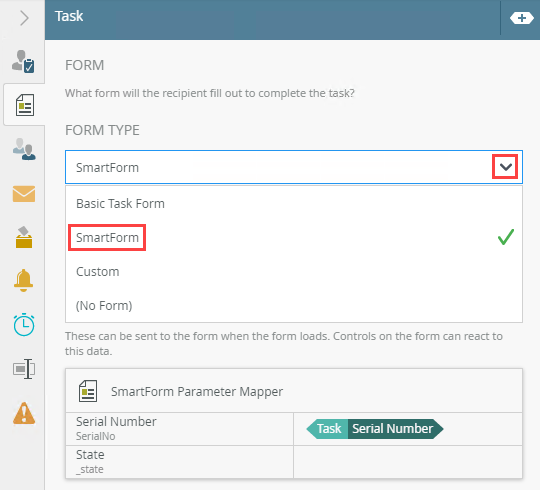
- Serial Number - By default, this parameter populates with the Task Serial Number.
- Content Title - drag Functions, Fields, SmartObjects and Workflow related items from the Context Browser into this field.
- Content URL - drag Functions, Fields, SmartObjects and Workflow related items from the Context Browser into this field.
- Embedded Content on the Form - drag Functions, Fields, SmartObjects and Workflow related items from the Context Browser into this field.
- _state - This parameter loads the form with an existing state.
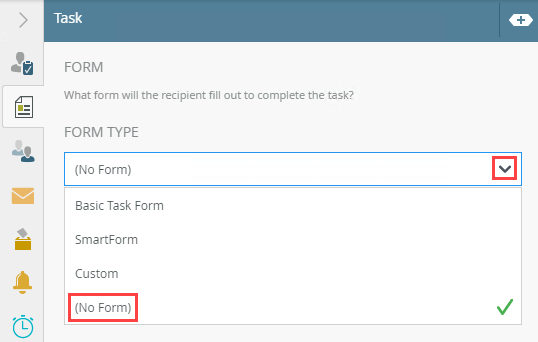
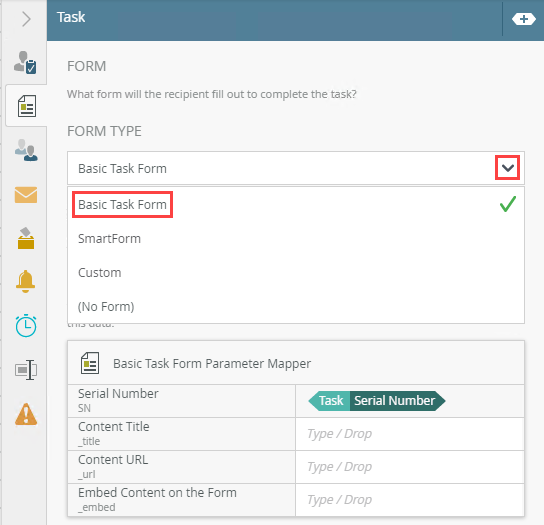
- Select the type from the Form Type menu.
- For detailed information on each of the available Form Types, see the links below:
 Basic Task Form
- From the Form Type drop down menu, select the Basic Task Form option.
This option is selected by default.
- The Parameters section contains parameters that exists on the Basic Task Form.
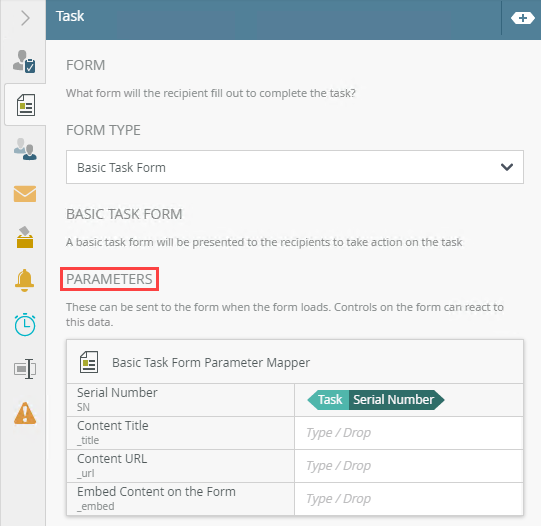
- Serial Number - By default, this parameter populates with the Task Serial Number
- Content Title - Use this to specify a title within the content area of the task form
- Content URL - Use this to add a URL to display in the content area of the task form
- Embedded Content on the Form - Use this to specify if content can display in the task form by adding a True or False value
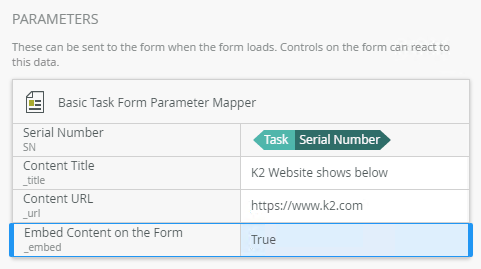
- In this example, the parameters are configured as follows:
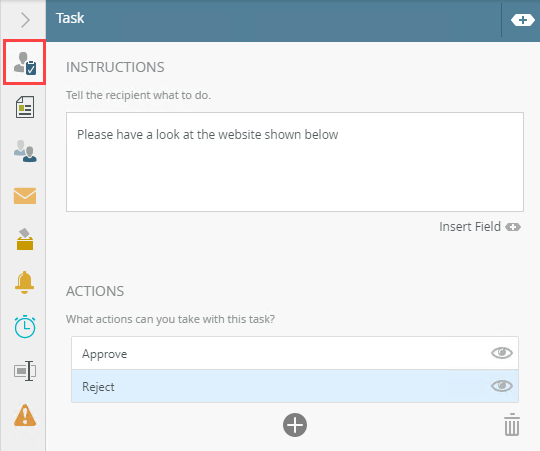
- In this example, add an instruction to the task on the Task tab.
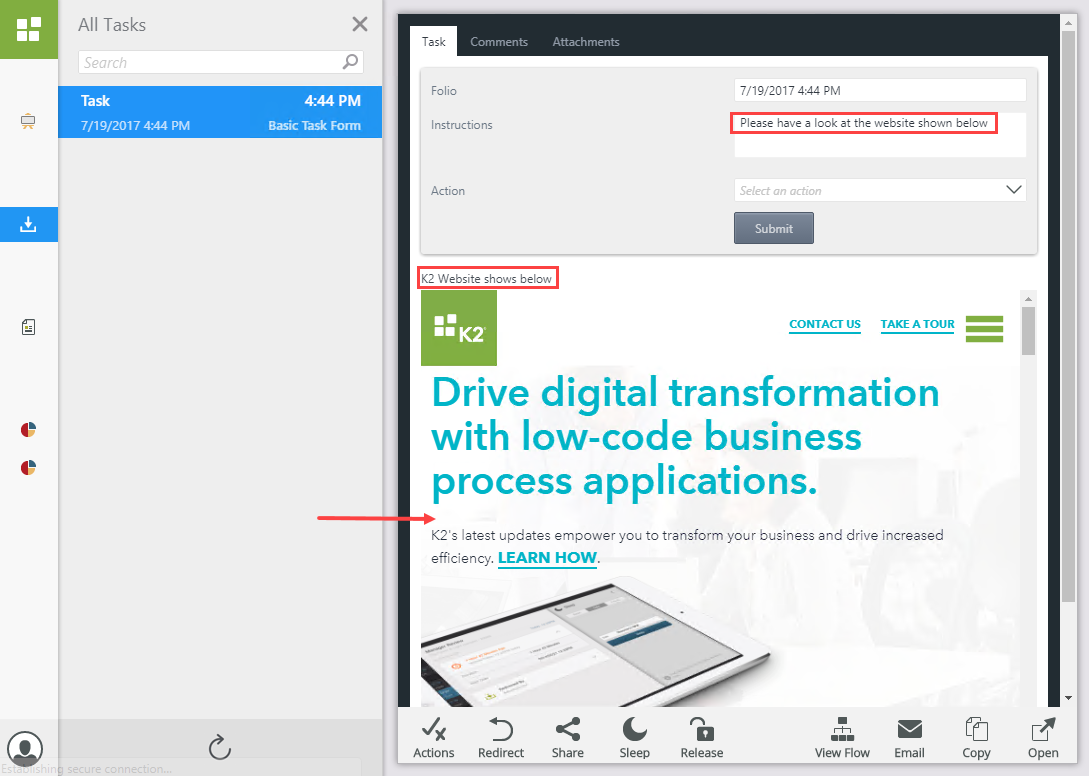
- At runtime, the task is sent to a user and shows on their task list in K2 Workspace.
Notice the added Instruction, Content Title, and URL on the Basic Task Form.
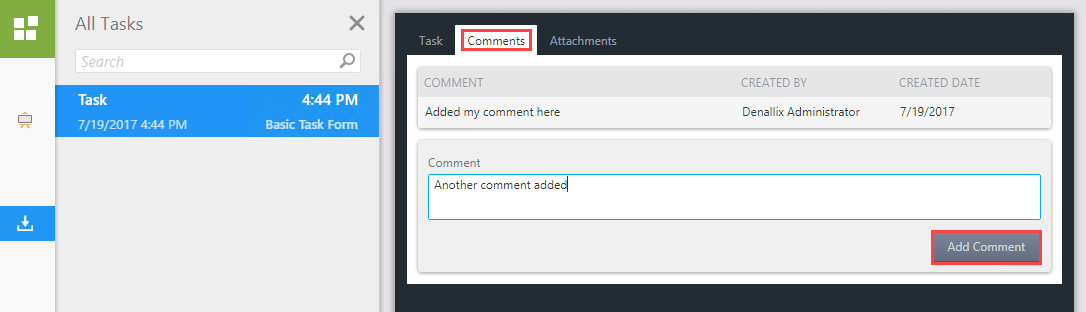
- Click the Comments tab. This tab forms part of the Basic Task Form. Add a comment and click the Add Comment button. An audit trail is kept of these comments.
- Click the Attachments tab. This tab forms part of the Basic Task Form. Click the Click here to attach a file link to select the file and click Add Attachment to add it. An audit trail is kept of these attachments.
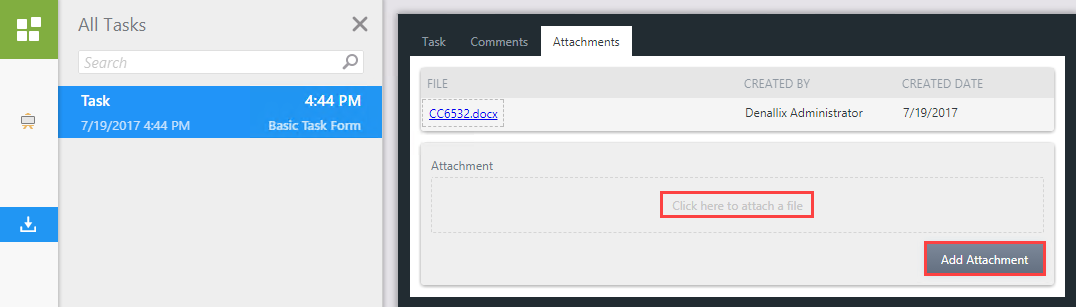
- To view the attachment, click on the file link.

- On the Task tab of the Basic Task Form select an Action and click the Submit button.
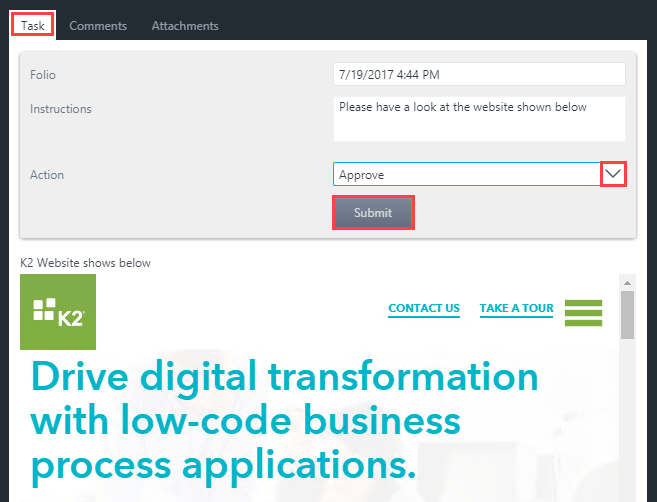
Your changes are automatically saved.
The following table explains the options available on this tab:
Option Explanation How to Use Serial Number The Serial Number populates automatically and indicates the specific workflow instance. Automatically populated. Parameters Parameters of the form allow you to specify workflow instance information or other information that the form is designed to handle. Be sure to match the data type of the parameter.
The following parameters are available:
Note: Parameters are not required. Different parameters show depending on the form type you select.
Type or click and drag Functions, Fields, SmartObjects and Workflow related items from the Context Browser into this field.
SmartForm- From the Form Type drop down menu, select the SmartForm option.
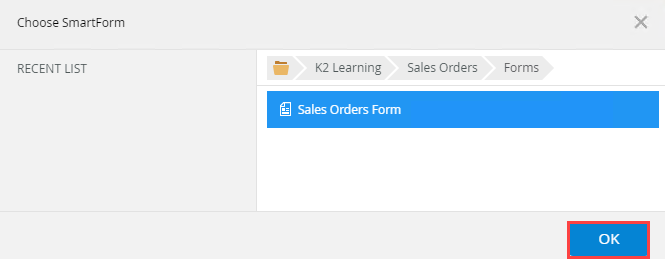
- From the Form drop down menu select Browse and navigate to the location of the form.

- Select the form and click OK.
- The Open Task on a Form page displays the References as follows:
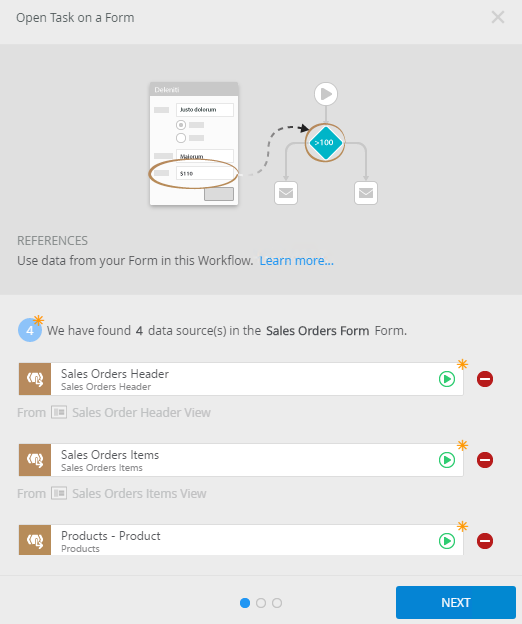
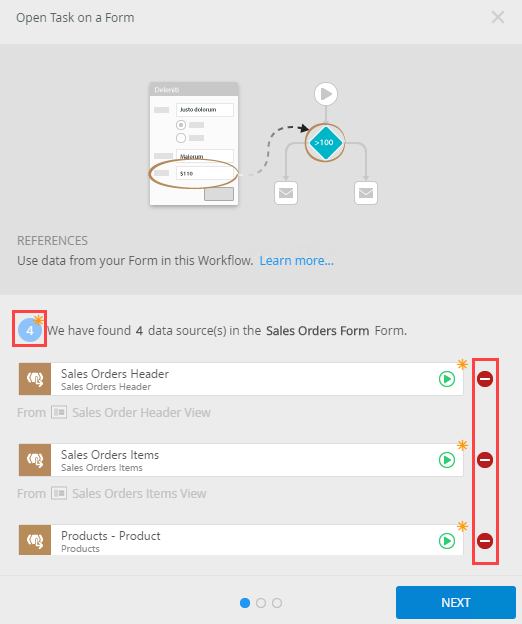
- In this example, four data sources were found on the form.
Click the deselect icon to deselect and not create item references.
- Click Next. The Open Task on a Form page opens
- In this example, select Help me configure it and click Next.
- From the Workflow View section, configure the Form State to contain the Open Worklist Item rule action.
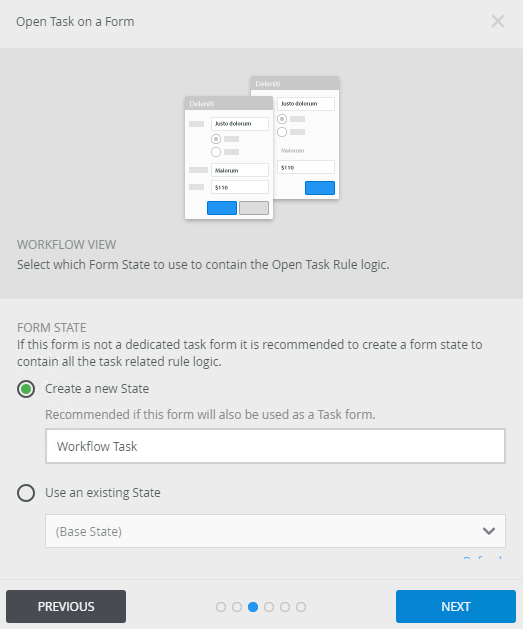
- Use the workflow view
- Allocate the task
- Create a new State (Workflow Task)
- In this example, select the Create a new State option and click Next.

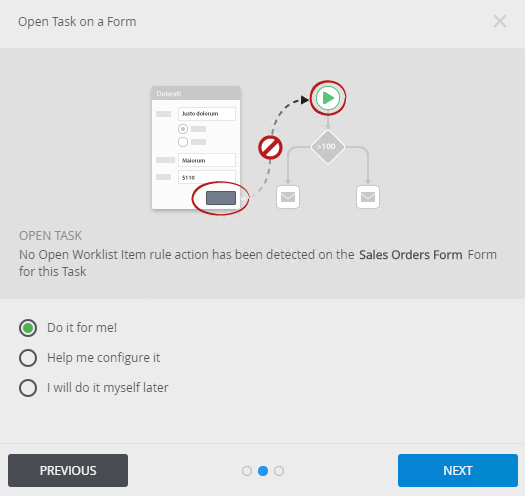
- The Open Task on a Form - Open Task Rule Action page enables you to select the rule and the location within the rule to define actions to open the task.
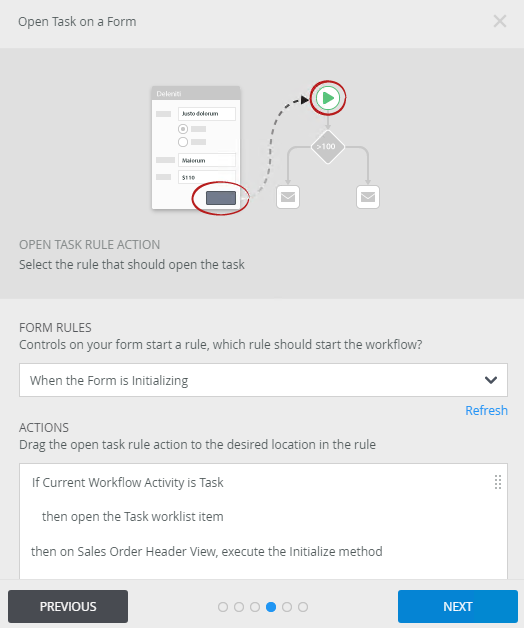
- Click the drop down menu to view available start rules. In the Actions section you can click and drag the actions to reorder them.
- Click Next. The Open Task on a Form - After Submit Action page displays. Here you decide what happens on the form after the task is submitted.
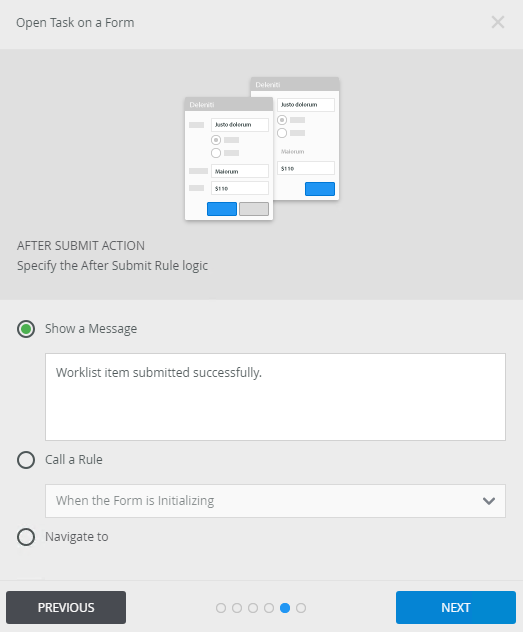
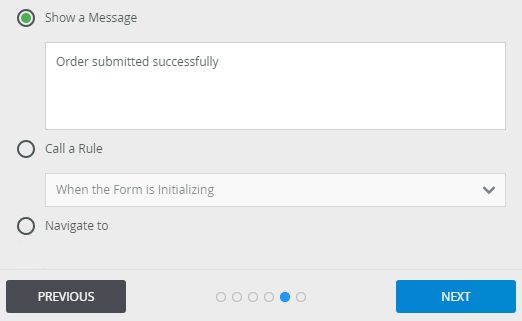
- In this example, select the Show a Message option. Click Next.
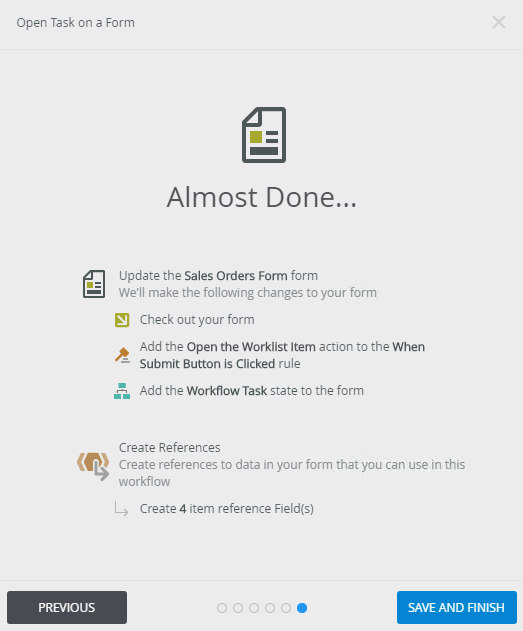
- The Almost Done... page is shown. Click Save and Finish.
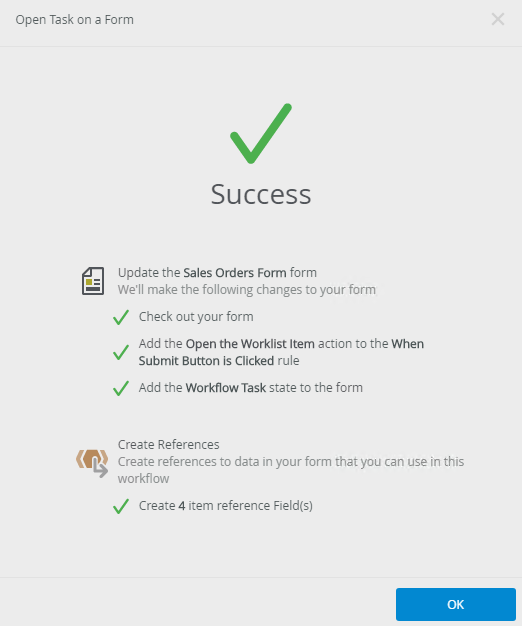
- Changes are made, and then the Success page displays. Click OK.
- Notice the State parameter is populated with the default state.
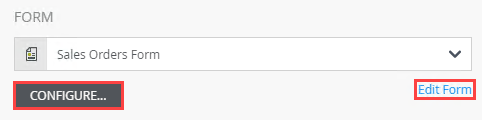
- If you need to edit the form, click the Configure... button to run through the form wizard again. Click the Edit Form link to open the form for editing.
Your changes are automatically saved.
For more information about the different browse states and errors, see the Browse State topic.
For more information on how to use the breadcrumb bar, see the How to use the Breadcrumb topic.
This page inspects the form to determine the data sources. Use this to populate references within the workflow. Any view data source to item reference matches are grouped together.
If no matching data sources are found, any unmatched View Data Sources are set to Create Item Reference. If matching data sources are found, any unmatched View Data Sources are set to Do Not Create Item Reference.
In this example, an Open Worklist Item rule action was not found. The table below explains the available Open Worklist Item options:
Option Explanation Do it for me The K2 Workflow Designer configures the Open Worklist Item rule action for you. This is the default option.
Help me configure it The K2 Workflow Designer adds additional steps to assist you in configuring the Open Worklist Item rule action.
I will do it myself later You will configure the Open Worklist Item rule action at a later time.
If an existing rule action is found, the page shows the current setting of the rule action. If no existing rule action is found, the default settings are as follows:
The following table explains the available options:
What are states and how are they used? A state is a specific format and set of behaviors applied to a form, generally through rules. A form can have multiple states, with each state rendering the same form but with different configurations. Example: A form may have a state called Read-Only and for that state the form controls are disabled and the submit button hidden. The same form may have another state called User Input where the form controls are active and the submit button is displayed. Generally speaking, a new state is created for each task because you potentially have different requirements depending on various tasks that use the same form. The User Input state has all of the form controls active, but perhaps in a Manager Approval state only the Comments control is active. The two most common methods for creating states are from the form's rules page when editing the form and from Task / Form settings configuration discussed here.
The table below explains the available options:
Option Explanation How to Use Form Rules Default rules are added to identify which rule should start the workflow.
Select a rule to execute the workflow from the menu.
Click the Refresh link to refresh available form start rules.
Actions Rule action execution can be customized within the workflow.
Click and drag the open task rule action to the desired location within the rule.
The table below explains the available options:
Option Explanation How to Use Show a Message Select this to show a message after the task is submitted.
Select the radio button.
Type the message into the text box area.
Call a Rule Select this to call another rule after the task is submitted.
Select the radio button.
Select rule from the drop down menu.
Navigate to Select this to navigate to a SmartForm. Select the radio button.
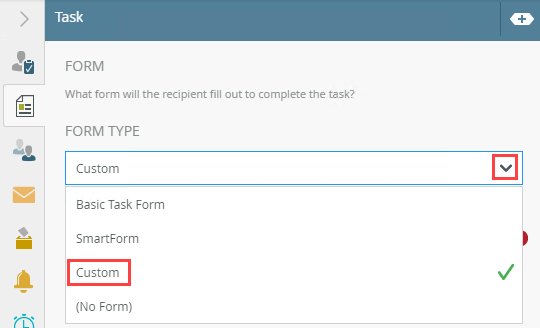
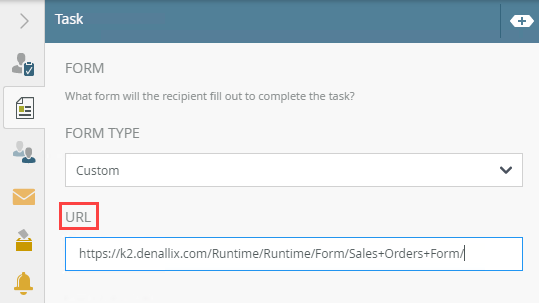
Select the SmartForm from the drop down menu, or click to Browse to a form.Custom- From the Form Type drop down menu, select the Custom option.
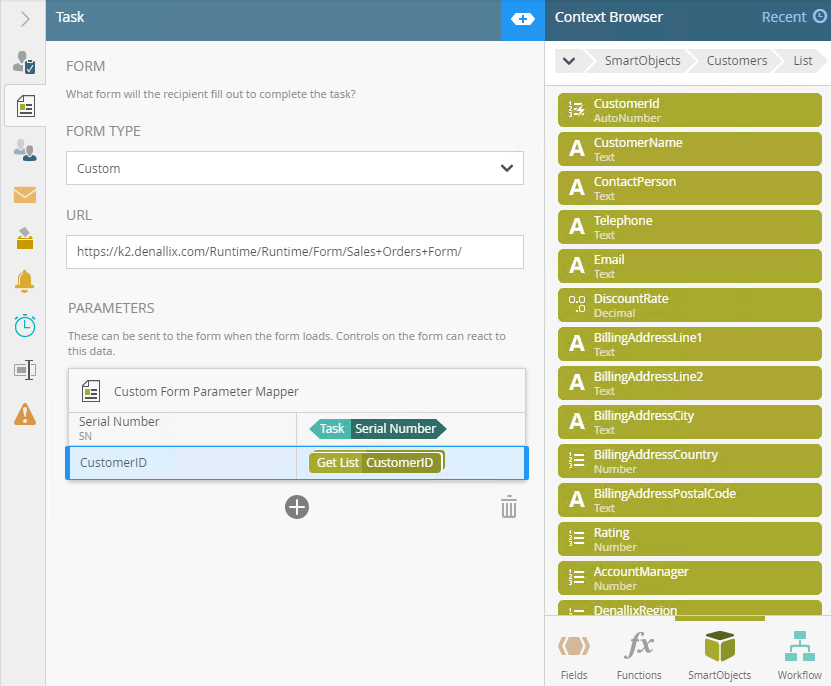
- Type a URL into the field. Use the URL of the custom form. You can drag a reference from the Context Browser into this field if you need to use dynamic values in the URL.
- Use the Add button to add parameters.
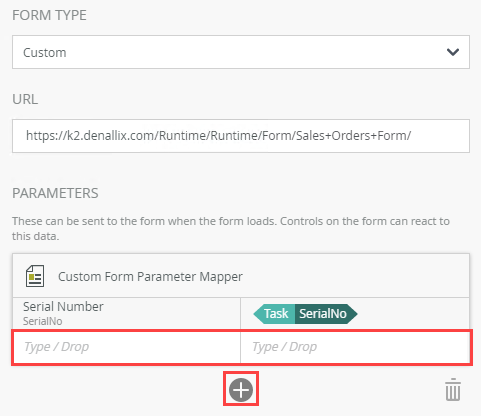
By default, the Task SerialNo field is automatically added for the Serial Number parameter. This serial number uniquely identifies the user task and serial numbers are always bound to a task in a workflow instance. Serial numbers are formatted as follows - "123_456" where the "123" is the workflow instance ID and the "456" is the activity ID. If a workflow has multiple task steps, you could have multiple activity destination IDs, all starting with the same workflow instance ID, such as "123_..."
- Type values or create dynamic values by dragging Functions, Fields, SmartObjects and Workflow-related items from the Context Browser into the fields.
Your changes are automatically saved.
At runtime the form URL looks similar to the following: https://k2/denallix.com/Runtime/Runtime/Form/Sales+Orders+Form/?SerialNo=14_17&_CustomerId=123
For more information on how to use Smartfields, see the Smartfields topic.
- From the Form Type drop down menu, select the Basic Task Form option.
This option is selected by default.
-
Your changes are automatically saved.
The following table explains the options available on this tab:
| Option | Explanation | How to Use |
|---|---|---|
| Form Type |
Use this to specify the form used to complete the task. Select one of the following options: By default, Basic Task Form is selected. You can not edit the Basic Task Form but you can use it to interact with in your workflow. |
Click the Form Type drop down menu and select an option. Select Custom to enable the URL field. Enter the URL of the form into the field. |
| Form |
The Form option is available when you select the SmartForm Type. Use this to select the form the recipient needs to complete. Browse to the form or select from the recently used forms in the drop down menu. |
Click Form and select a form. Click Browse to navigate to the form or select one from the recently used forms. |
| Parameters |
Parameters of the form allow you to specify the task serial number and other information that you've designed the form to handle. Be sure to match the data type of the parameter. Parameter information is sent to the form as it loads and can be used by rules and controls on the form. The standard form parameters include the following parameters, and if your form has other parameters, you will see them in the SmartForm Parameter Mapper once you select the form: Serial Numbers are always bound to a task for a workflow. A Serial number is formatted as follows - "123_456" where the "123" is the workflow instance ID and the "456" is the activity ID. If a workflow has multiple task steps, you could have multiple activity destination IDs, all starting with the same workflow instance ID, e.g. "123_..." When you integrate a workflow with a custom form, a new state can be added. The Basic Task Form only has one state, so it is not necessary to specify one. When you configure a Task with a form, you can change the value you see in the _state parameter field. Note: Different parameters show depending on the form you select. |
Type or click and drag items into the parameter field. |