Create a Workflow from a SharePoint List or Library
When integrating a SharePoint list or library with K2, you can add a workflow at that time or at a later date. To add a workflow to your application when creating it, follow these steps:
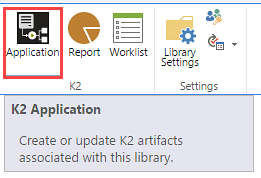
Images in this section might differ, depending on your version of SharePoint. For more information on the recent changes to SharePoint Online user interface (UI), see the SharePoint Online User Interface Changes knowledge base article.- Select the K2 Application icon from the SharePoint ribbon.
- On the Create K2 Application page, select the check box next to Workflow.
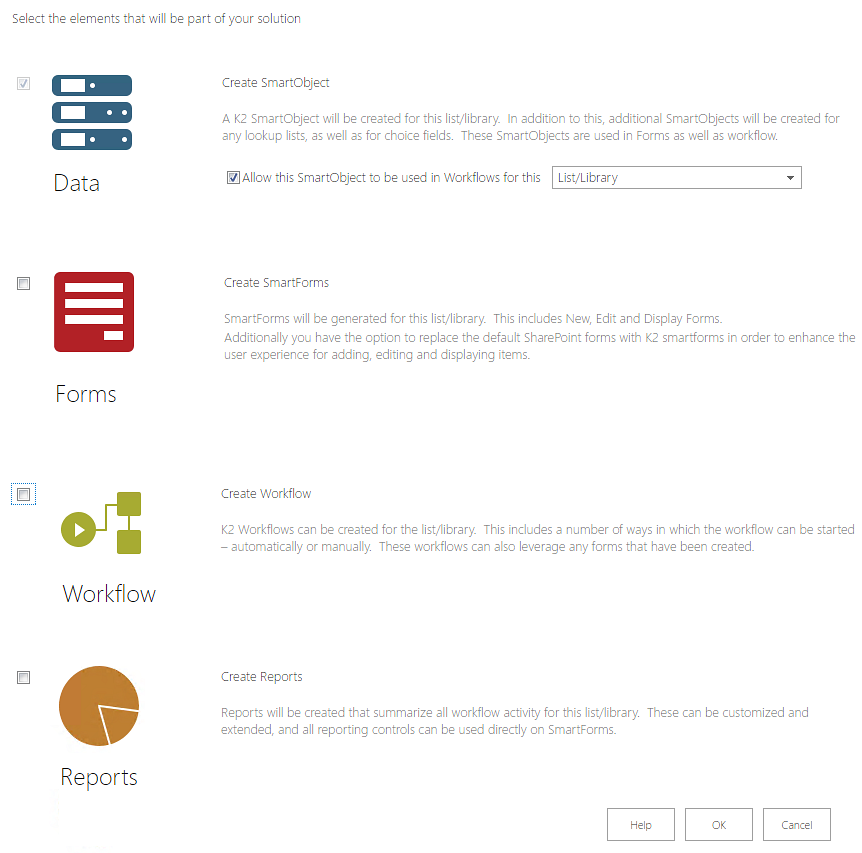
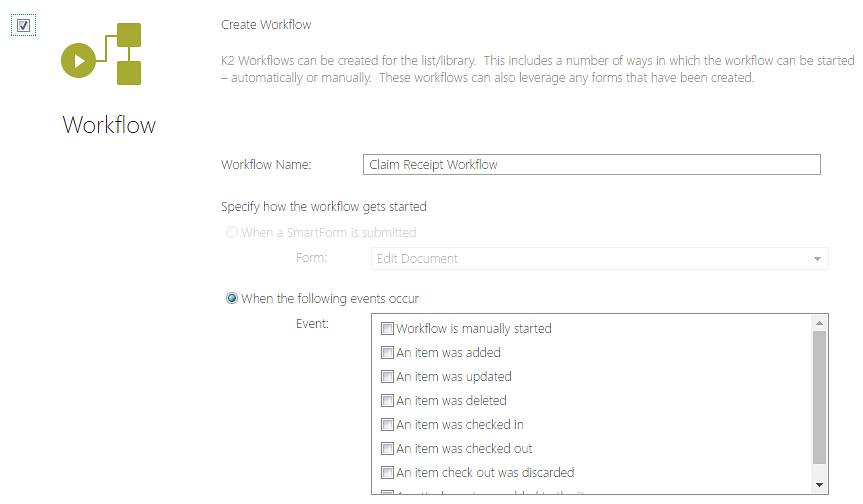
- Provide the configuration for the new workflow, such as the workflow name and how the workflow is to be started.
- Select one of the radio buttons to specify how you want to start your workflow:
- When a SmartForm is submitted: Starts your workflow only when someone completes and submits a SmartForm. This option is only available if you checked Forms in Step 2. Use the drop-down menu to select the form used to start the workflow:
- New...: form displayed when you add a new item to a list (does not apply to libraries)
- Edit....: form displayed when you edit an item in a list or document properties
- Display....: form displayed when you view a single item from a list
- When the following events occur: Starts the workflow after one or more selected SharePoint events occur. Use this option to automatically start a workflow when other applications or people create a new item in the SharePoint list or library. Select events such as adding, updating, or deleting an item.
- If you want people to be able to manually start the workflow, select the Workflow is manually started event.
- Click OK at the bottom of the page.
- The K2 Workflow Designer page displays:
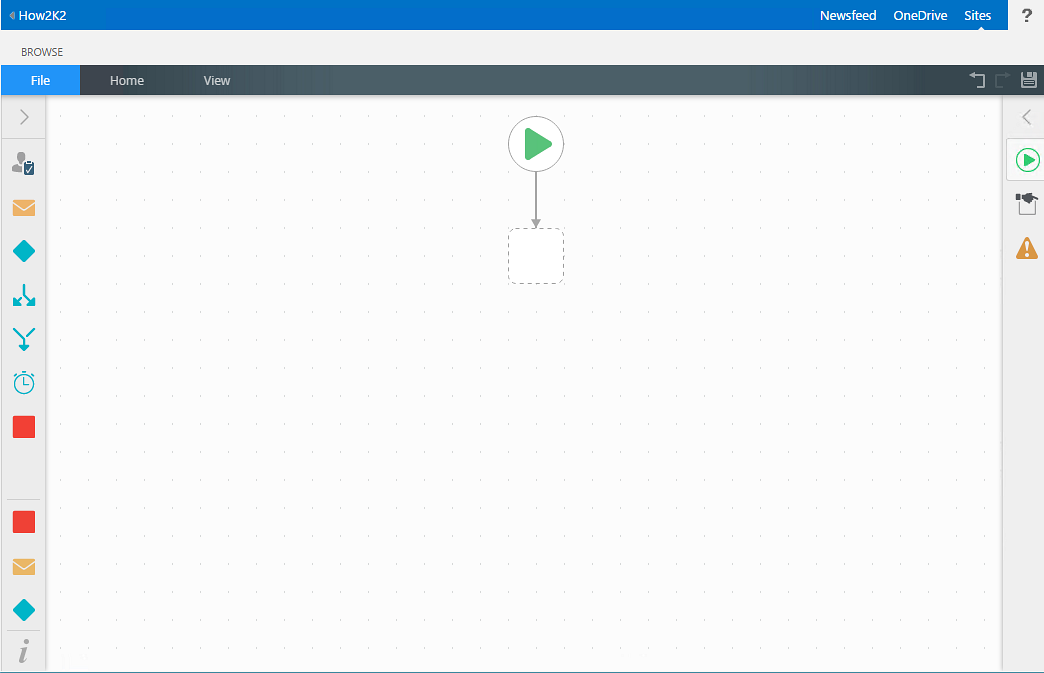
- From this point you can start building your workflow using steps from the Toolbox.
A name is automatically created using the SharePoint list or library name followed by the word Workflow, but you can also rename it to something unique and that doesn't conflict with another, existing workflow.
There may be restrictions in the characters you can use, or the length of the name that you can specify. For more, please see the K2 Knowledge Base article KB002544- Item Naming: Known Restrictions and Limitations
For detailed information on the Toolbox see the Toolbox Overview topic.
Select the Context Browser tab to interact with Context Browser SmartObjects, Context Browser Workflow related fields, Context Browser Functions, and create Context Browser Fields on the fly.
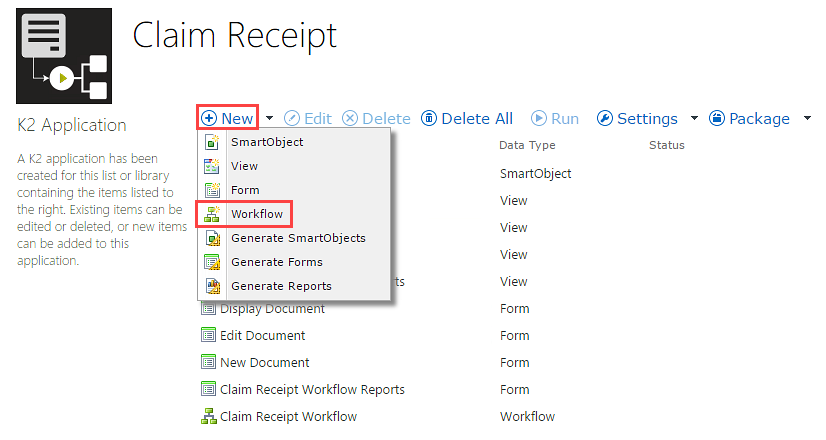
To add a new workflow to an existing K2 Application, click + New at the top of the K2 Application page and select Workflow from the menu, and then follow the steps above.