SmartObject Security
The SmartObject Security node is used to define design-time authorization rules for SmartObjects and controls who may publish (create/update) or delete SmartObject definitions to the K2 environment. This is most often used to prevent certain users or groups from creating or deleting SmartObjects in a particular K2 environment. For example: you may want to allow only members of the Sysadmins group in you organization to publish (create/update) or delete SmartObject definitions in your production K2 environment. Other users will not be able to publish SmartObjects in that environment.

Follow these steps to add permissions:
- Click Add from the SmartObject Security node.

- The Configure SmartObject Administration Permissions page opens.
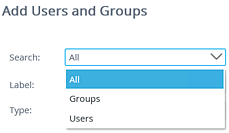
- Click the Search drop-down and select to search for users or groups.

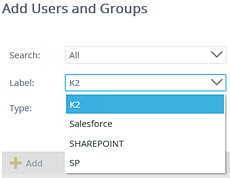
- Click the Label drop-down and select the Security Provider label you want to search on.

- Click the Type drop-down and select the type of search that will be performed.
- Type a value in the text box provided and click Search.

- The matching users or groups will be returned in the first view. Select a user or group and click Add.

- The user or group will now be listed in the second view. You can add multiple users or groups by doing a new search and clicking Add again. Click Next.

- Select the required rights per user or group and click Finish.

| Permission Level | What does it allow the user to do? |
|---|---|
| Publish | Allows the user to publish SmartObject definitions to the current K2 environment. |
| Delete | Allows the user to delete SmartObject definition from the current K2 environment. |
Follow these steps to remove a user or group's permissions:
- Select the user or group by clicking the check box in front of the name.
- Click Remove.

- Click OK on the confirmation message. This will remove the assigned permissions to that user or group as well as remove the user or group from the list.
The Save button is used to save changes made to existing SmartObject Security Permissions. To edit permissions the check boxes can be checked or unchecked per user or group. Click Save to save the permission changes made.