List View Settings
You can specify how you want to style, sort, and filter your List view by configuring the view settings. Click the View Settings icon in the view toolbar to open the View Settings dialog. 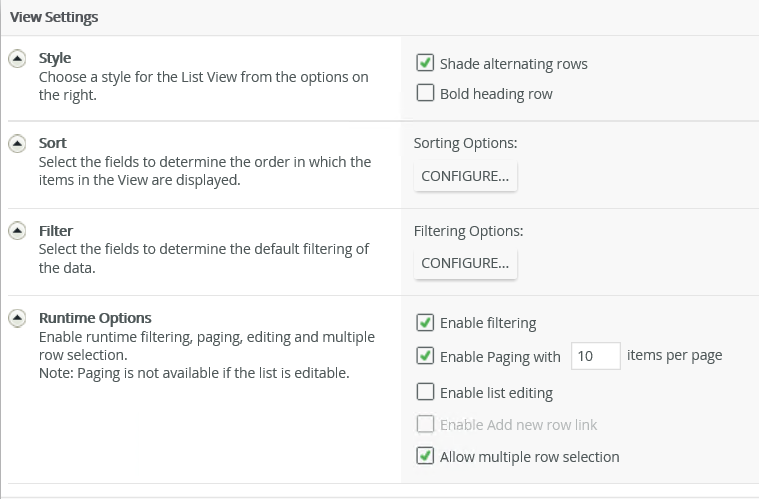
Select the options to customize the look and feel of your list.
| Feature | Description |
|---|---|
| Shade alternating rows | Applies shading to every other row of your list |
| Bold heading row | Makes the first row of the table bold. This is useful when you want the first row to be distinct from the other rows. |
When you click Configure in the Sort section, the Configure Sorting Options page opens. You can select up to two fields
to sort items in the view.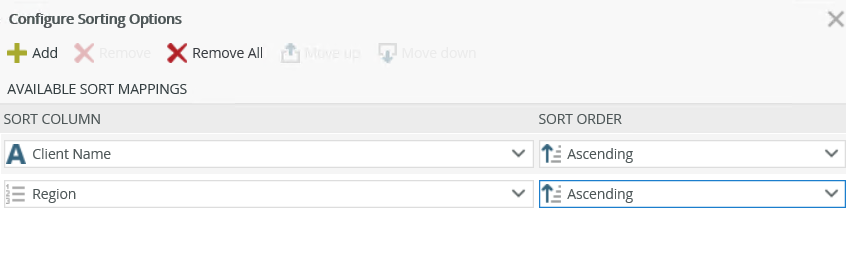
| Feature | Description |
|---|---|
| Add | Adds a new line for you to sort |
| Remove | Removes a sort line |
| Remove All | Removes all sort lines |
| Move Up | Moves a sorting column one position up |
| Move Down | Moves a sorting column one position down |
| Ascending/Descending | Enables sorting a column in a ascending or descending order |
When you click Configure in the Filter section, the Configure Filter Options page opens. You can select up to two fields
to determine
the filtering of the list data. You can type a value or use the Context Browser to drag and drop a value in the Value field.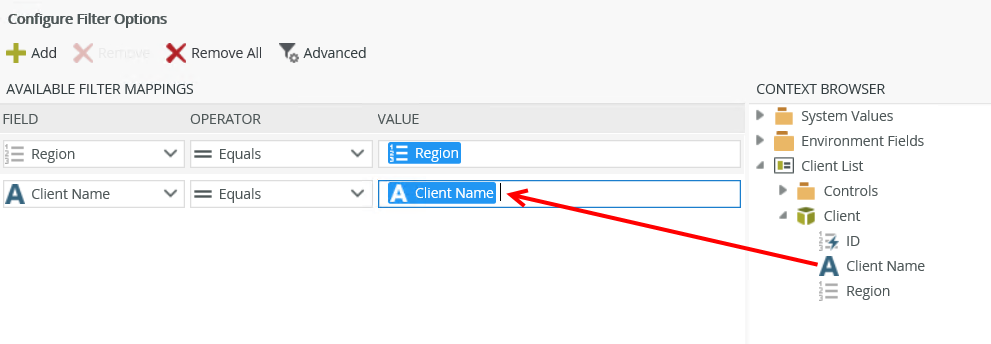
| Feature | Description |
|---|---|
| Add | Adds a new line for you to apply a filter |
| Remove | Removes a filter line |
| Remove All | Removes all the filter lines |
| Advanced | See the Advanced Filter Options section below |
| Field | The SmartObject field to use in the filter |
| Operator | Operator to be used in the filter |
| Value | Value to be used in the filter. Type a value or drag and drop a value from the context browser |
When you click Advanced on the Configure Filter Options page, the Advanced Filter Configuration page opens. You can configure advanced expressions such as the one shown in the image below. When you use fields to filter data, you must match the value on the right side with the data type of the SmartObject field. For example, the region ID of 2 filter matches the data type of the ID field, which is number. The filter would not work if you specified a region name using text or a field containing text.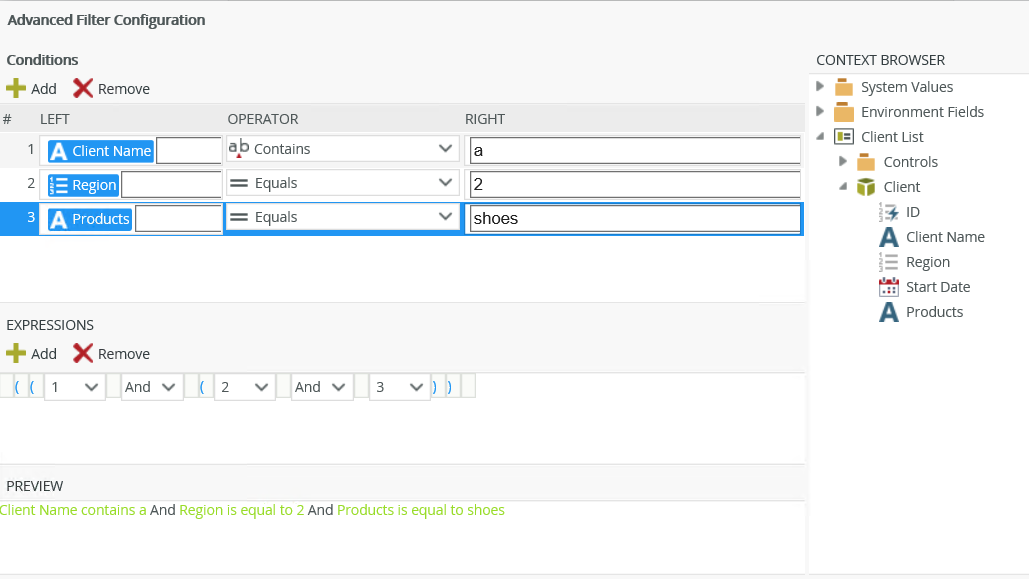
| Feature | Description |
|---|---|
| Conditions |
You can specify conditions containing a value on the left, an operator, and a value on the right. You can type a value or use the context browser to drop a field. As you add conditions, they are listed and given a number on the left. You can use this number to build or edit your expression using the Expressions section. To remove a condition, select the entire condition and click Remove. The following operators are available:
For more information about building expressions see Expression Builder. |
| Expressions | Combines the conditions using logical operators such as And and Or. You can:
|
| Preview | Shows the expression in preview mode |
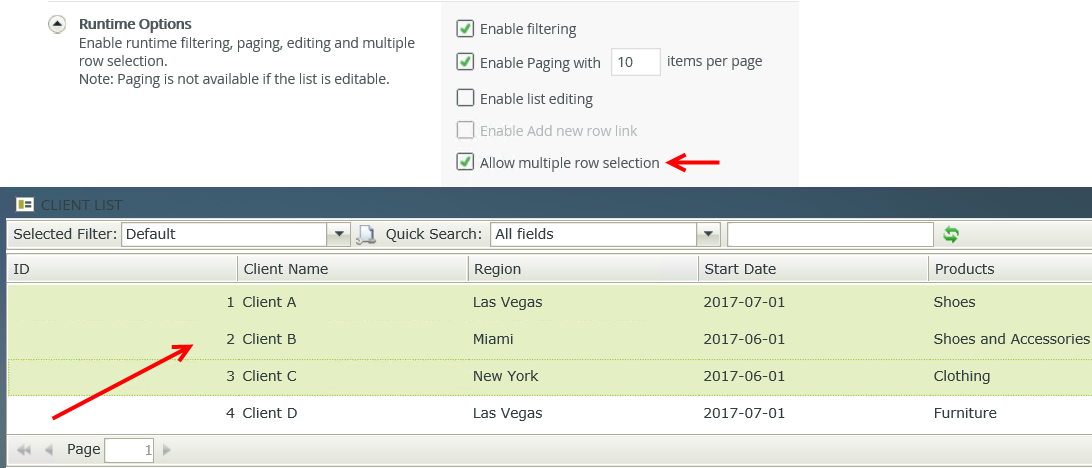
You can enable filtering, paging, list editing, and multiple row selection from this section. When you select to enable filtering, a Quick Search is added to your List view. The All fields item shows all visible
columns on the view or you can select a specific field to filter on. To use the Quick Search, enter search criteria and then click Refresh. All results matching the criteria are displayed. These fields represent the column titles used in the view and display according to the list column
order.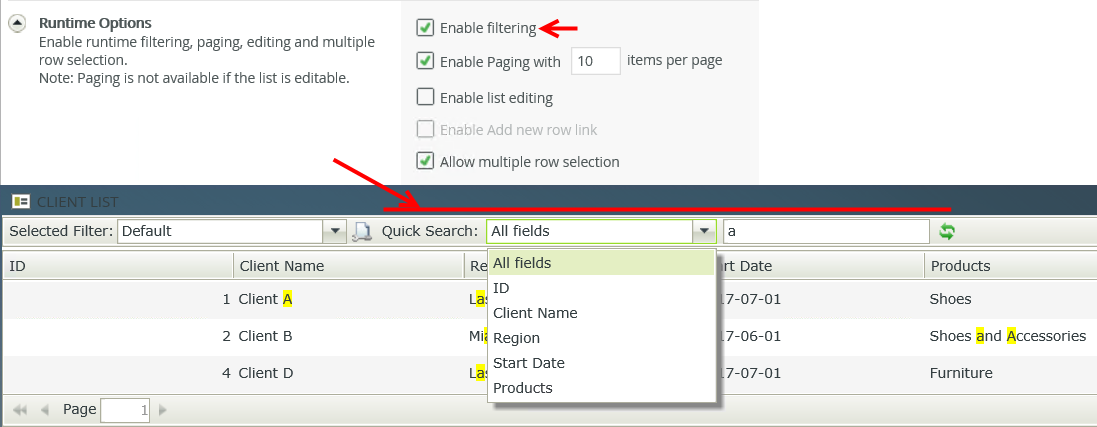
Click the Configure a new filter
icon as shown below to configure your personal filters. The list of columns includes visible and
hidden columns. 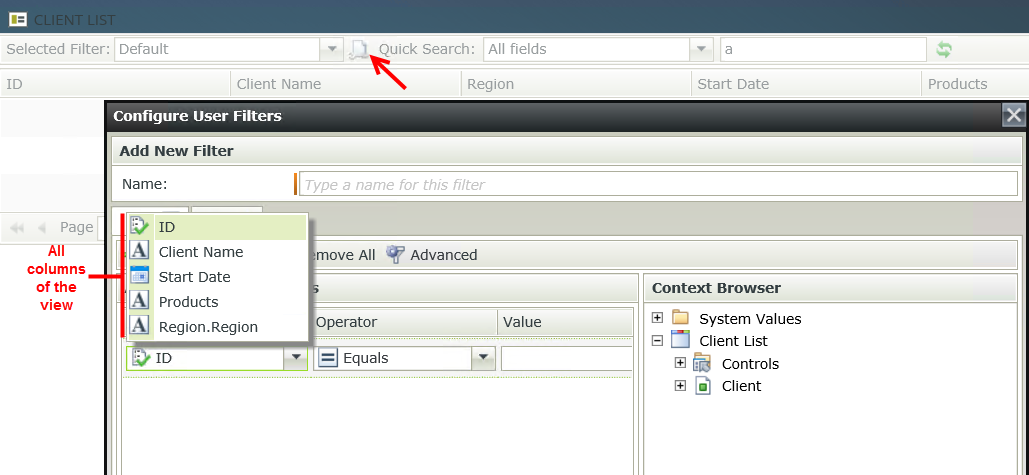
You can set your new filter as the default filter when you browse to this view.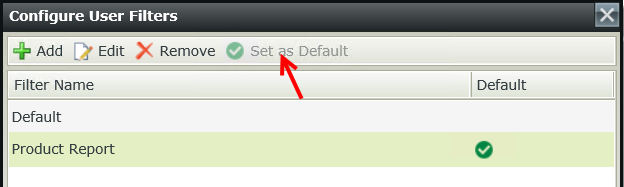
If you expect large volumes of data to return, you can enable paging and specify the amount of records to return per page.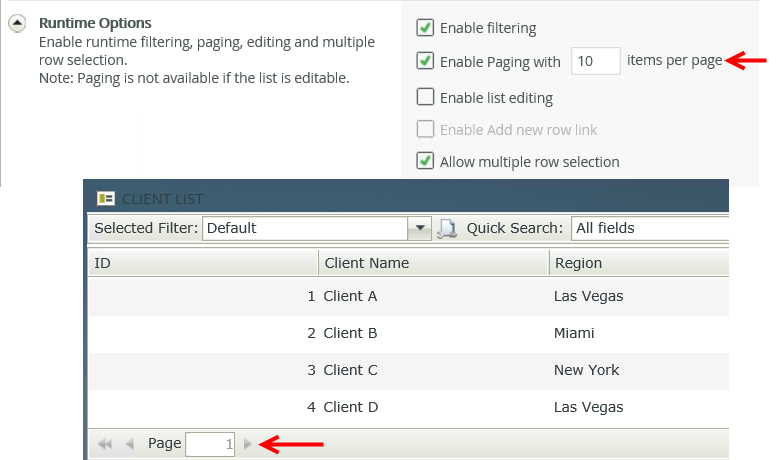
When you disable list editing, you are effectively changing the List view into a read-only view
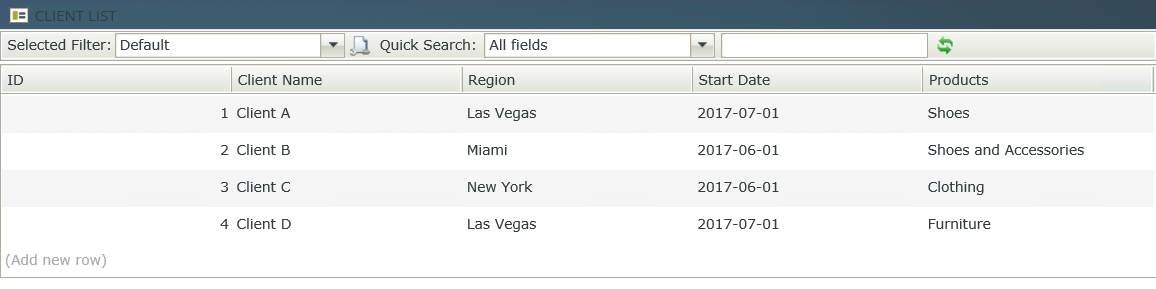
If you enable multiple row selection, you can select more than one row at a time as shown in the example below. You can select contiguous and non-contiguous rows. See the Keyboard Shortcuts section for tips on how to select multiple records.