14. Add a Decision Step to Analyze the Total Amount Due
In this step, you configure the first of two conditional rules. This rule analyzes the Total Amount value. Based on the amount, the workflow determines if the claim requires approval before finance processing. If it does not require approval, the workflow proceeds to the finance processing steps. If it does require approval, the workflow proceeds to the claim approval steps. You configure this conditional rule with a Decision step.
- If the Total Amount value is less than or equal to $100, the claim does not require approval.
- If the Total Amount value exceeds $100, the claim requires approval.
-
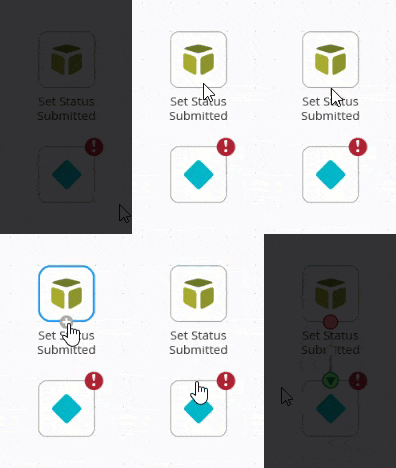
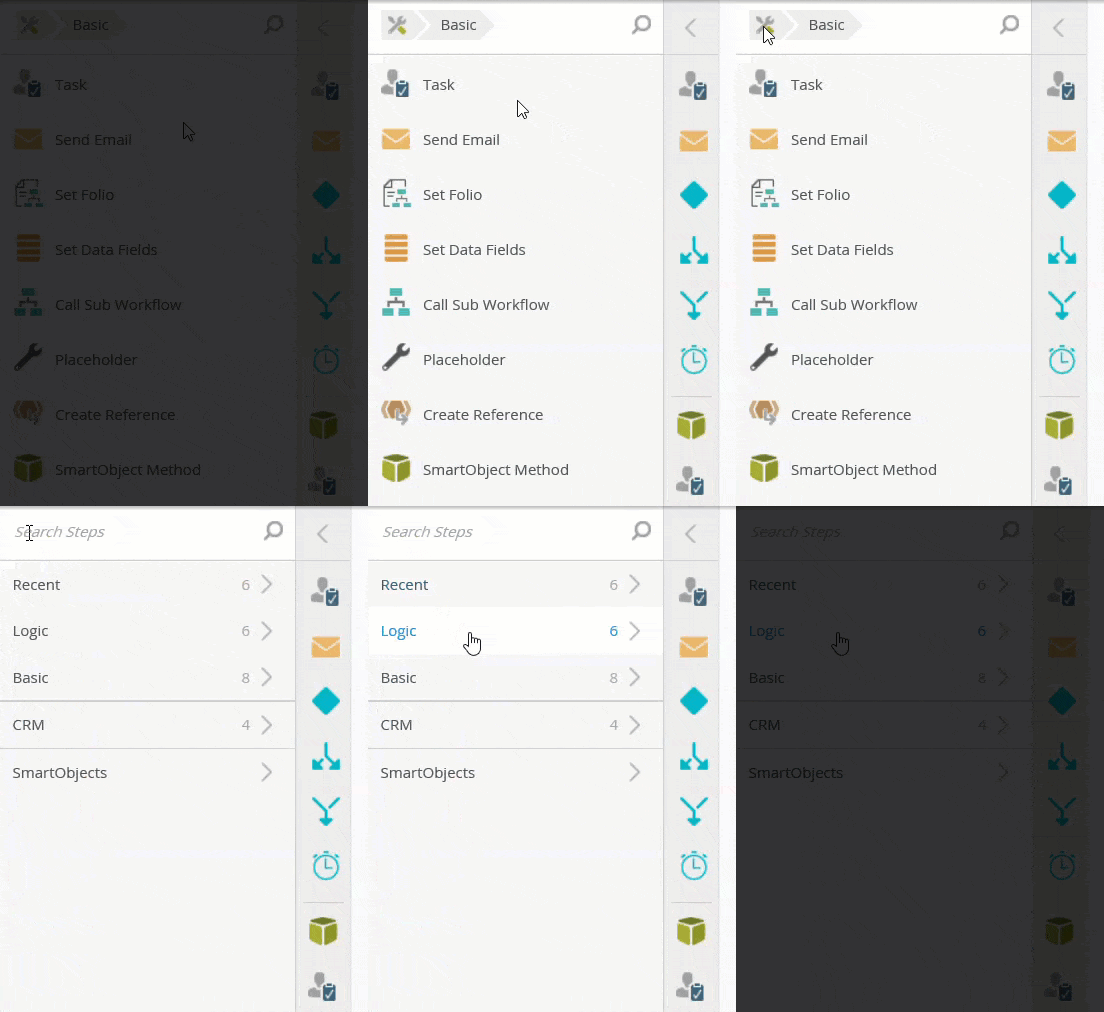
From the Toolbox > Logic menu, add a Decision step below the Set Status Submitted step. Connect the two steps.
- First, add a Decision step to the design canvas, then connect it to the Set Status Submitted step. Expand the Toolbox > Logic node, then drag a Decision step just below the status step.
- Connect the Set Status Submitted step to the Decision step. Hover over the bottom border of the status step until you see a handle, or click the bottom border to expose the handle. Click and drag the handle into the Decision step. Click on the design canvas to set the line.

To return to the Toolbox main menu, click the Toolbox icon in the breadcrumb bar. From here, you can switch Toolbox menus.

-
Next, you configure the conditional rule. In the Configuration Panel, add two Decisions: Claim LTE $100 and Claim GT $100. (LTE stands for less than or equal, and GT stands for greater than.) Edit the custom rule (you may have to scroll down to see this section.) Configure the rule so that it reflects if the Total Amount is less than or equal to 100, then follow the Claim LTE $100 path. Else, follow the Claim GT $100 path. Last, change the name of the step to Analyze Amount Decision, and do not display the label for this step. These settings are on the PROPERTIES screen.

- Select the Decision step, then expand the Configuration Panel. There are two parts to constructing a simple conditional rule in a Decision step. First, you must add at least two decisions. These are the paths the workflow follows based on the conditional criteria. Second, you set up the conditional rule which is an if then, else statement. For example, if the amount is greater than 100, then follow this outcome. Else, follow a different outcome. Of course, conditional statements can become quite complex with many if then, else conditions applied and embedded. This tutorial introduces you to the concept, so the rule is simple.
Under the DECISIONS heading, click the Add (+) icon. Name the decision
Claim LTE $100
then click the Add (+) icon and add another decision named
Claim GT $100
where LTE stands for less than or equal to and GT stands for greater than.
- Now you will configure the conditional rule. In the DECISIONS RULE section, scroll down until you see the Custom Rule option. To scroll down, hover your mouse to the right of the section until you see a scroll bar. Use the scroll bar to expose the Custom Rule option. Click the Edit Decision Rule link.

- The Decision Rule designer opens to the right of the Custom Rule screen. You will need references from the Context Browser, so expand that section as well.You may have some issues viewing all the screens. Change your browser's display percentage to accommodate the different sections. For example, the image below reflects 90% screen size.

- Expand the Expense Claim Header reference (if it is not already). Drag the Total Amount reference into the IF text box.

- Click the equal sign and change it to Less Than or Equal. For the parameter, enter
100
then click the Task Result box for the THEN statement. Select the Claim LTE $100 decision. All configured, you are saying if the Total Amount is less than or equal to 100, then follow the Claim LTE $100 path.
- Click the Task Result box for the ELSE statement. Select the Claim GT $100 decision. Your custom rule should look like the image below. Collapse the Context Browser and Decision Rule screens.

- Before you leave this step, you will change the name of the step, then make sure the label for the design canvas is not displayed. The label may overlap the decisions and could be confusing. Click the PROPERTIES tab. Name the step
Analyze Amount Decision
then confirm the Show Label option is UNCHECKED. Collapse the Configuration Panel.
Your workflow should look like the image below.

- Select the Decision step, then expand the Configuration Panel. There are two parts to constructing a simple conditional rule in a Decision step. First, you must add at least two decisions. These are the paths the workflow follows based on the conditional criteria. Second, you set up the conditional rule which is an if then, else statement. For example, if the amount is greater than 100, then follow this outcome. Else, follow a different outcome. Of course, conditional statements can become quite complex with many if then, else conditions applied and embedded. This tutorial introduces you to the concept, so the rule is simple.
Review
In this step, you added and configured the first of two conditional rules. This rule analyzes the Total Amount value, then directs the workflow down a particular path based on the amount. This demonstrates how you can use Decision steps in your workflow to perform business logic, analyze data, and control the workflow path based on the result.
In the next step, you will add the Claim Approval task steps. The Claim Approval steps come into play if the Total Amount is greater than $100.