Start step
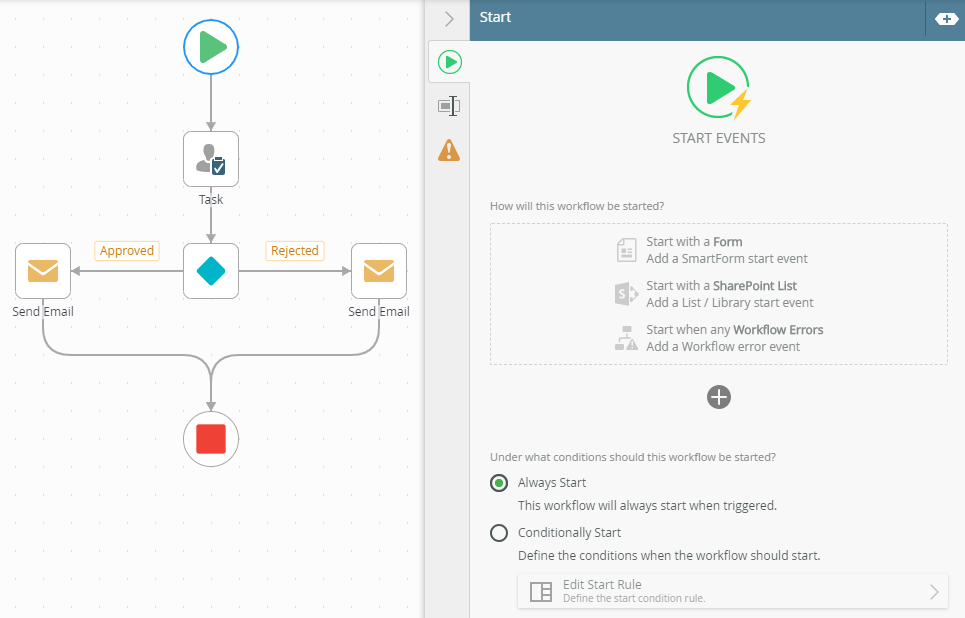
The Start step is automatically added to a workflow and shows where the workflow starts. The Start step contains the logic for the workflow start rule. For more information on different ways to start a workflow, see the Starting a workflow topic.
Example of the Start step in a workflow
See the following resources for more information:
- See How To: Modify a Workflow to Link an Application's Start Rule to a Secondary List or Library for an example of linking an application's Start step to a secondary SharePoint list or library.
- See How To: Using Form States for an example of using custom form states in a Start step and Tasks of a workflow.
- The Start step is automatically added onto the canvas.

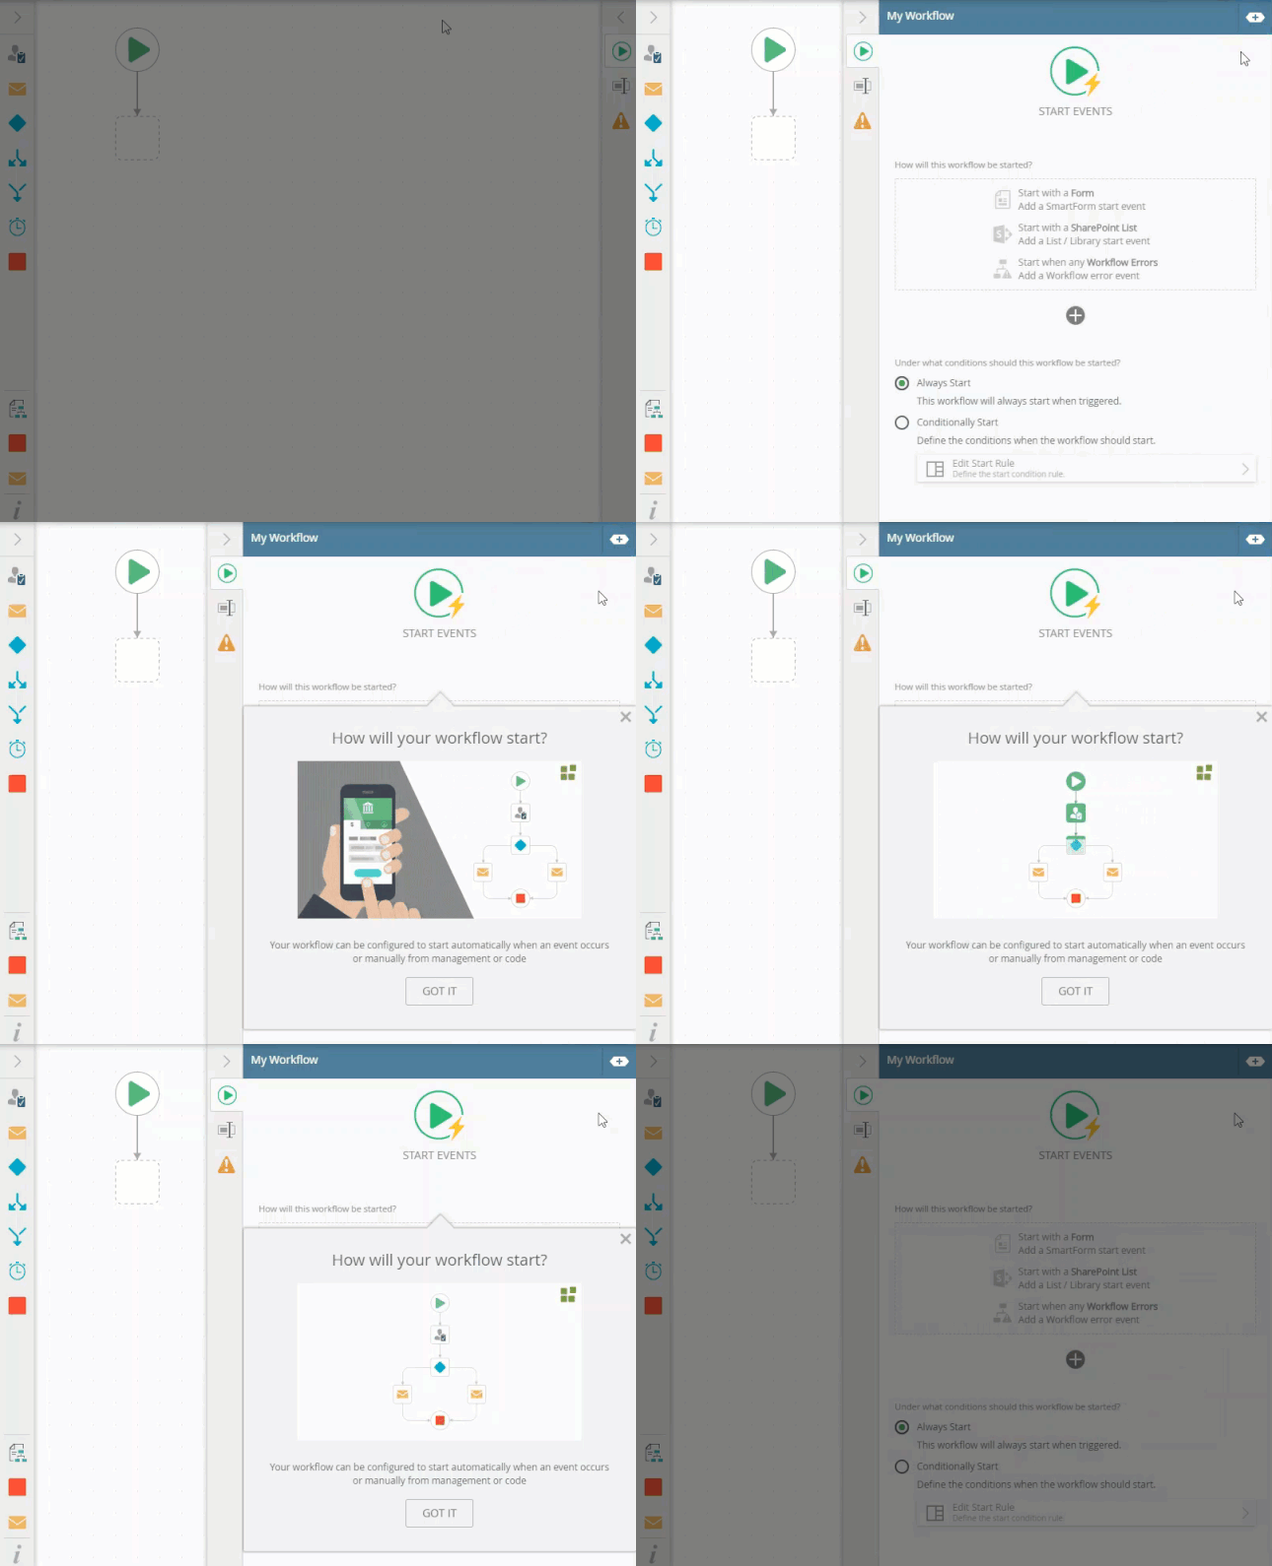
- Select the added step and click the expand / collapse toggle to expand the Configuration Panel. You can also double click the step to expand the panel. The How will your workflow start? tip shows. To close the tip, click X or GOT IT to close it permanently.

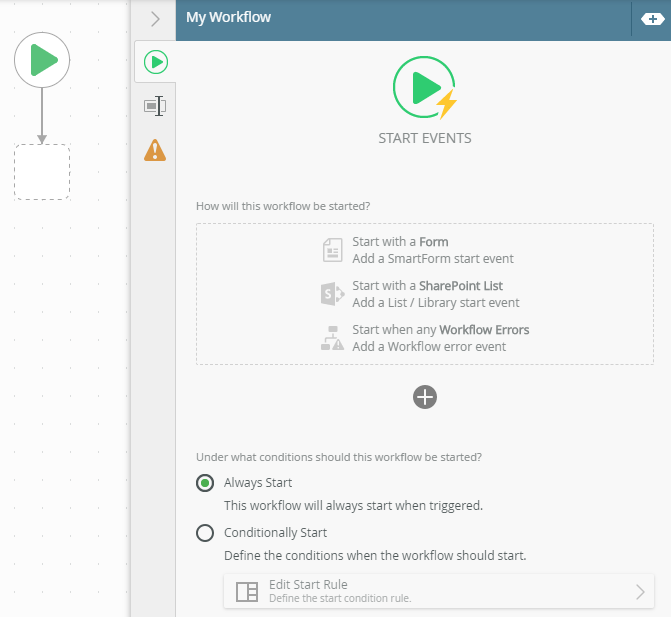
- With the Start step selected, click the Start tab.

- For detailed information on how to start a workflow with a form or with a SharePoint event, see the Start a workflow with a form and the Start a workflow with a SharePoint event topics. For detailed information on how to start a workflow using a workflow error event, see the Start a workflow using a workflow error event topic.
- With the step selected, select the Properties tab.

The following table explains the options available in this section:
Option Explanation How to Use Process Name Use this option to change the workflow name. Enter value into the Process Name field. Description Use this field to add a detailed description for the selected step. This field allows you to add multiple lines of text. Add a value into the Description field. Priority Use this field to select the priority level for the selected step. You can select between Low, Medium, or High priority. Select the value from the Priority menu. - Click the Errors tab.

-
Your changes are automatically saved.
From the Start tab, select how the Start step starts the workflow. The following table explains the available options:
| Option | Explanation | How to Use |
|---|---|---|
| How will this workflow be started? | ||
| Start with a Form | When submitting a form you can configure it to start a workflow. | Click the Start with a Form link. |
| Start with a SharePoint List | Use this option to start the workflow by configuring a SharePoint event. | Click the Start with a SharePoint List link. |
| Start when any Workflow Errors |
Use this to start a new workflow when any workflow in your K2 environment goes into an error state. Typically you would start a workflow designed to handle or notify someone of the errors. For more information, see How to: Use the Workflow Error Event. |
Click the Start when any Workflow Errors link. |
| Under what conditions should this workflow be started? | ||
| Always Start | Select this option to make sure the workflow always starts when triggered. By default, this option is selected. | Select the Always Start radio button. |
| Conditionally Start | Select this option to define a conditional start rule. The workflow does not start unless the conditions of the rule are met. For more information on how to configure the rule, see the Conditional Start Rule topic. | Select the Conditionally Start radio button and click Edit Start Rule to define the rule. |
Different types of exceptions can occur on a step, such as:
| Type | Description |
|---|---|
| Known exceptions | Any SmartWizard or standard wizard that has Boolean options for handling known exceptions have these options displayed as check boxes in the Known exceptions section of the Exceptions tab. |
| Unhandled exceptions | Any unknown runtime exceptions. |
The tab contains the following unhandled exceptions:
| Exception | Explanation |
|---|---|
| Log Exception | Logs the exception to the error log. |
| Force error when required SmartObject inputs are missing | Will forcefully throw an error if a SmartObject method has input missing. |
| Continue on error | Will force the workflow to continue running the SmartObject method, even if it runs into an error. |
When working with the Start step keep in mind the following considerations:
- The start step can only have one outgoing line.
- You can not add an incoming line to the start step.
- The start step cannot be added to a multi-step.
- The start step cannot be made into a multi-step.
- The start step cannot be deleted.
- You can only have one start step per workflow.