Deploy a workflow
K2 application elements like workflows, SmartObjects, and SmartForms must be deployed to a K2 server before they can be used. You can deploy from a design tool, such as the K2 Designer, which deploys the new or updated workflow to a K2 server.
Example of a deployed workflow
- Create the workflow.

- Click the File tab and select the Deploy option.

- The deployment process starts.
You can click HIDE to hide the Deployment Started message.

- Your workflow deploys successfully.
Click can click HIDE link to hide the Deploy Success message.

- To configure the workflow permissions, click the manage permissions... link. This opens K2 Management in a new page where you can set the workflow permissions.

- To return to your workflow, click the File tab.
- To close the workflow, click the File tab and select Close.
- When creating your workflow, when you try to deploy it you may see that the option is not available. Take the following workflow as an example. Notice the red exclamation mark on the Claim Rejected Email step.

- Click the File tab and notice the Deploy option is grayed out and you can't click it.

- You are prevented from deploying your workflow if one or more of the step dependencies are missing or are not configured correctly. Click File to return to your workflow. Notice the error on the Claim Rejected Email step. You can use the Error Console to locate existing errors. In this example, the recipient was not configured.

- Add the missing recipient details to the step and then click File. The Deploy option is now available.

- When you create your workflow and you are ready to deploy, you notice a warning message about infinite loops.

- This message indicates that your workflow contains events that loop back on each other and could cause the workflow to get stuck in a loop at runtime, potentially causing performance degradation on your server. Click File to return to your workflow. Use the Error Console to locate the infinite loop. In this example the loop is on the Send Email step.

- You can either fix the infinite loop by redesigning your workflow or you can deploy the workflow with the loop. It is recommended that you resolve the infinite loop. For more information see Infinite Loop.
- When you create your workflow and you are ready to deploy, you may see a message about missing automatic start events.
This message just informs you that you have not integrated your workflow's Start step to something that starts the workflow, such as a form's submit event. You may safely ignore this message if you deliberately did not associate the start step with anything. For example, if you will only ever start the workflow from the K2 Management site manually, nothing is associated with the Start step, and therefore you can safely ignore this message. Click File to return to your workflow, or click the Show Me button to go to the Start step of the workflow.

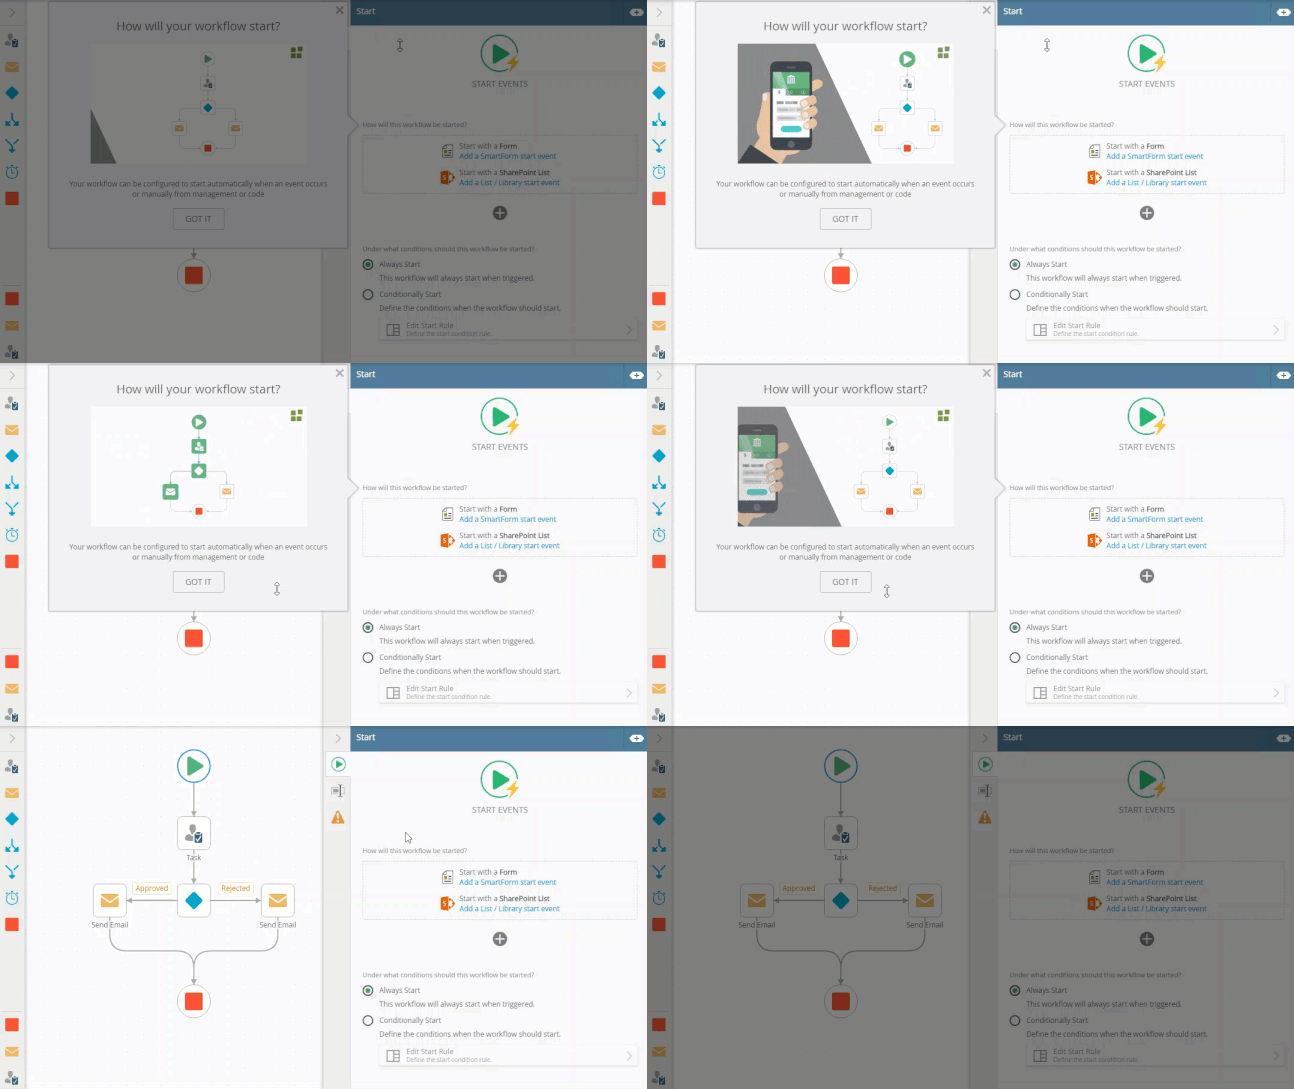
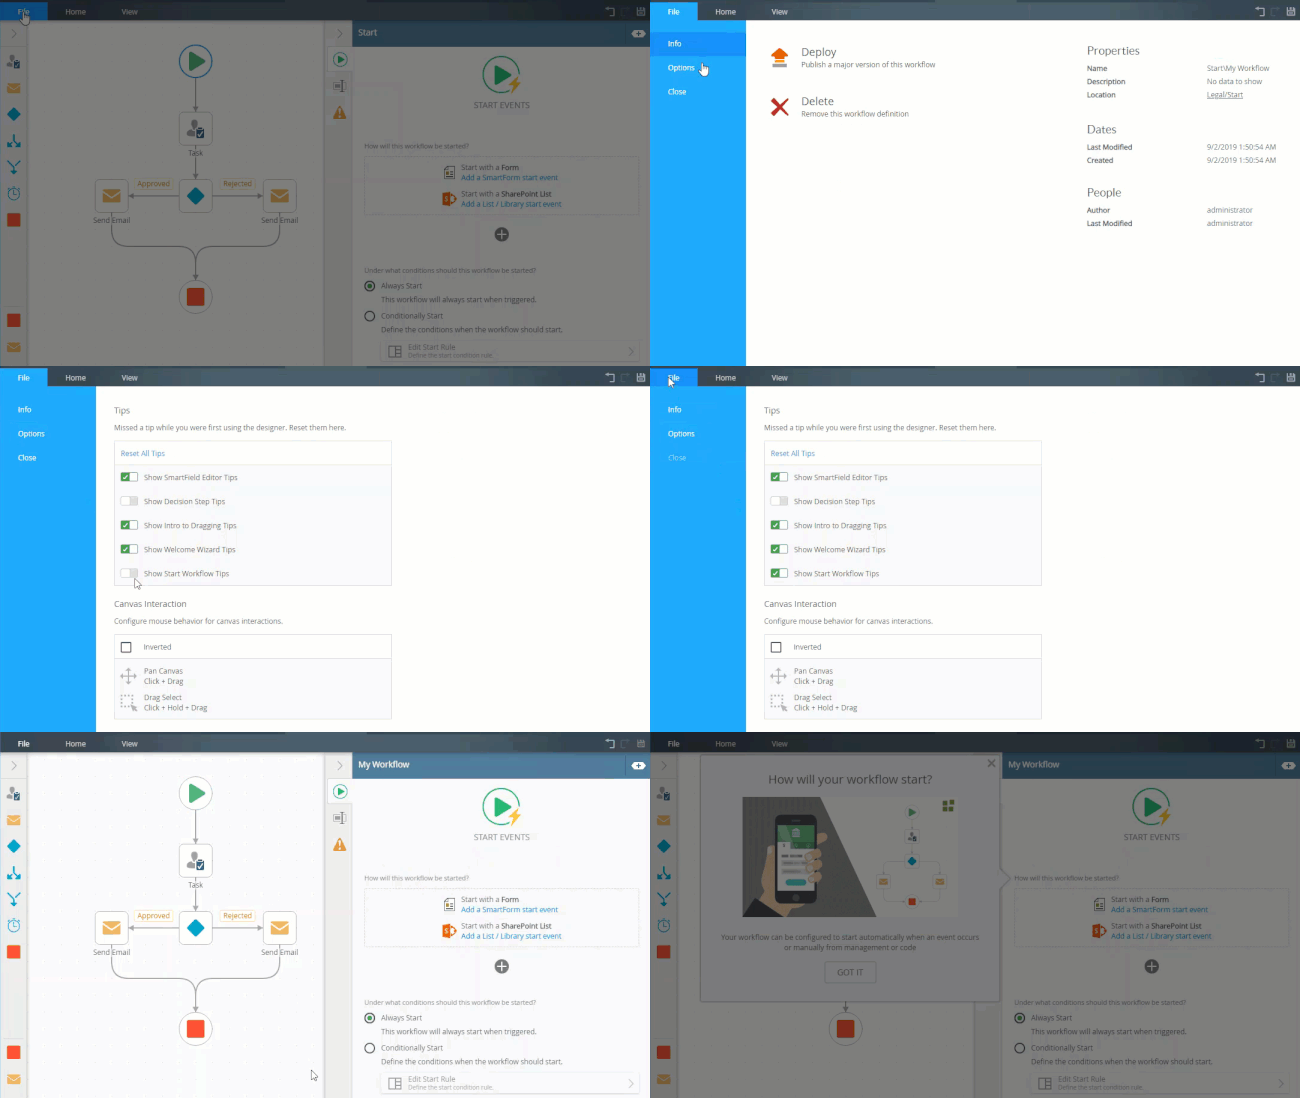
- On the Start tab on the Configuration Panel, the How will your workflow start? tip shows. To close the tip, click X or GOT IT to close it permanently. In this example, click Got It and configure the start integration.

- If you select Got It, the warning message will not show on the deploy page again. The How will your workflow start? message will also not show on the Start step. To enable this again, go to File > Options and enable Show Start Workflow Tips.

When you deploy workflows from K2 for SharePoint or K2 Designer, only the person deploying the workflow is granted Admin rights. Any additional Start / Admin / View rights need to be manually configured in K2 Management. All deployment actions use the K2 Server Service account. However, all calls to the server are validated using the users credentials.
After deploying a workflow, use the manage permissions... link on the Deploy Success toast message to navigate to K2 Management. From here you need to manually configure the workflow rights.

To access the K2 Workflow Designer you need K2 Designer rights in the K2 Management site. This also allows you to create and edit workflows in the designer.
To deploy a workflow you need Export rights on the Workflow Server. For more information and how to grant rights, see the Server rights topic.
You need process rights to start workflows, and view workflow reports.
Process rights are permissions assigned to individuals. As the administrator you can control workflow access with these rights.

Process rights consist of the following:
| Process Rights | Description |
|---|---|
| Admin | Required to view, add, and edit the Process Rights for a workflow and administer active workflow instances. |
| Start | People with Start rights can start workflow instances assigned to them. |
| View | People with View rights can view reports for all instances of a workflow. |
| View Participate | People with View Participate rights can view reports on only on those workflow instances where they are the originator (submitted the original form), or where they actioned a task. |
| Server Event | This is a special type of permission used for asynchronous server tasks, where an external system completes a server event such as a Send Email step. |
For more information on managing workflow rights and roles see the Manage Workflow Rights and Manage Roles sections within the Workflows topic.