Rights
The Process Rights section is used to set rights and security for individual processes, to determine who may administer, start or report on instances of that process.

You normally have to assign security rights for workflows designed in the legacy K2 Studio or K2 for Visual Studio the first time the workflow is deployed to a new environment. (K2 Designer for SharePoint and K2 Designer gathers permission settings from the user when the process is designed, but these permissions can be subsequently modified with the Process Rights screen.). Permissions for subsequent deployments of the process do not need to be set, unless you want to modify permissions for each deployment manually. By default, K2 grants the deploying user account Admin rights to the process.
Users do not require any particular permission to complete worklist items assigned to them. The fact that the task is assigned to the user implies that the user has permission to complete the task. Therefore, it is not necessary to give any permission to a user who may receive a task somewhere in the workflow and who does not need to start the workflow or report on the workflow.
K2 Security generally follows a permissive-optimistic approach. This means that the higher level of permission takes precedence, so if a user had both “Admin” and “Start” permission on a process through different groups, the Admin permission takes precedence and the user will be able to administer the workflow as well as start the workflow. Also, workflow permissions are not version-specific: any rights defined for a workflow will apply to all versions of that workflow.
The following steps describe how to add rights for a user or group to a workflow:
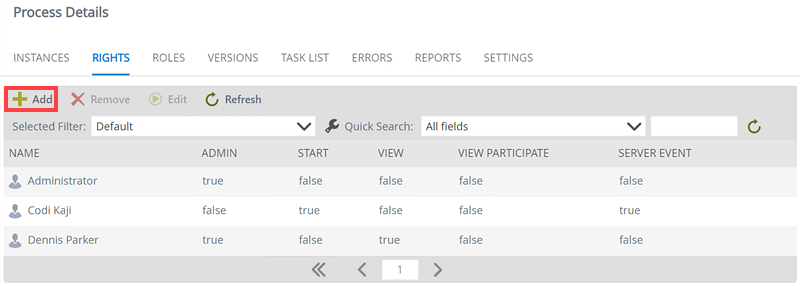
- On the Process Details page, click the Rights tab.
- Click Add from the toolbar.
- The Workflow Rights - Add Users and Groups page opens.
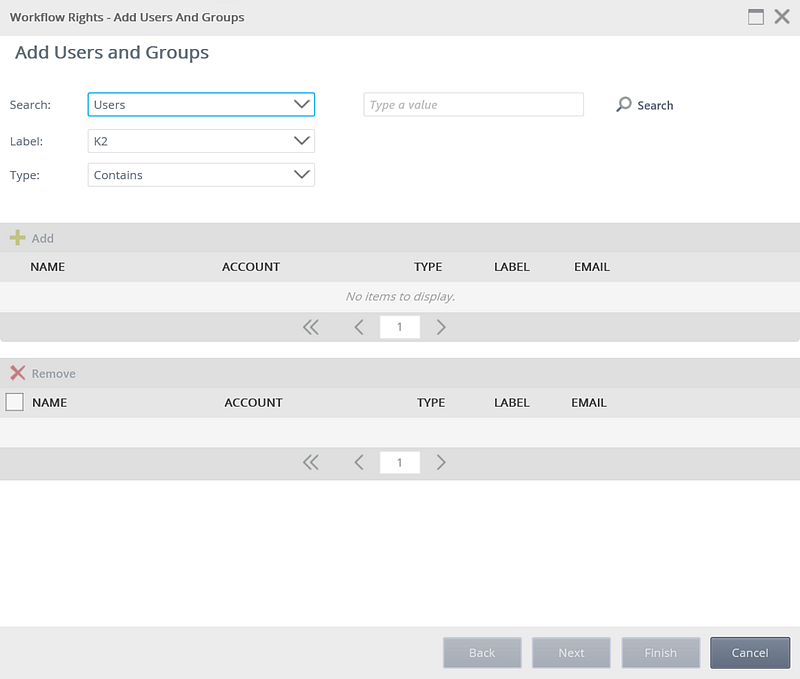
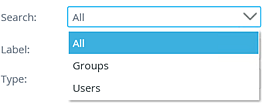
- Click the Search drop-down and select to search for users or groups.
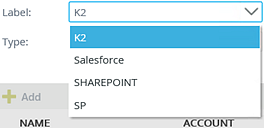
- Click the Label drop-down and select the Security Provider label you want to search on.
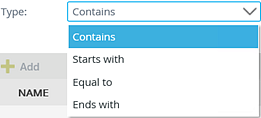
- Click the Type drop-down and select the type of search that will be performed.
- Type a value in the text box provided and click Search.

- The matching users or groups will be returned in the top list. Select a user or group and click Add.

- The added user or group will be added to the bottom list. You can add additional users or groups by doing a new search and clicking Add again, for each of the users and groups you wish to configure rights for..
- Click Next.

- Select the required rights per user or group, using the table below for more information on what the rights allow

- Click Finish.The users or groups will be listed in the Rights tab of the Process Details page.

Use the Remove button to remove the assigned rights for a user or group from the workflow. Follow these steps to remove rights:
- Select the user or group you want to remove from the Rights tab.
- Click Remove.

- The user or group is removed from the list in the Manage Workflow Rights page and will no longer have any rights on the workflow.
The Save button is used to save any rights changes made. Follow these steps to edit and save rights:
- Double-click the user or group you want to make changes for, The Workflow Rights - Add Users and Groups page opens.

- Check or uncheck the check boxes to edit the user or group rights as needed.
- Click Finish to apply the changes.
Click the Refresh button to refresh the list of users and/or groups.