Roles
Use the Roles node to create, edit, delete or save K2 Roles. Roles are essentially groups defined in K2, and are most often used for assigning tasks or setting security in K2. For example, perhaps it is not possible to define groups in Active Directory (AD) for workflow task allocation, because the AD administrators are unwilling to define groups used only by applications. Or perhaps you to create a group that contains users authenticated through different authentication mechanisms, in which case you cannot define the group in AD.
As an administrator, you define roles using the K2 Management site and they are stored on your K2 server. You can modify the Role membership without needing to modify the design of workflows or authorization rules that use those roles. Roles can contain one or more users and groups, from multiple user managers.
For more information on using Roles in workflows, see the Recipients topic. For more information on using Roles for security, see Role Authorization and Authorization Overview.
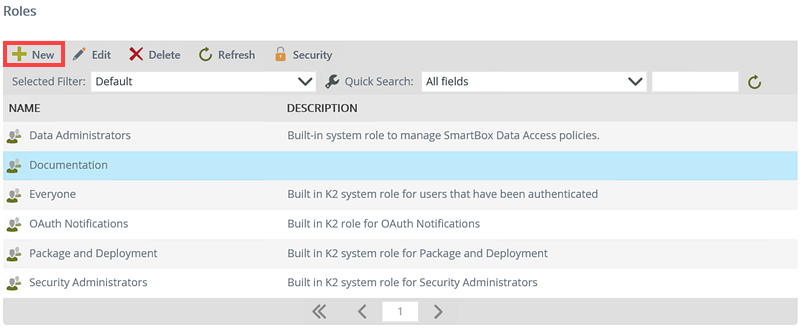
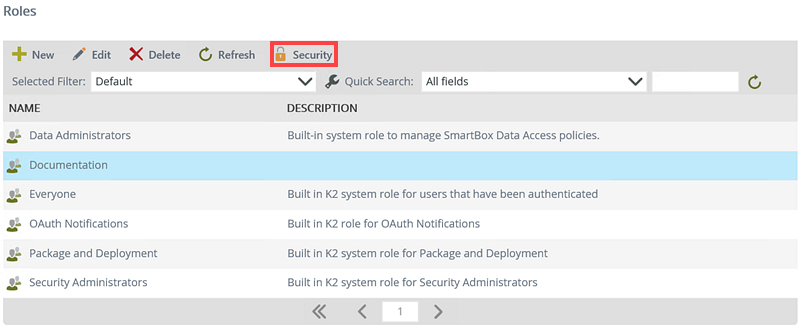
The Roles screen

- See How To: Exclude a Previous Approver from a Task for an example of using a role to exclude a previous approver from a workflow Task.
Follow these steps to add Roles:
- Click New from the Roles view.
- The Add Role view opens.

Use the table below as a guideline for the configuration:
- Specify Role Security if required.
Follow these steps to edit a Role:
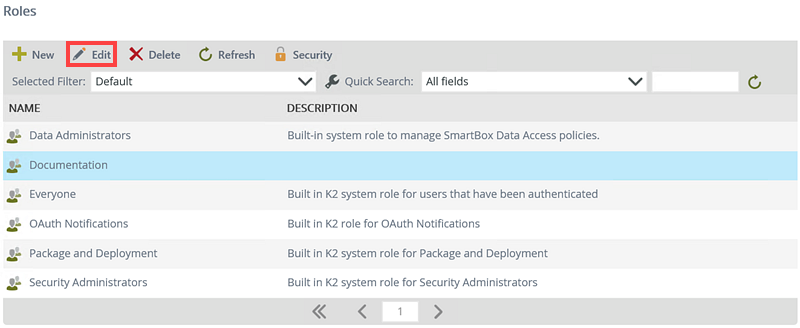
- Select the Role you want to edit.
- The Edit button becomes available. Click Edit.
- The Edit Role view opens.
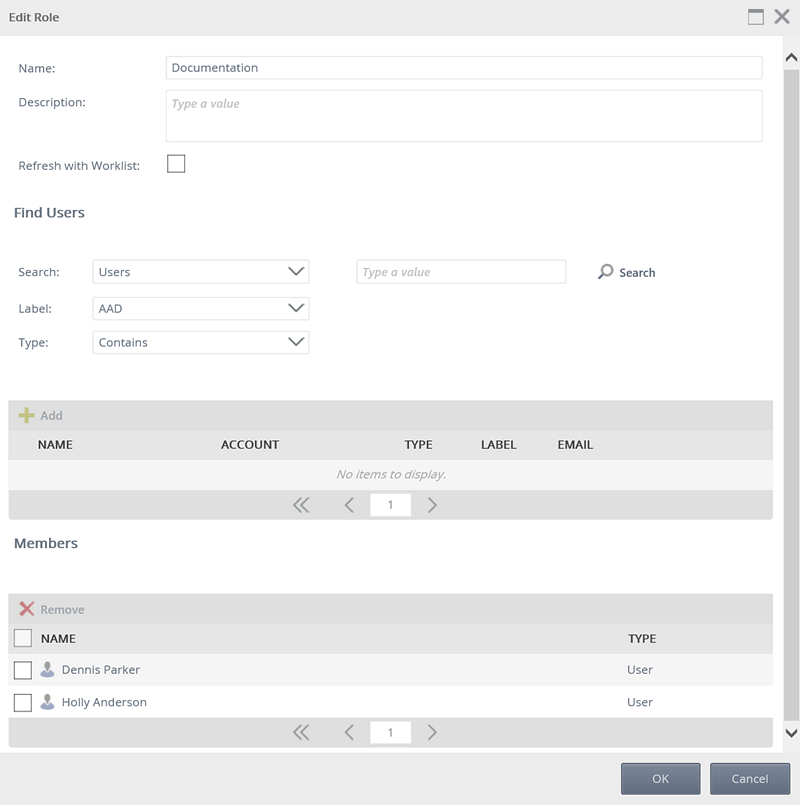
- Edit the information as required. Use the table provided in the Adding Roles section as a guideline.
- Click OK to save the changes.
Follow these steps to delete a Role:
- Select the Role you want to delete using the check box in front of the Role. You can select multiple Roles to delete.
- The Delete button becomes available. Click Delete.
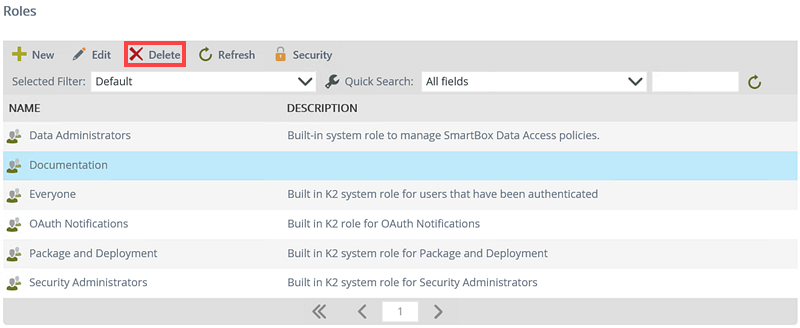
- Click OK on the confirmation message.
You can create custom filters to find specific roles by using values in the context browser together with operators, create a filter that sorts the list of roles by ascending or descending order and search for a role either by Name or Description.
When searching a role the value you enter could either be the full value of the field or a partial match value. Using a partial value will return all items containing the value in the name of the field. For example, entering Dep will return all roles containing the letters dep such as Department A, Department B, Finance Department etc. For more information see Searching and Filtering List Views.
Role Authorization allows you specify rights to users and groups within your custom role via the Security tab. These rights allow users or groups to modify and delete and apply security to the membership of the custom role. For more information see the Authorization Overview topic.
| Role Rights | Description |
|---|---|
| Modify | Allows you to modify the role. |
| Delete | Allows you to delete the role. |
| Security | As the creator of Roles you can assign Security rights to Roles, which allows others the manage the object's security, including assigning Modify, Delete and Security rights. |
Follow these steps to add role authorization to a Role:
- Select a custom role and click Security.
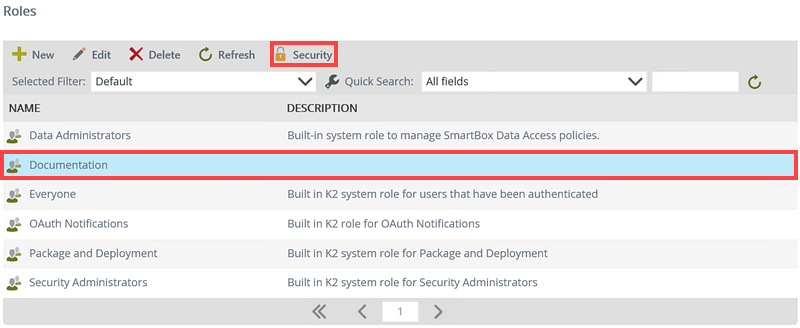
- On the Security page, add a user or group by clicking the Add button.

- On the Add Users, Groups, And Roles page search and add a user or group. Click OK.

- Specify the user or group's Modify, Delete and Security rights. Three options are available: Allow, Deny and None.

- Add more users and groups to the Security page if required. Click Close.
When specifying users and groups for role authorization, the Everyone role is added by default, providing all authenticated users in your organization, the ability to modify and delete the role membership. Best practice would be to remove the Everyone role from the role authorization (By clicking the Break Inheritance button, select everyone role and clicking the Trash Can icon) and add users and groups according to your organizations requirement.
Follow these steps to edit role authorization in a Role:
- Select a custom role and click Security.
- On the Security page, add a new user or group or edit existing rights.

- Click Close.
Follow these steps to remove authorization in the Role:
- Select a custom role and click Security.
- Select a required user or group and click Remove.

- Click Close.
- If you are a member of the Data Administrators role you have full access to all data, irrespective of the settings in SmartBox Data Access policies.
- There must always be at least one user in a role
- A role can only contain users and groups
- You cannot remove yourself from a role for security reasons; another user with sufficient rights on the role or an administrator can remove you from a role
- When you delete a role in K2 Management, K2 removes the role from the Roles list, but behind the scenes the role is marked as disabled and is still refreshed and cached by the K2 system. This is by design to prevent workflow instances that use the role from entering an error state
- K2 runs a refresh every ten minutes and updates and applies changes to your roles, whether you have renamed, removed, or updated role memberships
- If you delete a role (remember that the role is disabled behind the scenes), and you then create a new role with the same name, K2 uses the disabled/deleted role until the role cache refreshes, and then K2 starts using the new role. K2 recommends that you use unique names for your roles to avoid this potential confusion
- If users within the new role are different to role membership of the deleted role, and the role is used in running workflow instances, tasks are sent to the members of the deleted role until K2 refreshes the role. After the refresh, the role membership updates and tasks sent to the users in the new role. If any user in the deleted role opens a task before the refresh occurs, the task is allocated to them and they must release the task to make it available to the correct users