Create and Submit Envelopes
To begin creating an envelope for submission, an admin will need to have set up a template mapping and associate that template mapping with an entity in the Dynamics CRM instance.
Select the entity and open the record to which you will like to submit the envelope for signing. Click on the sign button at the top bar.
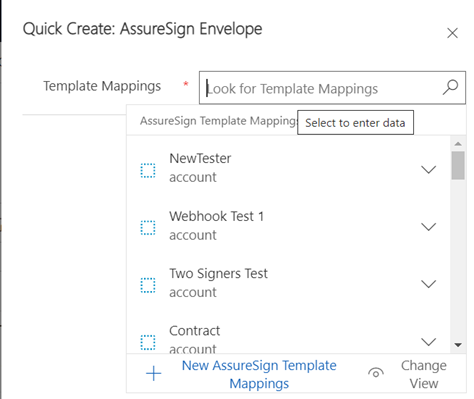
A quick create pop up box will display. Select the template mapping from the search box and click Save and Close.

If submit envelope automatically was enabled on template mapping, the envelope will be submitted for signing after clicking the save and close button in the quick create window.
After clicking save and close you will be redirected to the envelope detail page. Make sure that all required Sender Inputs are filled in and validated. The validate envelope button in the top bar help you validate all field meets the requirement set on the template mapping.
After validation, you can then submit the envelope for signing.