How To: Add Validation to a SmartForm
Validation patterns are regular expressions which can be configured on certain controls in the View Designer such as the Text Box control to enforce validation when data is captured at runtime.
These validation patterns will however not be executed unless this condition has been added to a rule in the View Designer. The condition needs to be configured in order to specify the controls on which validation will be executed. The validation will only be executed at runtime when this rule is called.
To better explain this we have created an example where a validation is added to a control to only accept positive decimals.
In order to achieve what is required above, we have followed the next steps:
In the SmartObject Designer do the following:
- Create a new SmartObject
- Provide a Name for the SmartObject, select which category to store it under and the type of SmartObject and click Next
- Add a new property of type Decimal
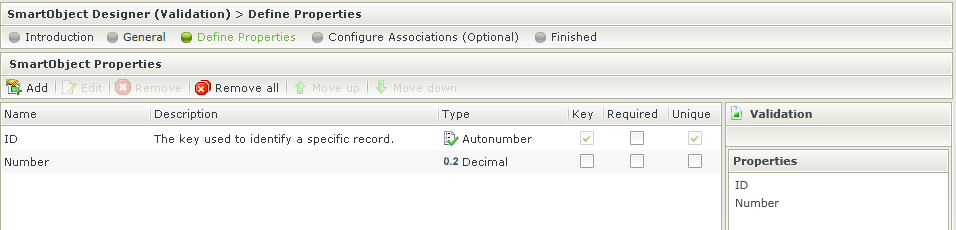
- Click Finish to save the SmartObject
- Click Generate a View on the Finish screen of the SmartObject Designer
- Generate an Item View using the SmartObject
- Edit the above created View
In the View Designer do the following:
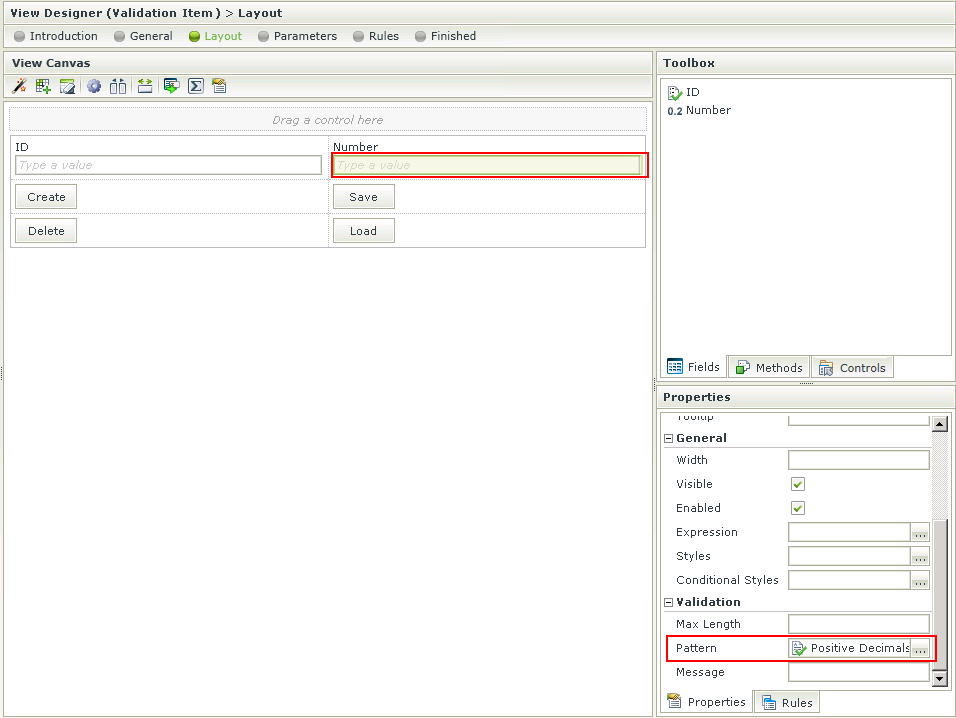
- Navigate to the Layout step
- Select the [Textbox] control that was generated for the [Decimal] property
- Click on the ellipsis button, on the Pattern property
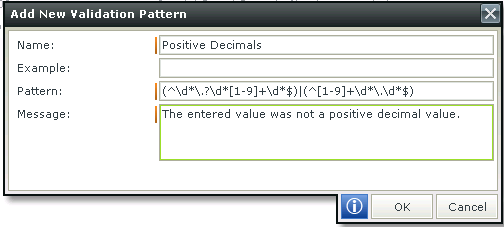
- Add a new Pattern as follows:
Name: Positive Decimals
Pattern: (^\d*\.?\d*[1-9]+\d*$)|(^[1-9]+\d*\.\d*$)
Message: The entered value was not a positive decimal value.
- Save the Pattern by clicking OK and apply it to the [Textbox] by selecting it and clicking OK again
- Click Finish to save the View
Run the View and execute the CREATE method against a value that is expected to fail (a negative decimal value). Note that nothing is preventing the CREATE from being executed, but the message is displayed when hovering over the control. This is the expected behavior as we still have to configure the condition on the rule of the View.
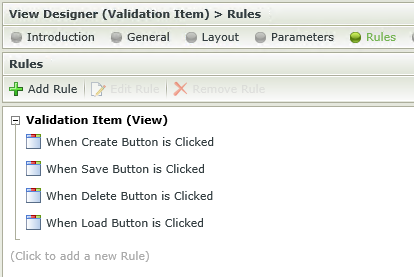
Edit the above created View and navigate to the Rule step. On the Rule step do the following:
- Select the default CREATE method Rule, and select Edit Rule
- Continue to the Conditions step
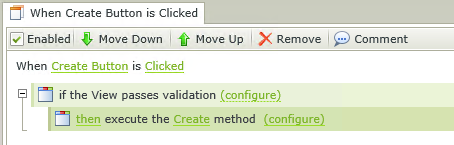
- Add the The View passes validation Condition
Please note that the execute CREATE method action should be part of the validation IF statement. If it's two statements the design time validation will not pass and will prevent you from completing the Rules Wizard. In order to make it one statement, move the action so it forms part of the IF statement and then delete the remaining action if necessary.
- Click on the (configure) link of the Condition
- Check the validate checkbox of the [Textbox] control and Show validation messages in a popup dialog checkbox at the bottom of the screen
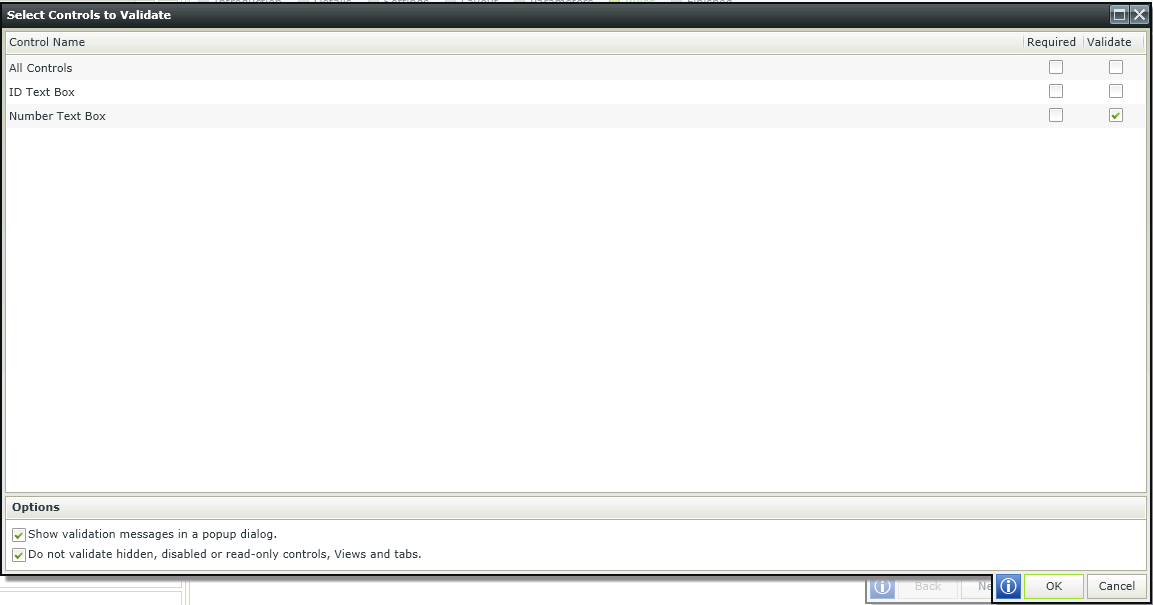
- Save the configuration by clicking OK
- Save the Rule by clicking OK
- Click Finish to save the View
Now run the View again and use incorrect data. Note that the validation is applied, a message is displayed to inform the user of the validation that failed and the CREATE method is not executed.