How To: Add Lookup Information to a SmartForm
In the following scenario, we are using a Region SmartObject Lookup on a Customer View. The user can click on the Region field on the Customer View and the Regions will be listed. The user is able to select the Region to which the Customer belong. The Customer View is then populated with the selection.
Follow the steps below to set up the Customer View with Region SmartObject Lookup.
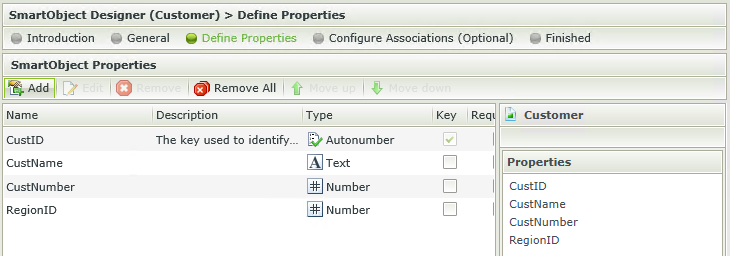
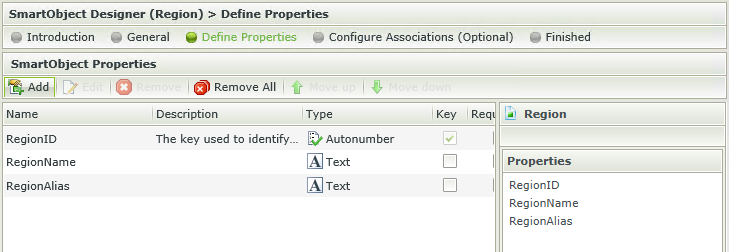
- We've created the following SmartObjects for the purpose of this exercise:
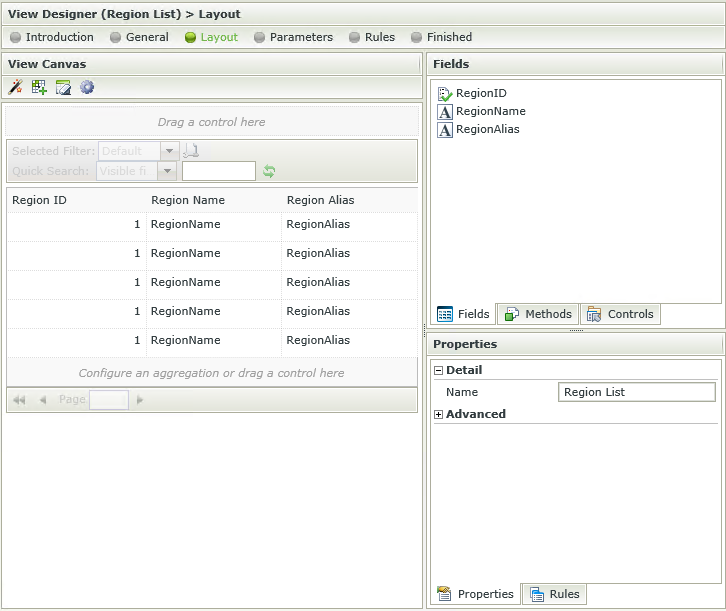
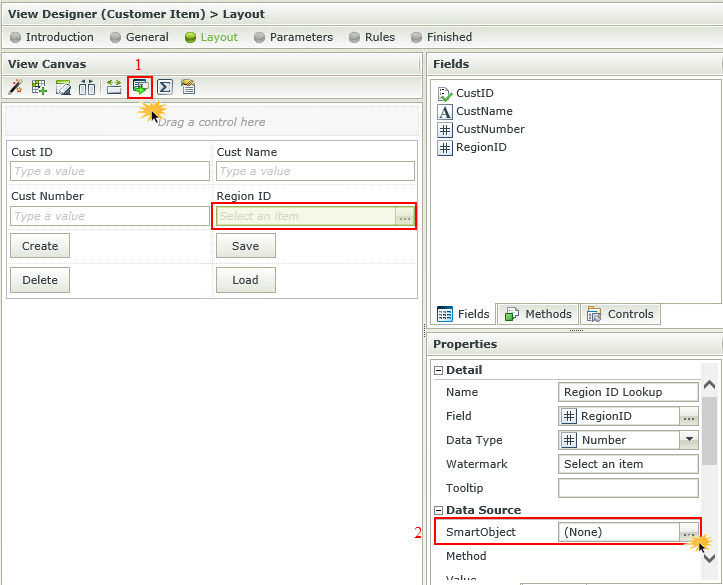
- We then used the auto-generate function to generate an Item View for the Customer SmartObject and a List View for the Region SmartObject as shown below:
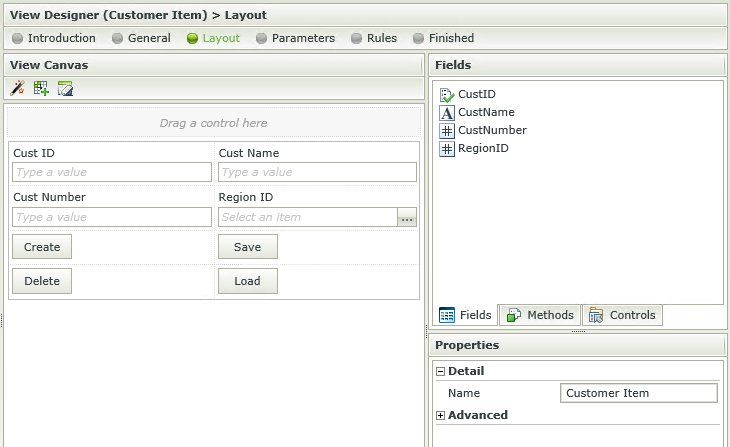
- The Lookup SmartObject needs to be specified as the data source for the Region ID field. To do this, edit the Customer Item View;
- (1) Click on the Region ID control and change the control to Lookup.
- (2) Then navigate to Data Source in the Properties pane. Click on the ellipsis next to SmartObject.
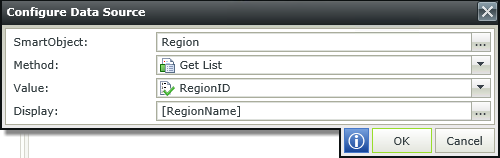
- Click on the ellipsis next to SmartObject again, select the Region SmartObject and click OK.The Method, Value and Display is populated as shown below. Click OK.
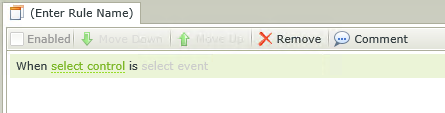
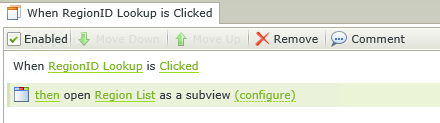
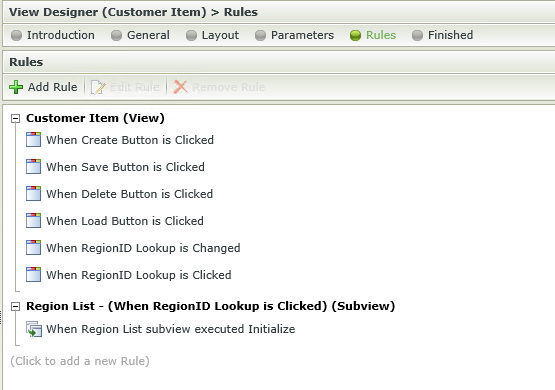
- Navigate to the Rules step of the wizard and click Add Rule. Select When a control on the View raises an event. Select the lookup control and select Clicked. Click on Actions at the top.
- Select Open a subview under the Subview Interaction section. Select the Region List View. This Rule will ensure that the Region List View is opened in a subview when the RegionID lookup control is clicked. Click Finish.
- Note the Region List executed Initialize Rule was added automatically when adding the above Rule. The auto generated Rule will ensure that the Region List subview is populated with data when the Region List is initialized.
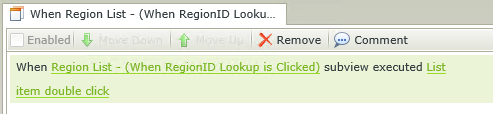
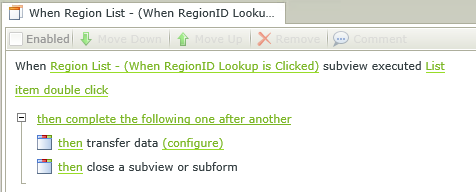
- Click on Add Rule again. Under Events, under the Subview Events section, select When a subview executes a method. Select the Subview and List item double click as the method. Click on Actions at the top.
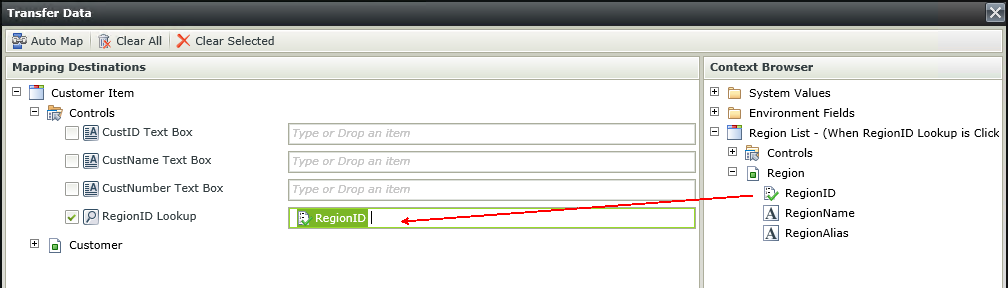
- Select Transfer data.
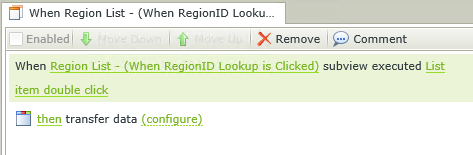
- Click on Configure and map the RegionID as shown below.
- Select Close a subview or subform under the Subview Interaction section. Click Finish and Finish again to save the View. This Rule will ensure that the data is transferred from the Region List subview to the Customer View when double clicking on an item on the subview. The Region List subform will subsequently be closed.
- Capture data in the Region SmartObject. This can be done by creating an Item View and populating the Item View with data.
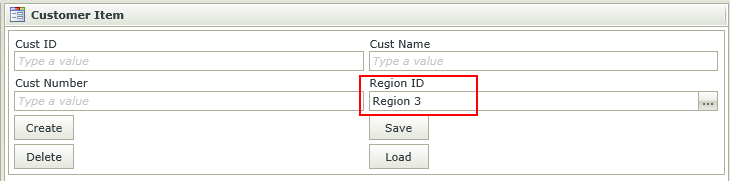
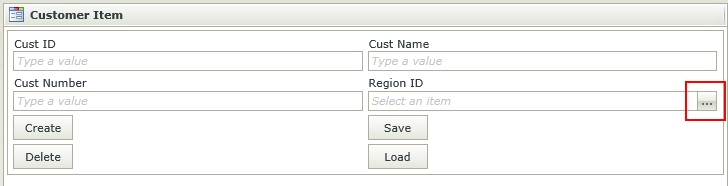
- Run the Customer Item View. Click on the ellipsis in the Region ID control.
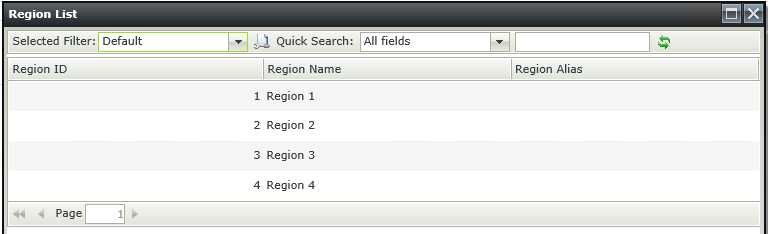
- The Region List subview opens with the data populated. Double click an item on the list. Note how the subview closes.
- The item selected on the Region List subview is added to the Customer View.