9. Edit the Edit Expense Claim View
In this step, you edit the Edit Expense Claim View and remove unused controls, change controls to data labels, hide controls, and change controls to read-only. This view appears on the form for the workflow rework task.
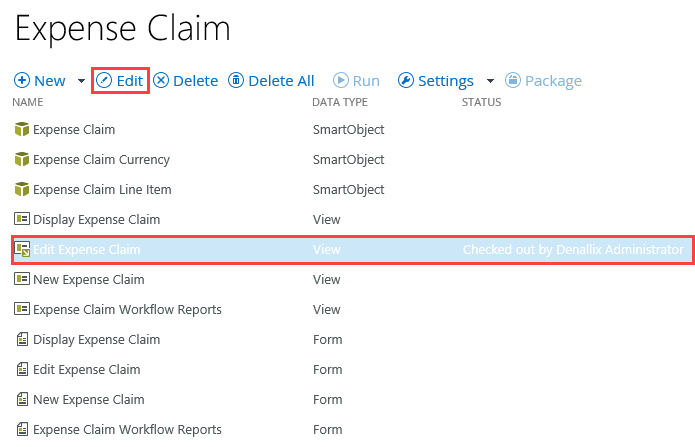
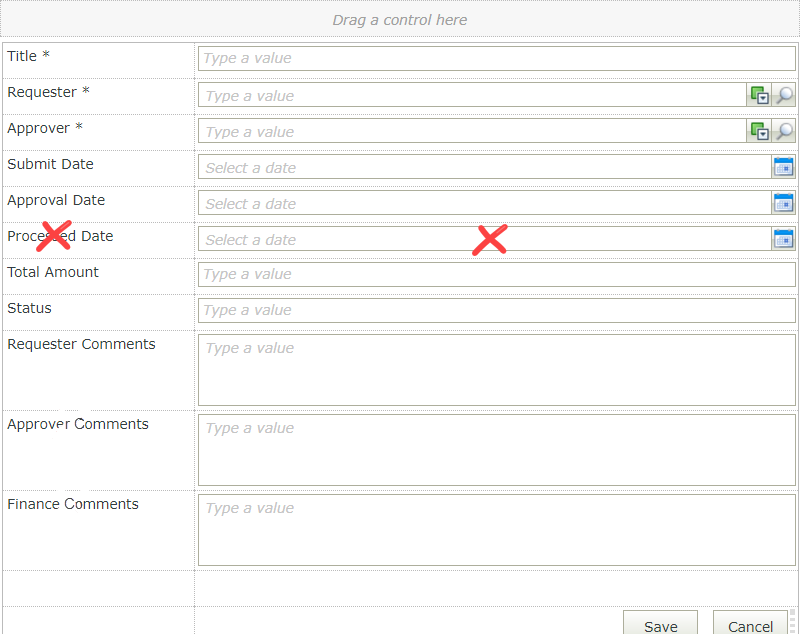
- Check out and edit the Edit Expense Claim view. Delete the Processed Date label and control, then remove the resulting empty row. Remove all dependencies when you see the warning.
- Check out and edit the Edit Expense Claim view.
- Delete the Processed Date label and control, then remove the empty row from the view. When you see the dependencies warning, choose to Remove all dependencies. The workflow updates the Processed Date value after the finance processing task. You see this view if you have to rework the claim, which occurs before the finance task. Therefore, the finance processing task has not yet occurred.
- Check out and edit the Edit Expense Claim view.
- Use the Change Control menu button to change each of the following controls to Data Label controls:
- Submit Date
- Approval Date
- Total Amount
- Status
- Use the Change Control menu to change each of the following controls to Data Label controls: (Once again, the workflow updates these values, so there is no need to edit them.)
- Submit Date
- Approval Date
- Total Amount
- Status

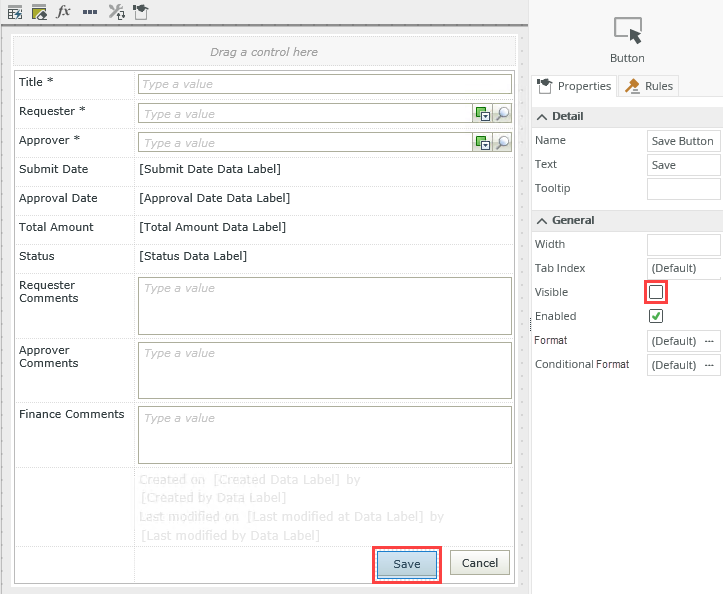
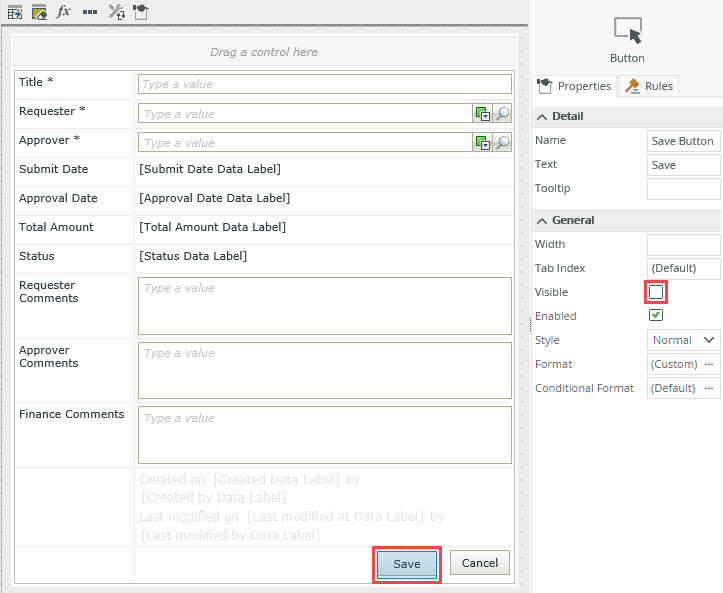
- Hide the Save and Cancel buttons.
- Set the Visible property for the Save and Cancel buttons to false so that the buttons are not displayed. In a later step, you add buttons at the form level that replace the two view buttons. You won't delete the buttons because they are linked to rules that you can reuse for other actions.
- Set the Visible property for the Save and Cancel buttons to false so that the buttons are not displayed. In a later step, you add buttons at the form level that replace the two view buttons. You won't delete the buttons because they are linked to rules that you can reuse for other actions.
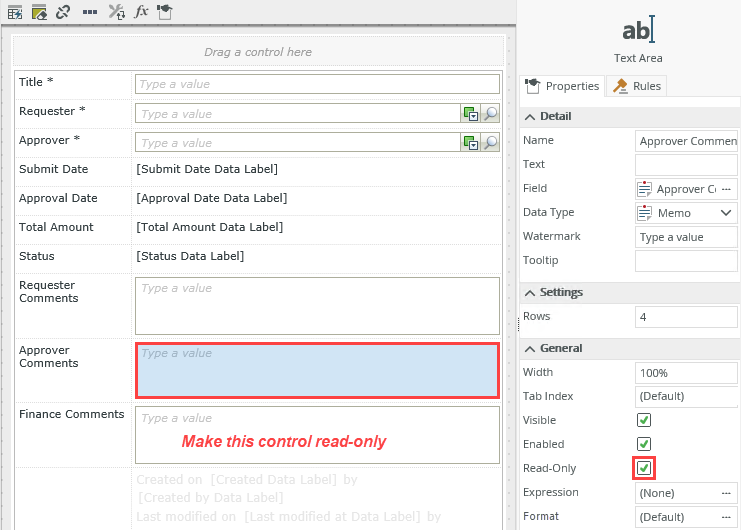
- Set the Approver Comments and Finance Comments text area boxes to read-only, then finish the view to save and exit. Check in the view.
- CHECK the Read-Only boxes for the Approver Comments and Finance Comments text area boxes. The requester should not change any values entered in these controls.
- Click FINISH to save and exit the view.
- Check in the Edit Expense Claim view.
- CHECK the Read-Only boxes for the Approver Comments and Finance Comments text area boxes. The requester should not change any values entered in these controls.
Review
In this step, you edited the "edit" view and removed unused controls, hid the Save and Cancel buttons, and made two controls read-only. This view appears on the requester's "rework" form. In the next step, you create a list view that appears on the approver's and finance processor's forms. This view displays a read-only list of submitted expense claim items.