18. Edit a SmartForm and Remove Unnecessary Controls
The last step in this tutorial gives you a brief introduction to K2 Designer. K2 Designer is the tool used to create and edit application elements such as views, forms, and SmartObjects. In this step, you edit the Edit Document view in K2 Designer and remove unused fields. The workflow updates these columns in the Documents to Review and Approve library, so they are not needed on the form.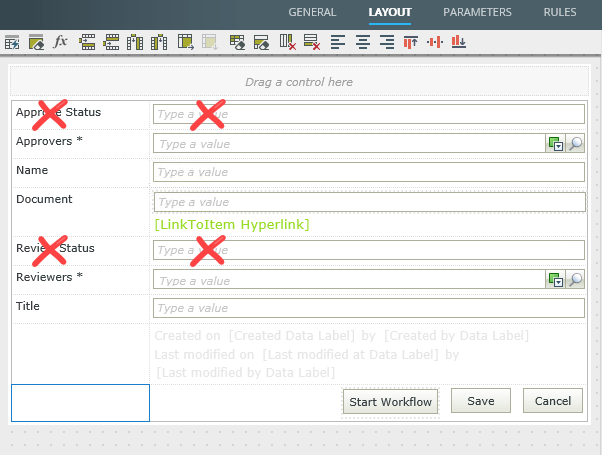
- From the K2 Applications elements page, check out and edit the Edit Document view. Remove the Review Status and Approval Status controls and rows from the view. You will see a Dependencies warning dialog. Select Remove all dependencies. Finish the view and check it in.
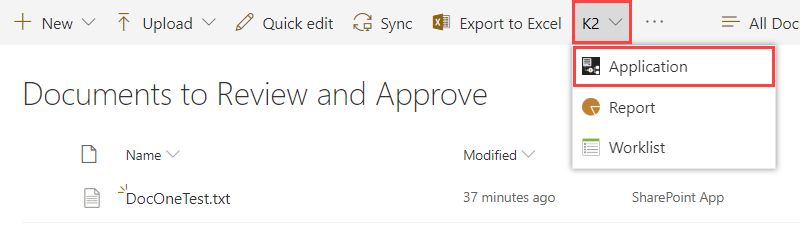
- Edit views and forms from the K2 Application elements page. Navigate to this page by clicking the Application option in the K2 drop-down menu (from the Documents to Review and Approve library).
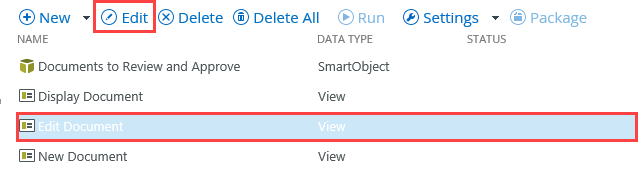
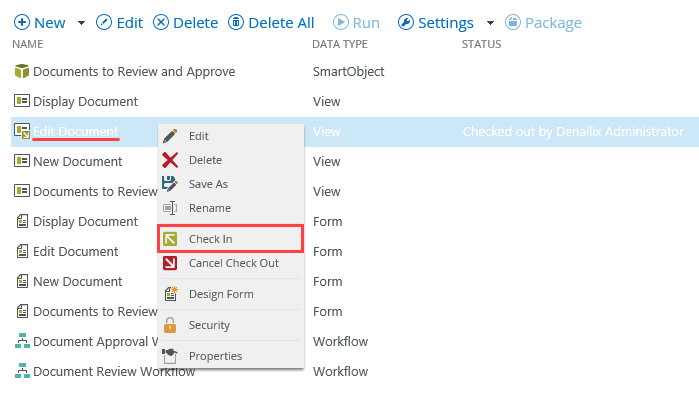
- Select the Edit Document view, then right-click and Check Out the view. Checking out the view "locks" it in your name so that others cannot edit it at the same time. When you complete the edits, you must check the view back in to "publish" your changes to the K2 server.
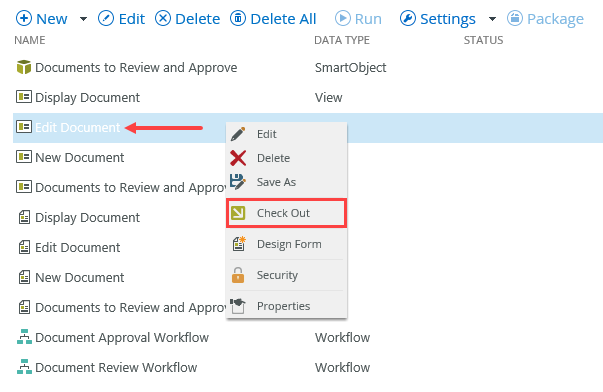
- Select the view and click Edit. The view launches in K2 Designer.
- You will delete the Approve Status label and control, then delete the Review Status label and control. The workflow updates both of these document properties, so they are not needed on this view and could in fact, be confusing.
Select the Approve Status label, then click the <DELETE> key on your keyboard.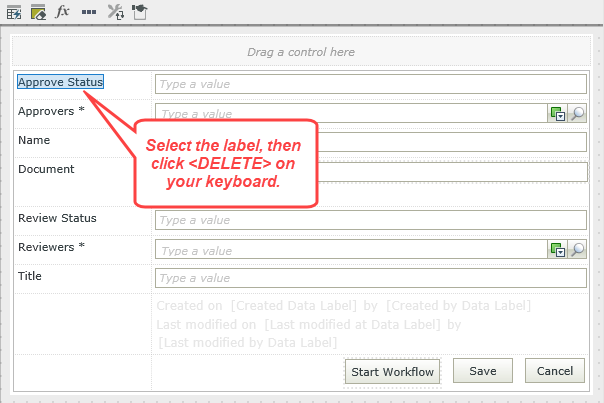
- Select the Review Status control (text box), then click the <DELETE> key on your keyboard. You will see a Dependencies warning dialog. Select Remove all dependencies and click OK. (Depending on your version of K2, the dialog may or may not display the dependency rules.)
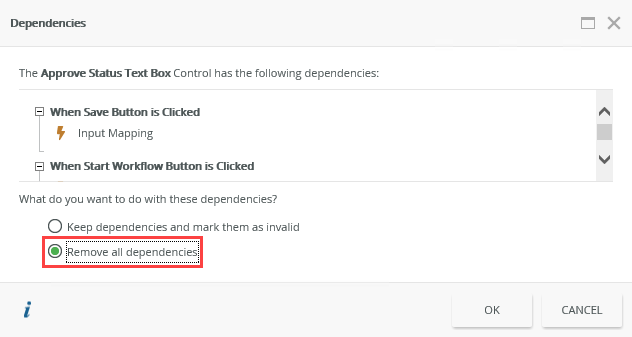
- Repeat the step above for the Approval Status label and control (text box). Once again, select Remove all dependencies on the warning dialog.
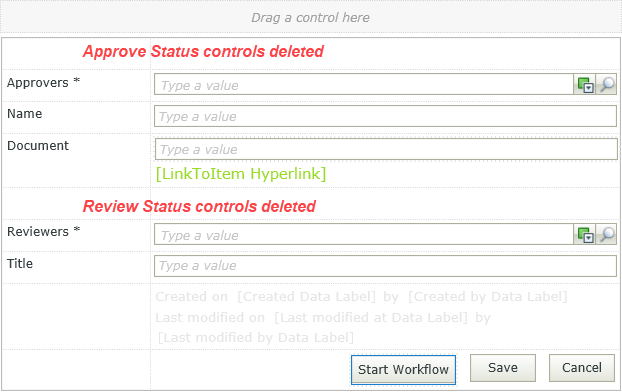
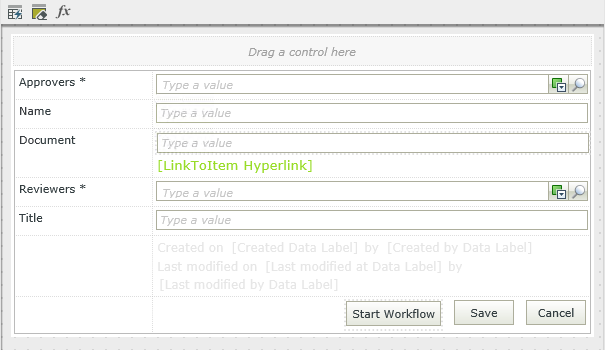
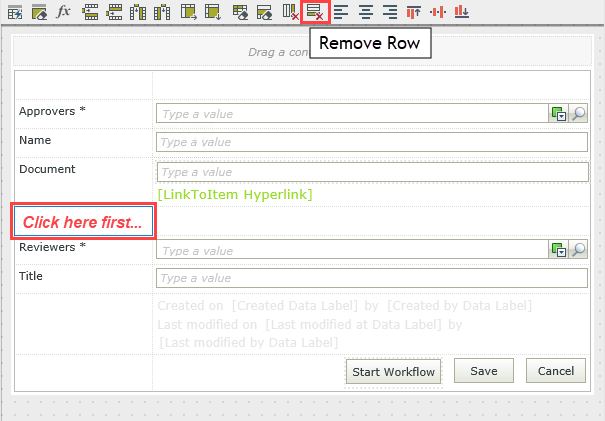
- Next, you remove the empty rows from the view. Click inside an empty cell for a row you want to remove. Click the Remove Row icon in the view canvas menu.
- Remove both of the blank rows that contained the Approve Status and Review Status controls.
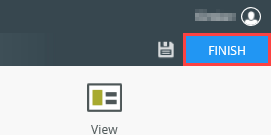
- Click FINISH to save and exit the view. The finish button is near the upper right corner of your screen.
- You are directed back to the K2 Application elements page. Right-Click the Edit Document view and select Check In. This publishes your changes to the K2 server. The changes are now exposed to your end-users.
- Navigate back to the Documents to Review and Approve library by clicking the library title on the application elements page.
- Edit views and forms from the K2 Application elements page. Navigate to this page by clicking the Application option in the K2 drop-down menu (from the Documents to Review and Approve library).
-
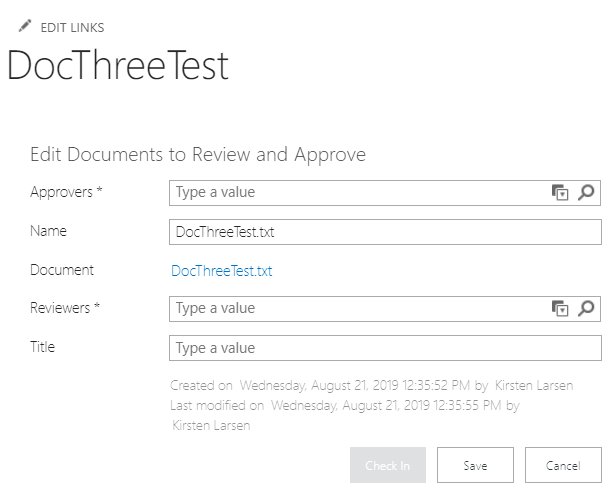
Upload a new document to the Documents to Review and Approve library. Confirm the form no longer displays the status controls.
- Add a new document to the Documents to Review and Approve library (Upload > Files). Edit the document properties (hover over the document and click Add information now when you see the details dialog). Notice the form no longer displays the status controls.
Your changes are now complete and the Document Review and Approval application is now ready for use.
- Add a new document to the Documents to Review and Approve library (Upload > Files). Edit the document properties (hover over the document and click Add information now when you see the details dialog). Notice the form no longer displays the status controls.
Review
In this step, you were introduced to K2 Designer. You learned how you can edit views to customize them or to improve their flow and appearance. In this case, you removed controls do you not need, then removed the empty rows. In the next optional step, you learn how to clean your environment by deleting artifacts you no longer need.