Installing and using Visual Studio templates
The Nintex Workflow 2013 SDK provides two Visual Studio 2012 project templates that you can use to create custom workflow actions in Visual Studio 2012 and later versions.
Installing the Visual Studio templates
The Visual Studio templates are provided in a Visual Studio extension (.vsix) file, available from Nintex. The Visual Studio templates can be installed for Visual Studio 2012 and later versions.
Note: Visual Studio projects developed for use with Nintex Workflow 2013 must target .NET Framework 4.5, regardless of the Visual Studio version used to develop the projects.
To install the Visual Studio templates
-
Click and download the compressed folder (.zip) file to a local folder.
-
From the local folder, expand the compressed folder, and then double-click the Visual Studio extension (.vsix) file named NW2013Templates.vsix.
Double-clicking the file invokes the VSIX Installer, included with Visual Studio.
-
Follow the instructions provided by the VSIX Installer to install the Visual Studio extension.
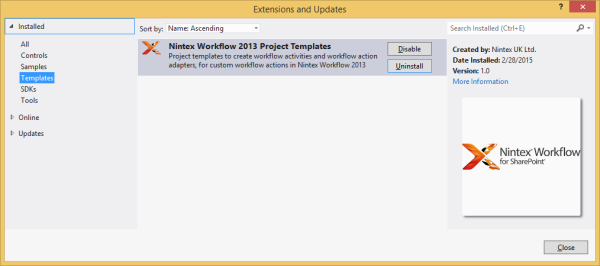
Once installed, the Visual Studio extension is visible in the Extensions and Updates dialog, as illustrated in the following Visual Studio 2012 screenshot:
Using the Visual Studio templates
Once installed, the following project templates are available in Visual Studio:
-
Workflow Action Adapter
The Workflow Action Adapter project template provides a workflow action adapter, based on the GenericRenderingAction class, and a configuration page, both with comments and sample code. For more information, see Creating workflow actions.
-
Workflow Activity
The Workflow Activity project template provides a workflow activity, based on the ProgressTrackingActivity class, with comments and sample code. For more information, see Creating workflow activities.
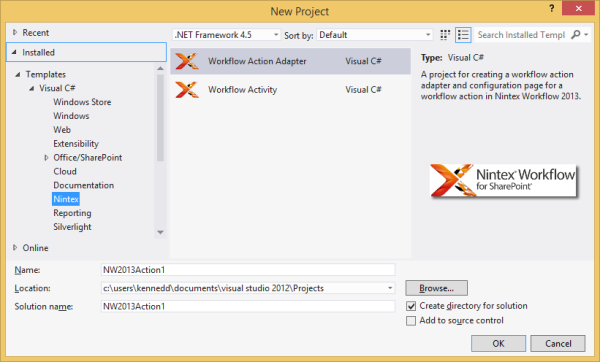
The templates are located in the Nintex group, under the Visual C# group in the New Project dialog box, as shown in the following Visual Studio 2012 screen shot:
See Also
Concepts
Operations
Working with workflow activities