Process Discovery Server Setup Wizard
Run the Process Discovery Server Setup Wizard
-
Navigate to the folder on your local drive where you copied the installation package, and double-click on the installation executable file
PDServer64BitSetup.exe. The Process Discovery Server Setup Wizard opens.
-
Click Start. The System check opens.
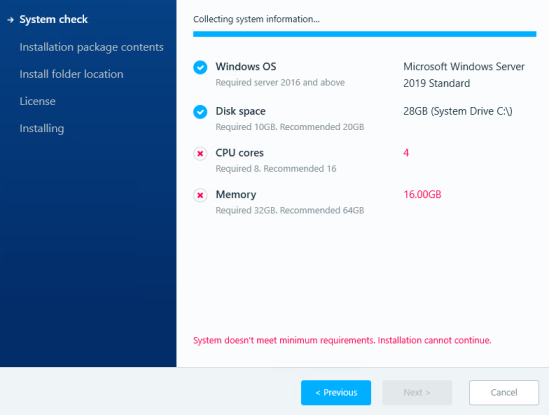
The Setup Wizard collects system information from the server to verify compliance with system requirements.
-
If the system does not meet minimum requirements, the wizard can not continue the installation.
-
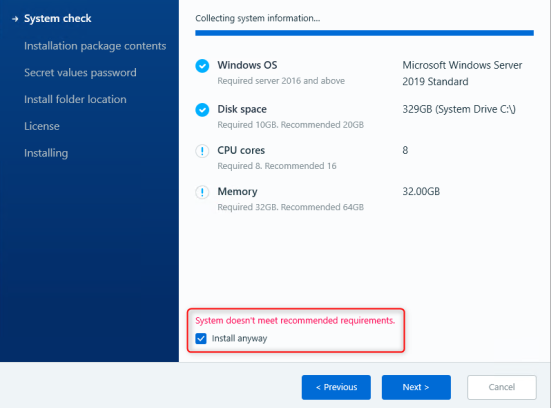
If your machine doesn't meet recommended system requirements but does meet minimum requirements, select Install anyways to continue the Setup Wizard.
-
- Click Next.
The default Installation package contents are displayed.

-
To accept the default values, click Next. and skip to step 11.
To customize prerequisites, click Customize.
- Customize: Environment:
Select the components you want to install, and click Next.
- Mandatory components cannot be customized, however, you will probably want to install Notepad++ and the HeidiSQL Database viewer, if not already installed.
- The components that are already installed on your computer will appear greyed out and cannot be selected.

-
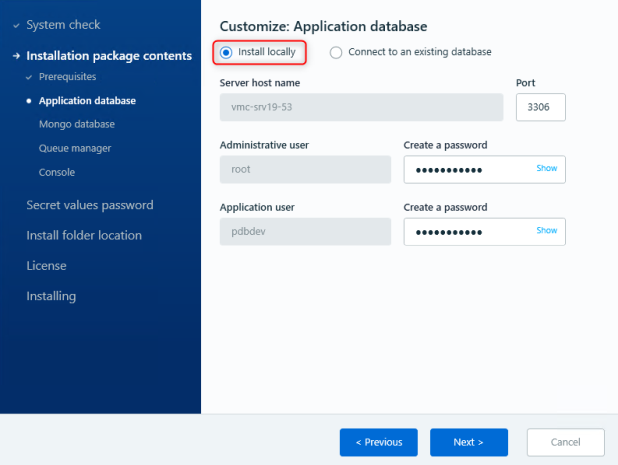
Customize: Application database: Choose if you want to Install locally or Connect to an existing database:
 Install locally
Select Install locally to configure the database engine that's automatically installed as part of the installation package.
-
Leave the default port
3306unchanged or enter another port number. -
Provide strong passwords for the two users created: root and pdbdev (the default for both is
Nintex2023!). -
Click Next to continue.
 Connect to an existing database
-
Enter the preinstalled Server Host Name.
-
Enter the Port number of the existing database.
-
Enter the user names and passwords for both the Administrative and Application users.
The Administrative user needs full permissions to create schema and tables.

-
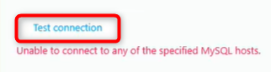
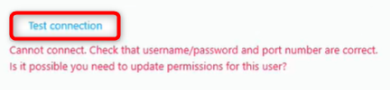
Click Test Connection to verify that your server connection is working.
-
-

-
-
When the test is successful:
 , click Next to continue.
Input details carefully to prevent error messages:
-
-
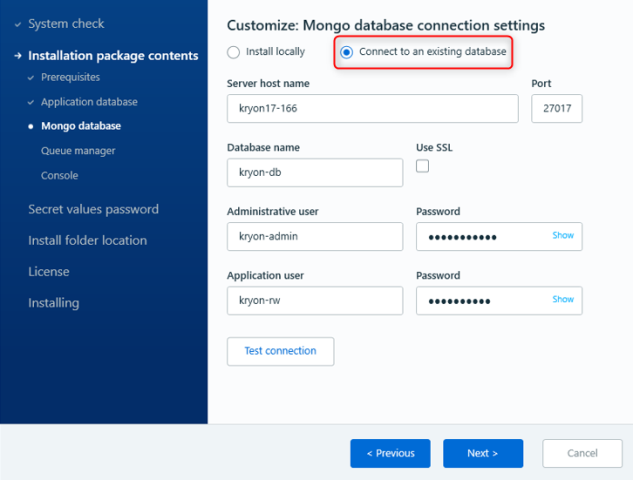
Customize Mongo database: Choose if you want to Install locally or Connect to an existing database:
Install locally
Select Install locally to configure the database engine that's automatically installed as part of the installation package.
-
Leave the default port
27017unchanged or enter another port number. -
Provide strong passwords for the the Administrative and Application users (the default for both is
Nintex2023!). -
Click Next to continue.

Connect to an existing database
Select Connect to an existing database to connect to a preinstalled database engine.
-
Enter the preinstalled Server Host Name.
-
Enter the Port number of the existing database.
-
Enter the Database name.
-
Select the checkbox if you want to use Secure Sockets Layer (SSL).
-
Enter the user names and passwords for both the Administrative and Application users.
The Administrative user needs full permissions to create schema and tables.
-
Click Test Connection to verify that your server connection is working.
-
Click Next to continue.
-
-
Customize Queue manager: Configure the queue manager (RabbitMQ server) that's automatically installed as part of the installation package.
-
Override the default port
5689. -
Provide strong passwords for the Administrative and Application users (the default for both is
Nintex2023!). -
Click Next to continue.

-
-
Customize Console: You can use this window to:
-
Leave the default port
80unchanged, or type in your port number (to work with SSL/TLS use port443). -
Select https to work with SSL/TLS.
-
Click Next to continue.

-
-
Secret values password: Enter the password for the Nintex secrets file.
-
To access your Nintex Secrets password, you can find it in the
config.prod.properties.jsonfile. -
Click Next to continue.

-
-
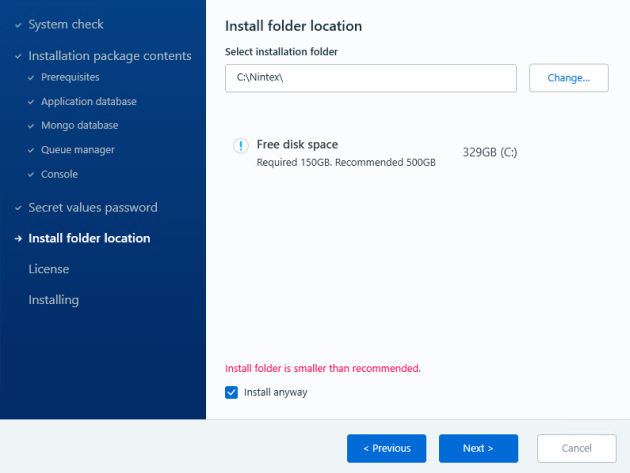
Install folder location: By default, the format of the the installation folder location is
{local drive}:\Nintex\.-
If you want to select a different Install folder location than the default, click Change and select the new location.
-
It should be targeted to a local folder on a drive with more than 500GB of free disk space.
-
The install folder can't be the root folder of a drive (for example,
C:\is not allowed). -
The install folder folder name can't include spaces ((for example,
C:\Install Folder\is not allowed). -
The install folder folder path cannot be longer than 19 characters (20 if a backslash is added at the end)
-
-
If the selected folder doesn't meet recommended disk space but meets minimum requirements, you can continue the Setup Wizard by selecting Install anyways.
-
Click Next to continue.
-
-
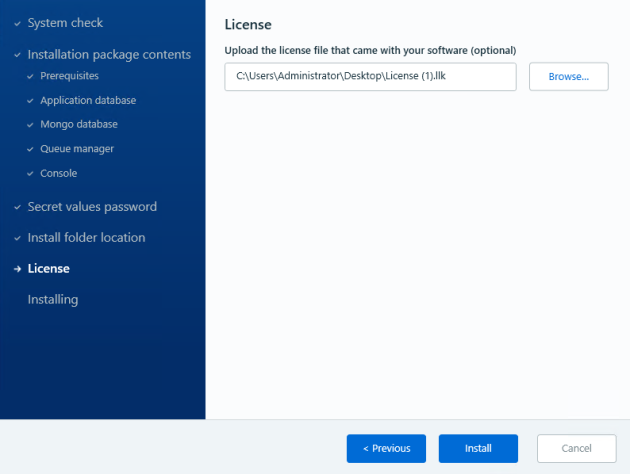
License: Upload the license key file that came with your software.
-
If you have received your Nintex Process Discovery license key file from your contact at Nintex or the Nintex distribution partner, and you downloaded it to the server during the Pre-installation steps, you can browse for it now.
-
If you don't have your license key yet, you can follow the steps in Activate license after installation when you receive it.
-
Click Install to begin the installation.
During installation, the wizard provides status updates so that you can monitor the installation progress as the setup continues.
When the wizard finishes, the Discovery Server is installed, but there are still a few more steps you need to do on the Server before you're done:
-
If you will be using SSL/TLS to secure communication between the Discovery Robots and the Discovery Server, you should configure it now. See TLS Configuration Post Installation.
-
Return to Post installation configuration.
-
(optional) Activate your license key after installation.
-
-