Edit your workflow
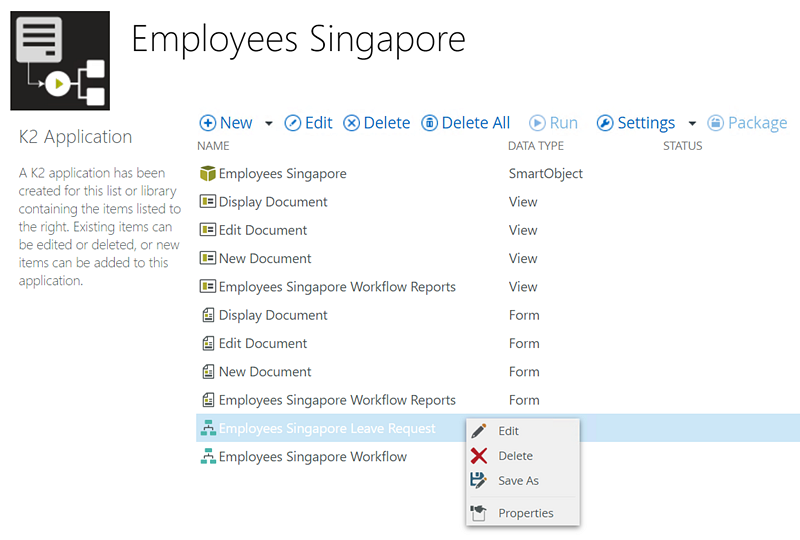
From the Application page, you can edit or update an existing workflow as follows:
- Select the workflow from the item list and click the Edit toolbar icon
- Right-click the workflow and select the Edit function from the menu
Toolbar icons - workflow
When you select a workflow from the Application page, click the following tool bar icons to interact with the workflow:
- Edit - Click to open the selected workflow in the Workflow Designer.
- Delete - Click to remove the selected workflow. You can delete the workflow from only the Application, only the Server, or both. Additionally, you can delete all versions of the workflow, any running instances (workflow items that have not completed yet), and any historical data logged around the workflow. See How to: clean your environment by deleting application artifacts for more information about deleting application artifacts.
Workflow shortcut menu
Right-click a workflow on the Application page to view its shortcut menu.
- Edit - Select to open the selected workflow in the Workflow Designer
- Delete - Select to remove the selected workflow from only the Application, only the Server, or both. Additionally, you can delete all versions of the workflow, any running instances of workflow items that have not completed yet, and any historical data logged around the workflow
- Save As - Select to save the workflow with a new name and in another or same category

- Properties - Select to display information about the selected workflow for instance, version, name, category, and so on
For additional information, see the Designer.