10. Create a Read-Only List View
In the next three steps, you create new views to compliment your Expense Claim forms. The first view is a read-only list of expense claim line items and appears on the approver's and finance processor's forms. The second view is an editable list of expense claim line items and appears on the requester's "new" and "edit" forms. Finally, you create a new item view that contains a single comment box. Both the approver and the finance processor can use this view to enter any questions or comments they have when making their approval decision.
Begin with the read-only list view.
- Add a new view to the application with the following settings:
Field Value Name Expense Claim Line Items List Description Read-only list of expense claim line items. Category (leave default value unchanged) View Type List View Data Source Use the browse icon to select the Expense Claim Line Item SmartObject List Method Get List Call this method when the form loads NOT checked 
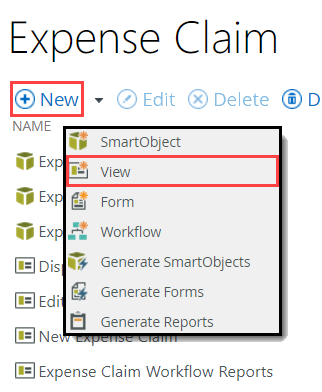
- From the K2 Application elements page, click the New icon and select View.
- Configure the GENERAL settings for the new view as follows (then click CREATE):
Field Value Notes Name Expense Claim Line Items List Description Read-only list of expense claim line items. Category (leave default value unchanged) View Type List View List views display lists of items as opposed to a single item. Data Source Use the browse icon to select the Expense Claim Line Item SmartObject. This is the SmartBox SmartObject that you created to store the expense claim line items. (Your tree structure may not match the image exactly depending on your site and subsite names.) 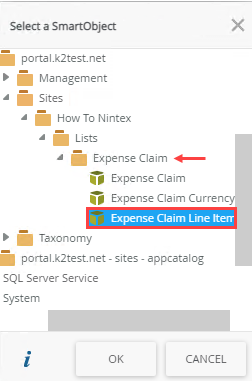
List Method Get List This is the default method that populates the list. Call this method when the form loads NOT checked You do not want the list view to populate automatically whenever it opens. Later, you configure a rule that populates the list view with the requester’s expense claim items. If you don't do this, all of the expense claim items (in the SmartObject) are returned, regardless of the requester.
- From the K2 Application elements page, click the New icon and select View.
- Create Labels and Controls for all fields except ID and Expense Claim ID. Do not allow list editing.
- On the LAYOUT screen, click the Create Labels and Controls link.
- On the Create Labels and Controls screen, include all the fields except ID and Expense Claim ID. Do not select the Enable list editing option. Click OK. Remember, this is a read-only list, you do not need to edit it.
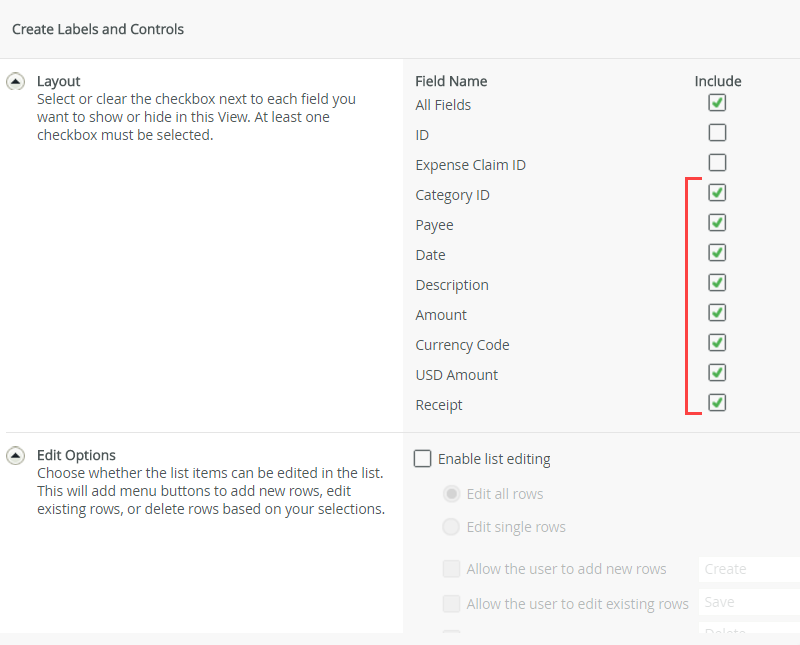
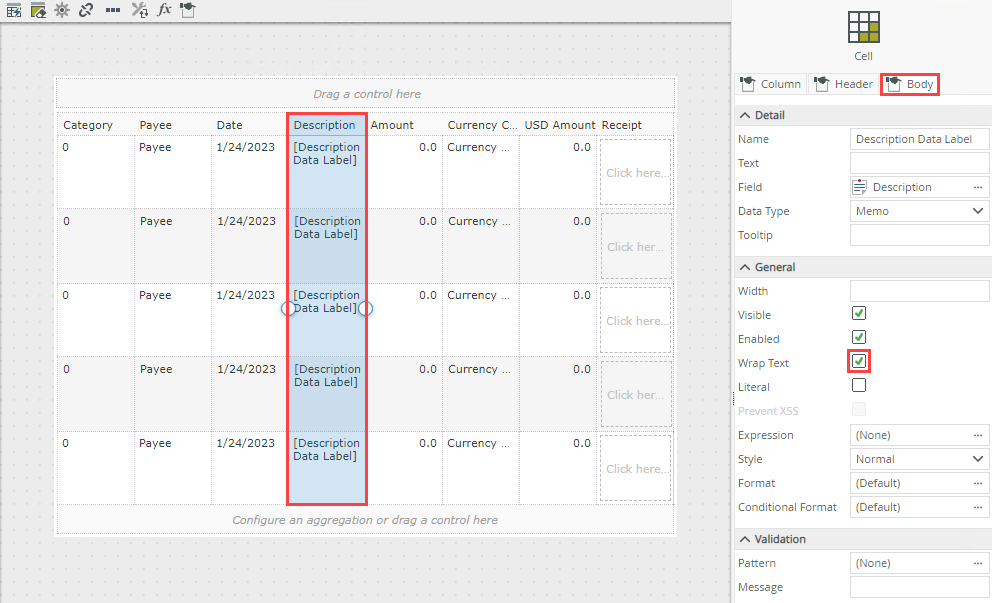
When you select Create Labels and Controls, you have the option to select which fields (SmartObject properties) you want to display on your view. The Create Layout Table Only option creates a blank table where you can drag and drop controls yourself. - Enable Wrap Text for the Description column. Finish the new view and check it in.
- Select the Description column, then select the Body tab in the Properties pane. Enable the Wrap Text property. This way, you don't have to scroll to read the entire description.
- FINISH the new view. On the K2 Application elements page, Check In the Expense Claim Line Items List view.
- Select the Description column, then select the Body tab in the Properties pane. Enable the Wrap Text property. This way, you don't have to scroll to read the entire description.
Review
In this step, you added a new read-only list view to display expense claim line items. This view appears on the approver's and finance processor's forms. In the next step, you create the editable list view of line items. This view appears on the new and edit forms so the requester can enter, edit, and remove expense claim line items.