Settings
Use Settings to change your out of office status, redirect your work, select what workspaces and default workspaces to use
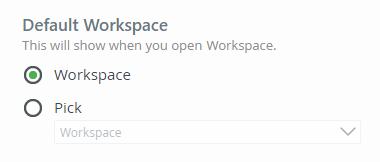
The Workspace (Desktop) site is the default workspace when the product is installed. To configure a different workspace to use, enable the Pick option and select another workspace from the menu. The default workspace can also be changed in Custom Workspaces.
When you are out of the office and need someone else to handle your tasks, select the Out of Office option and choose a person by clicking the Select User link. 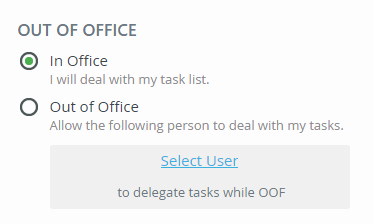
Search for the person who will receive your tasks while you're away, select them, and then click Redirect.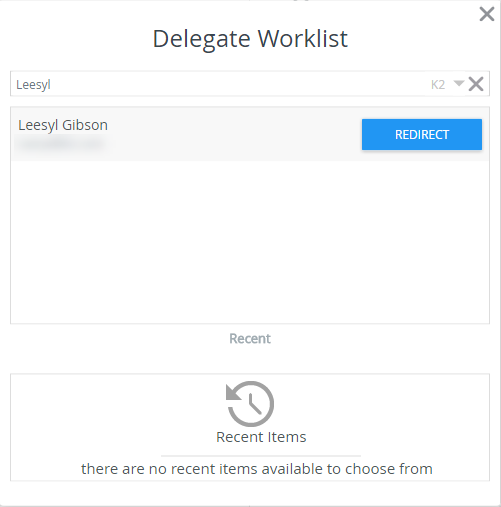
When you are back in the office, set your status to In Office to resume receiving your work items.
You can specify the preferred language for Workspace, Management, runtime forms and Designer within Workspace. Changing the preferred language of any of these three settings will override the browser language.
These are global settings and affect all users that have access to Workspace, Designer and Management
-
In Workspace select Settings, then select the preferred language to use for each of the components in the Preferred Language section.
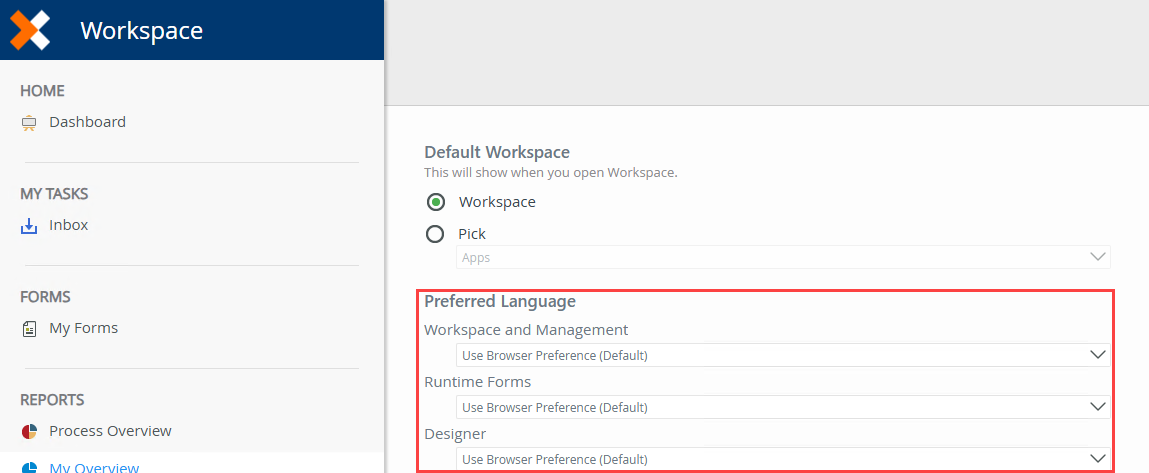
Workspace and Management can be set using any of the five supported languages including the browser preference language. Selecting any of the supported languages will override the browser language and Workspace and Management will be translated accordingly.
This sets the preferred language for runtime views and forms. The list of languages available is based on the Selected Languages you specify in Management > Translations > Translations Settings. Selecting any of the Selected Languages will override the browser language.
This setting is only applicable to the Designer design time translations. You can select any of the five supported languages including the browser preference language. Selecting any of the supported languages will override the browser language and the Designer will be translated accordingly.
If your organization uses security labels to manage logins or Single Sign-On (SSO) logins to other systems, you can use the Auto Login section to manage your cached credentials.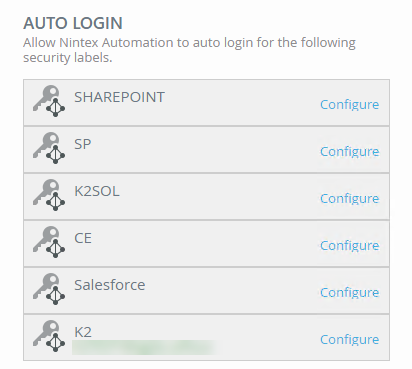
Enter your User Name and Password and click OK. If there is more information required for the selected login type (not common but could be required for some types of security labels), click More Data... to add that information; check with your administrator if you need to enter additional information. 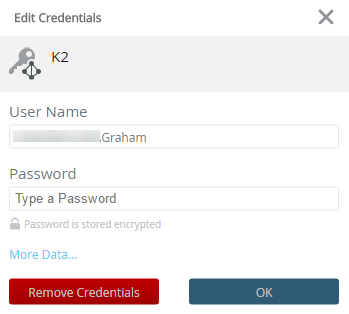
Remove Credentials clears the cached User Name and Password fields. You will not longer be able to automatically login to that system with cached credentials.