10. (Optional) Clean up your environment by deleting the application artifacts
This optional step describes how you can clean your environment by deleting the artifacts that you created in this tutorial. For example, if you are working in a shared environment, you may want to delete your tutorial applications to keep your environment clean and tidy.
Delete application elements for the Hello World list.
In this step, you delete the workflow, views, forms, and SmartObjects that you generated for the Hello World list.
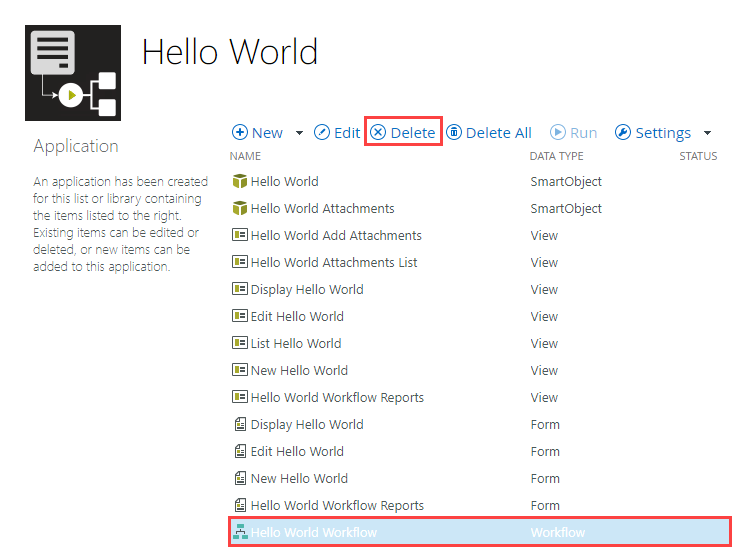
- From the Hello World application page, select the Hello World Workflow and click Delete. You see a message that gives you the option to delete all versions and historical log data. Check both of these options and click Yes.
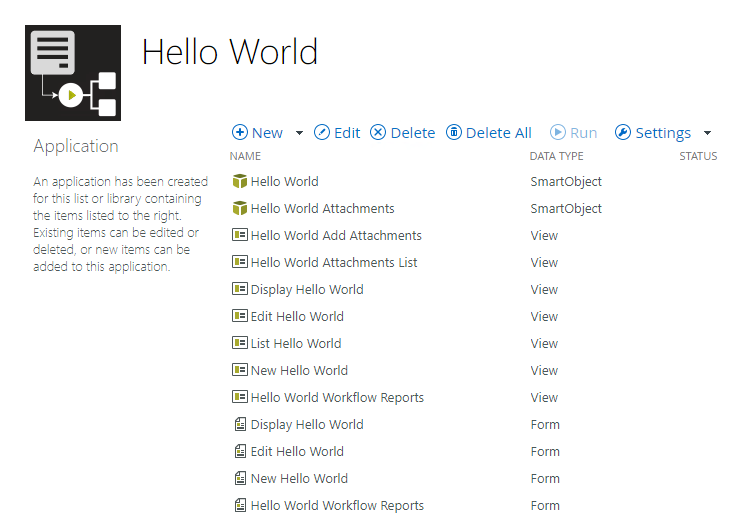
- You delete artifacts from the Hello World application page. To navigate to the application page, open the Hello World list. Click the Application icon in the K2 menu.

- On the application page, you see the list of artifacts for all four components: Data, Forms, Workflow, and Reports. You begin by deleting the workflow. Select the Hello World Workflow and click Delete.
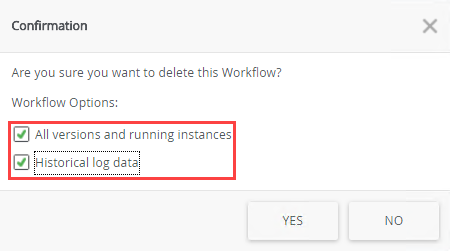
- You see a confirmation message asking if you want to delete all versions and running instances, as well as historical log data. Check the box for each option and click Yes.
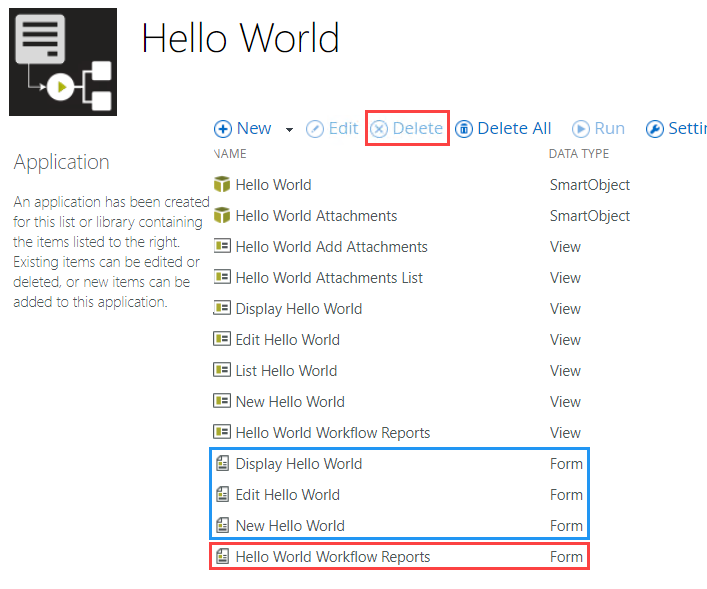
- Next, you want to delete all the forms. (You must delete forms before views.) Select the Hello World Workflow Reports form and click Delete. Click Yes for the confirmation. Repeat this step for the New Hello World Form, Edit Hello World Form, and Display Hello World Form.
- Next, delete the views. Select the Hello World Workflow Reports view and click Delete. Click Yes for the confirmation. Repeat this step and delete the remaining views.
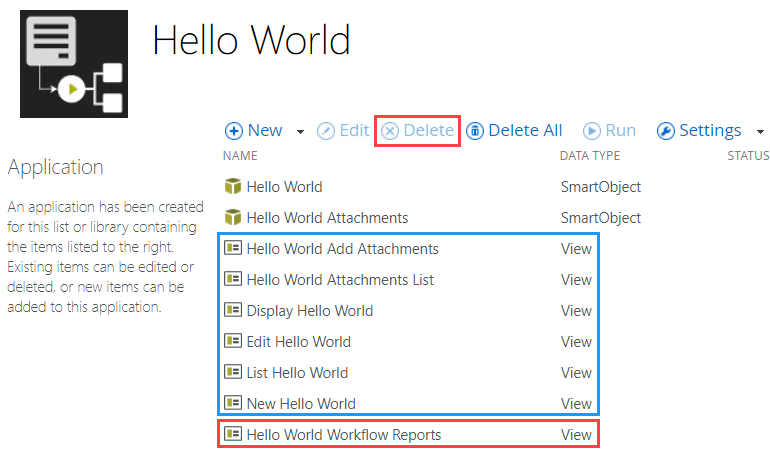
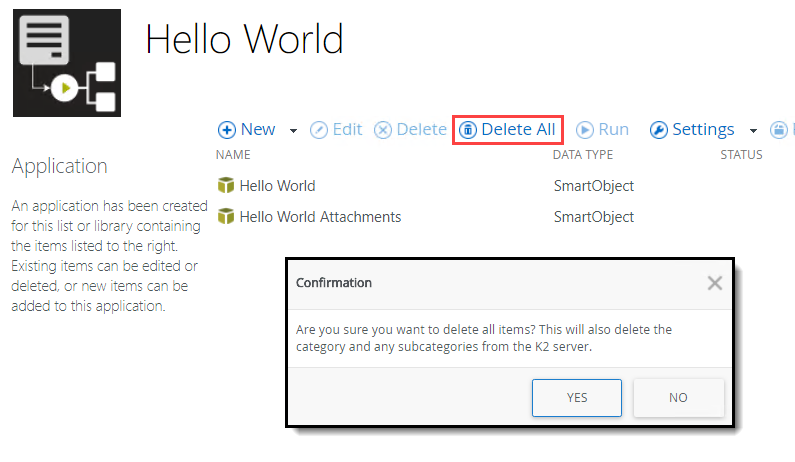
- In the steps above, you deleted artifacts individually. To complete the process however, you need to delete the remaining two SmartObjects. You cannot delete the SmartObjects individually from the application elements page. This is because the SmartObjects contain associations. When you delete all the SmartObjects, the product resolves the associations and deletes the artifacts. Click Delete All. (As another option, you could click this button in the first place if your intention is to remove all of the artifacts.) You see a confirmation message that tells you all items are removed, including categories. Click Yes.
It may take a few minutes for the product to process the command. First, the product deletes any active process instances, then it deletes all versions of the workflow. Typically, there is a new version each time you deploy the workflow, so you may have several versions to delete.
- You delete artifacts from the Hello World application page. To navigate to the application page, open the Hello World list. Click the Application icon in the K2 menu.
Finish the clean-up by deleting the SharePoint list and subsite.
You have completed your scrub of artifacts. In this step, you delete your SharePoint list and subsite (if you created one).
- From SharePoint, delete the Hello World list. Delete your subsite (if you created one).
- Navigate to the List Settings page for the Hello World list.
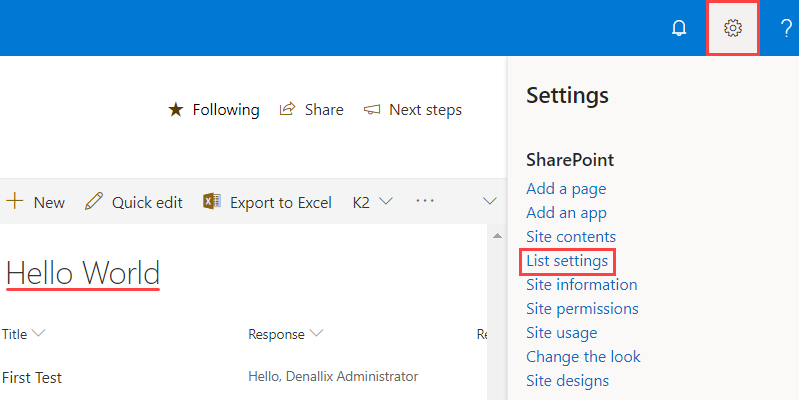
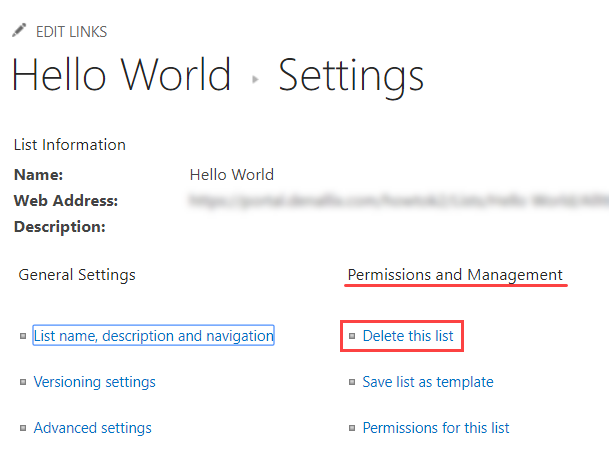
- Under Permissions and Management, click Delete this list, then OK for the confirmation.
- Delete the subsite (if you created one). Contact your SharePoint administrator for instructions on deleting sites in your environment.
- Navigate to the List Settings page for the Hello World list.
Summary
In this tutorial, you learned how to extend a simple application. You replaced the basic form with new SmartForms. You learned how easy it is to edit SmartForms and customize them for your own needs.
You learned how to add additional recipients to a Task step and how you can configure consensus rules to accommodate multiple recipients. Finally, you learned about reminders and how you can apply them to a task step. Reminders help keep your workflow running smoothly and on time.
You should now understand:
- How to replace task forms with SmartForms
- How to customize the layout of views and forms
- How to add rule actions to perform additional functions on views and forms
- How to create a new list view and add it to an existing form as a tabbed view
- How to add additional recipients to a user task
- How to configure outcomes for multiple approvals
- How to add reminders to a user task
- How to clean your environment by deleting artifacts no longer needed