4. Create a List view
In this step, you create a new list view from the Hello World SmartObject. This view displays all the records in your Hello World list. In a later step, you add this view to the Hello World form so that you can view a list of Hello World items. This step demonstrates how you can display SmartObject data in a view.
In this tutorial, the Hello World SmartObject is bound to a SharePoint list. SmartObjects can be bound to many different types of data sources, for example, SQL Server, CRM, Active Directory, and web services. You can also create composite SmartObjects, where two data sources join into one SmartObject.
- From the Application page, create a new View. Configure the General settings for the view as follows.
Name List Hello World Description Displays the items in the Hello World list. Category SharePoint 2013\[Your Root Site]\Sites\[YourSite]\Lists\Hello World
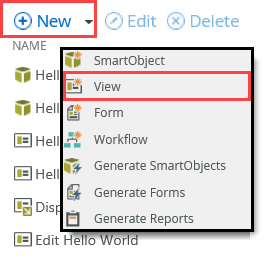
Note: your values may be different but it should already be set correctly for your environment by default.Type List View Data Source SharePoint 2013\[Your Root Site]\Sites\[YourSite]\lists\Hello Worldlist Method Get List Items - From the Application page, click New, then select View.
- The Designer opens with the GENERAL settings page. Configure the new view with the settings below. If a setting is not displayed in the table, assume the default value.
Name List Hello World Description Displays the items in the Hello World list. Category SharePoint 2013\[Your Root Site]\Sites\[YourSite]\Lists\Hello World
Note: your values may be different, but it should already be set correctly for your environment by default.Type List View 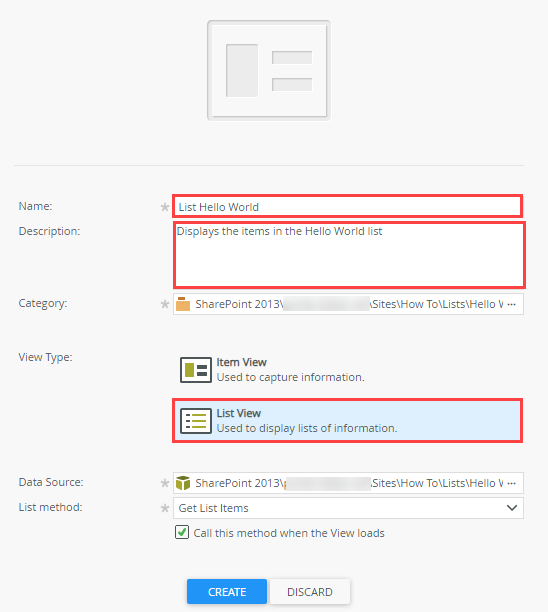
The Data Source and List Method boxes should have default values, but if they do not, click on the ellipsis button next to the Data Source. - Expand the SharePoint 2013 node, then keep expanding the nodes until you find the Hello World SmartObject. The Hello World SmartObject is under the category for the site you created in the Hello World basic tutorial. Your values may be different from the image below depending on the names you used for your site collection and subsite. When you have located the SmartObject, select it and click the OK button.
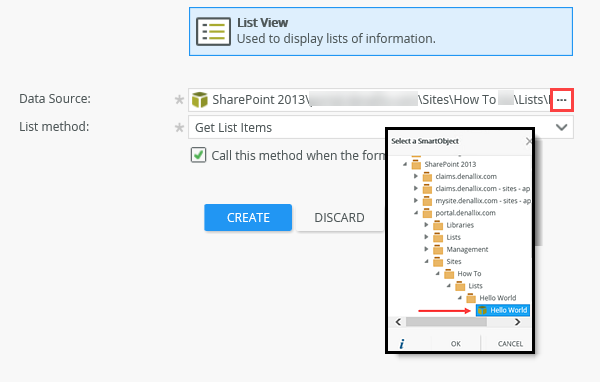 Now that you have set the data source, the product selects the default method (Get List Items). The Call this method when the form loads option means that the product retrieves all the list items from the Hello World list and displays them when the form loads. If you want to filter the list items, you can uncheck this box, then configure a rule to retrieve the list items based on a filter.
- Click the CREATE button.
The category browser, or explorer, displays your artifacts in a tree view format. Categories are another name for folders. When you generate the application elements from a list or library, the product creates a category structure for you. - From the Application page, click New, then select View.
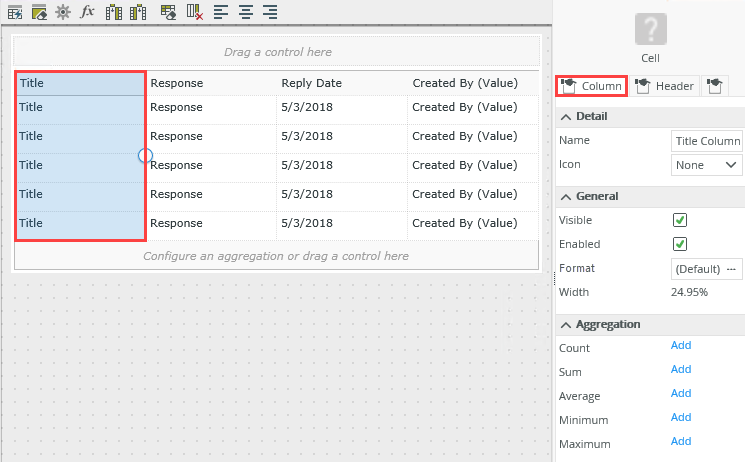
- Create a table that contains the following fields (select the Create Labels and Controls option):
Title
Response
Reply Date
Created By (Value)- On the LAYOUT screen, click the Create Labels and Controls link.
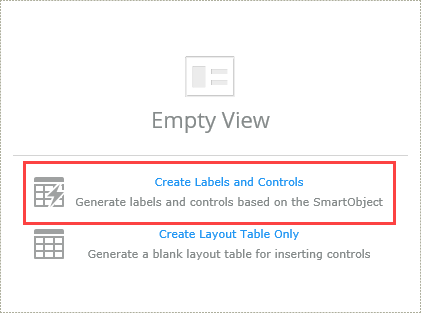
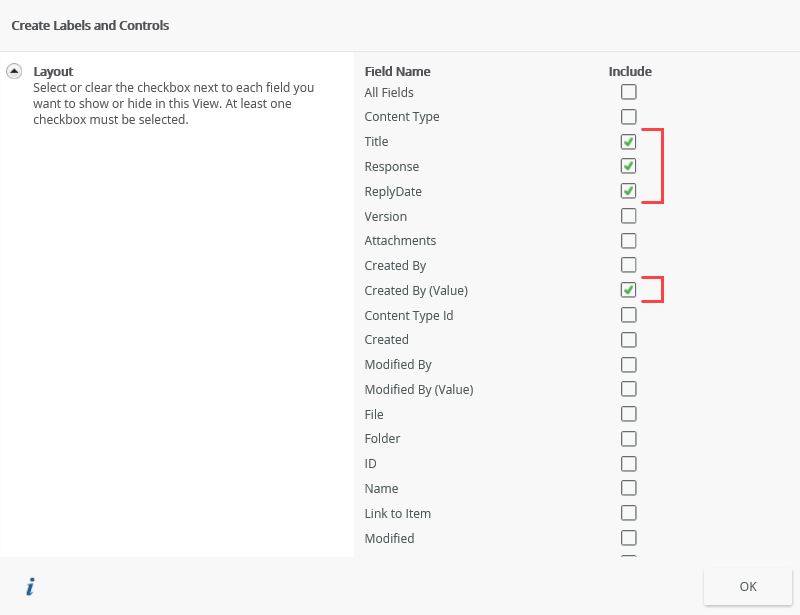
- On the Create Labels and Controls screen, select the fields you want to display on the view, then click OK. (There are no other edits to this screen.)
For this step, select the following fields:- Title
- Response
- Reply Date
- Created By (Value)
- On the LAYOUT screen, click the Create Labels and Controls link.
-
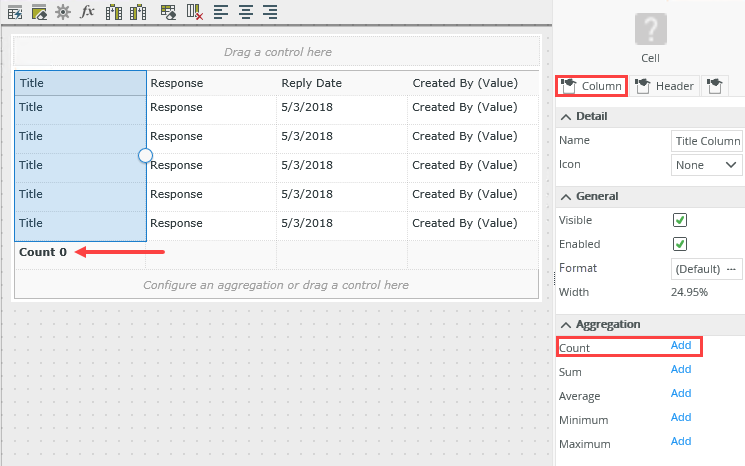
Add a Count aggregation for the Title column. This shows you at a glance the total number of Hello World entries. Finish the view.
- You also want to show a count of the Hello World list items. Select the Title column, then click the Column tab in the Properties pane.
- Under the Aggregation heading, click the Add link next to the Count option. Notice that the product inserts a row below the list display and adds the Count aggregate. At runtime, the count placeholder '0' is replaced by the number of Hello World list items.
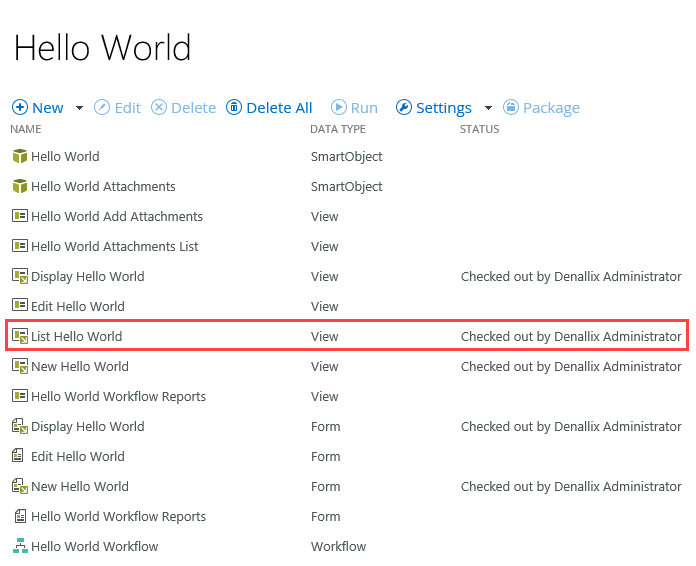
- Click FINISH to save and exit the new list view.
On the Application screen, you should see your new view in the list.
- You also want to show a count of the Hello World list items. Select the Title column, then click the Column tab in the Properties pane.
Review
In this step, you created a new list view from the Hello World SmartObject. This view displays the records from the Hello World list when the form loads. In the next step, you add the new list view to the Hello World form. Remember, you can use any SmartObject with a list method, not just SmartObjects tied to a SharePoint list or library.