Add the K2 Web Parts
After the app is activated to your site collection and subsites, the web parts (the K2 Worklist and the K2 SmartForms Viewer) can be added to the sites. The K2 web parts are located in the Web Parts section in the SharePoint ribbon.
Permissions
You need the Add and Customize Pages permission to add the K2 web parts to your sites.

This permission is required for users who are not the SharePoint Administrator or reside in the Owners Group and who need to add the K2 web parts to pages in the site. For example, if you are a member of the Portal Members group which has Edit rights and you need to add the K2 web parts, the above mentioned permission is required. If the permission is not set, the following message appears after adding the K2 web parts:
To link to content, open the tool pane and then type in the Link text box.
Add Permission
Follow the below steps to add the Add and Customize Pages permission:
- Navigate to Site Settings > Site Permissions > Permission Levels and click the Permission Levels link. For the purpose of this example, the user that adds the web parts to the page resides in the Portal Members group which only has Edit rights. Click the Edit link.

- On the Permission Levels > Edit Permission Level page, scroll to the Site Permissions section and select the Add and Customize Pages permission.
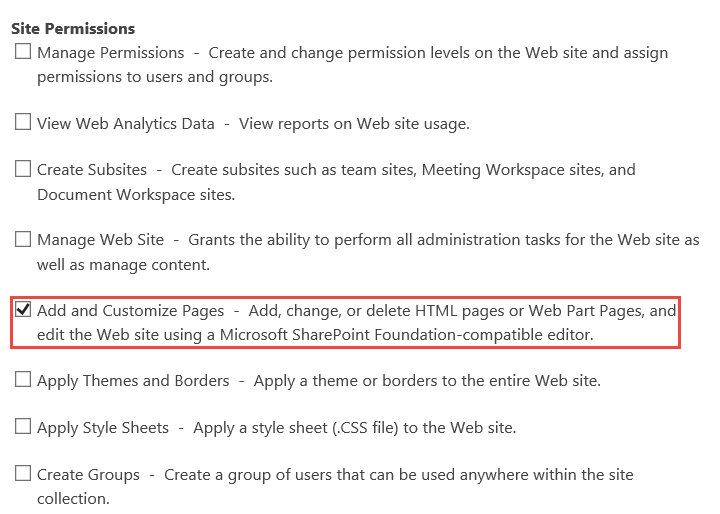
- Click Submit at the bottom of the page.
- If you are using SharePoint Online, additional configuration is needed. Follow the steps below to configure K2 Web Parts for SharePoint Online:
Steps 1 through 3 above are necessary before doing steps 5 through 11.
- Go to the SharePoint Administration Center.
- Click Settings.
- In the Custom Script section select the Allow users to run custom script on personal sites and Allow users to run custom script on self-service created sites.
 Any change to the scripting settings made through the SharePoint Online Administration center may take up to 24 hours to complete.
 - Download the SharePoint Online Management Shell from Microsoft. Open SharePoint Online Management Shell and run the following command in PowerShell:
Connect-SPOService - Enter the URL of your Administrator site:
https://[yourdomain]-admin.sharepoint.com - Enter your username and password.
- Enter the following PowerShell line ensuring that the DenyAddAndCustomizePages is set to False.
Set-SPOSite -Identity https://[yourdomain].sharepoint.com -DenyAddAndCustomizePages $falseMake sure the scripting setting in the admin portal matches what you have set using PowerShell. If you don't do this, the site collection setting may be overridden again in the following 24 hours.
Troubleshooting
The following section discusses various troubleshooting steps regarding K2 web parts.
Duplicate Web Parts
If anyone adds the K2 web parts without the Add and Customize Pages permission, the web part remains in a broken state and must be removed. If this is not done, and a user with the Add and Customize Pages permission adds the K2 web parts, the web parts are duplicated, so be sure to remove the broken web part.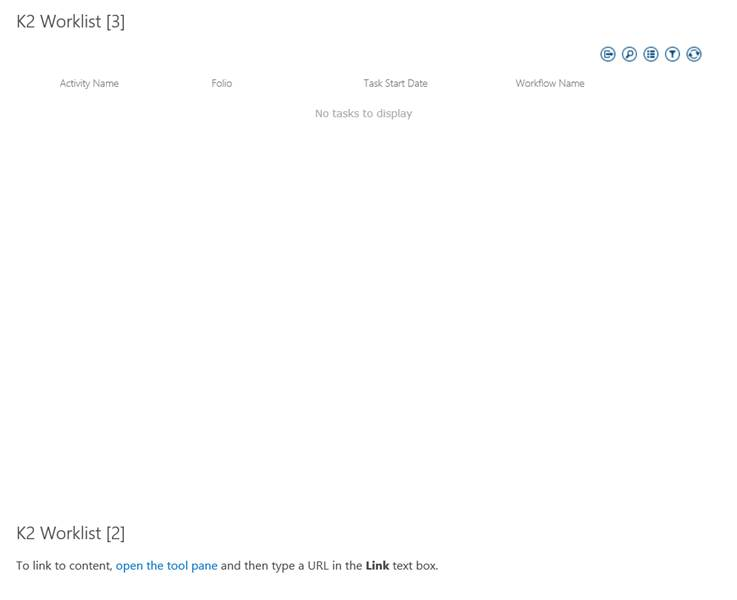
Add the K2 web parts
Follow these steps to add K2 web parts to your sites in SharePoint:
When upgrading the K2 app, all current app parts are removed and require manual configuration of the page to add the web parts.
- Open the site where you want to add the K2 web parts.
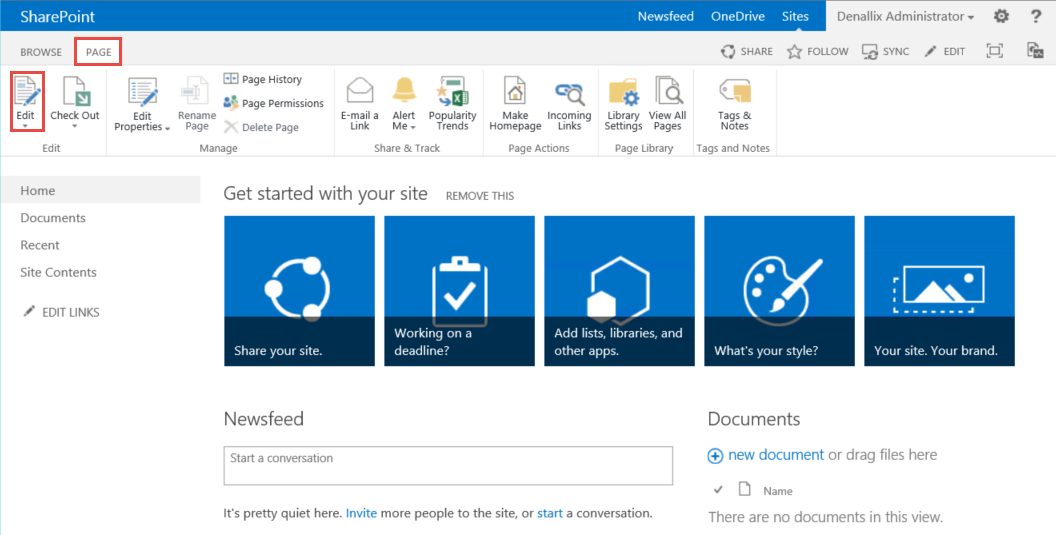
- Click on the Page tab, and then the Edit button in the SharePoint ribbon.
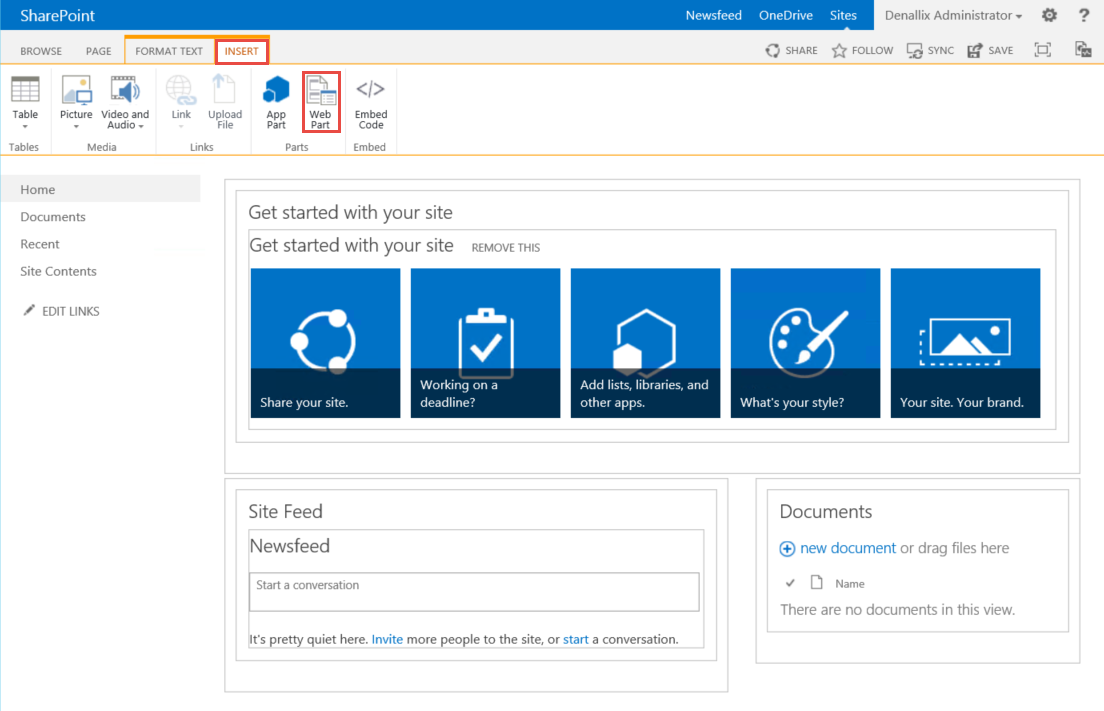
- Click the Insert tab, and then the Web Part button.
- In the Categories section, select the K2 folder, and then in the Parts section, select the web part and click Add.
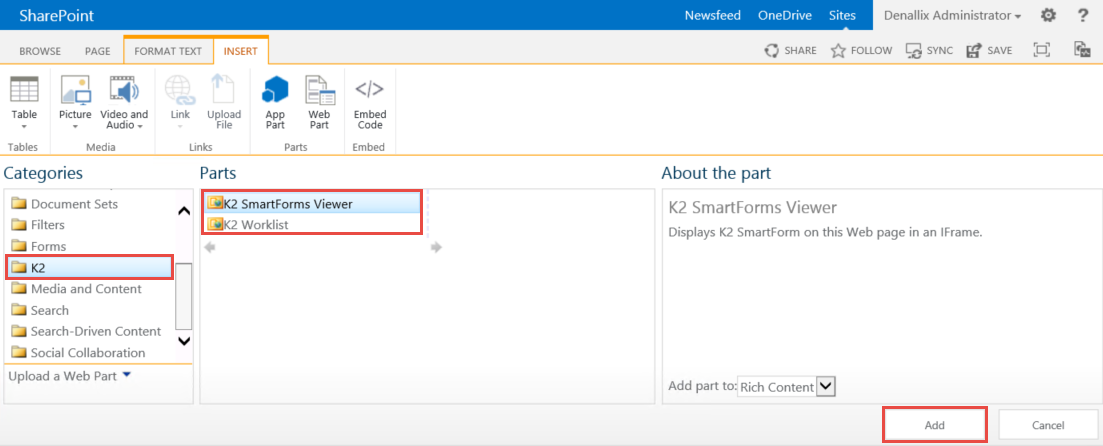
- The web part is added to the page.