SQL Server
The system installs its database on a Microsoft SQL Server instance. You can also leverage Azure SQL when installing the product. For more information about Azure SQL requirements see Creating the K2 database in the Azure SQL Database server
SQL Requirements
- Case-sensitive databases are NOT supported.
- One of the following collation settings are required for the K2 database:
- SQL_Latin1_General_CP1_CI_AS
- Latin1_General_CI_AS
- For more information on mismatched SQL collations, see the KB002337 SQL Collation Setting Warnings and Errors on Installation.
SQL Alias Configuration
To use SQL aliases with the system, you must configure the alias for both 32 and 64 bit applications. Most system components run natively in 64 bit. Some of the components function in 32 bit and will not detect the alias unless you configure it correctly.
Use the SQL Server Client Network Utility (cliconfig.exe) to configure the alias. You can find cliconfig.exe here:
- 32 bit: C:\Windows\System32\cliconfg.exe
- 64 bit: C:\Windows\SysWOW64\cliconfg.exe
Configuration Steps
- Start the SQL Server Client Network Utility as system administrator.
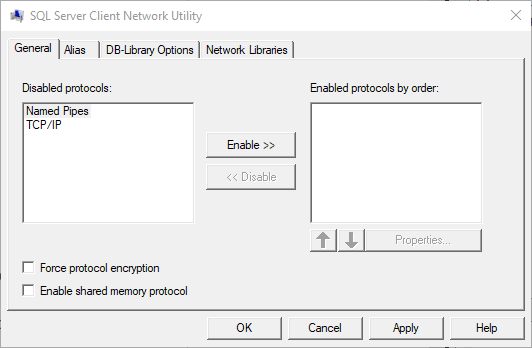
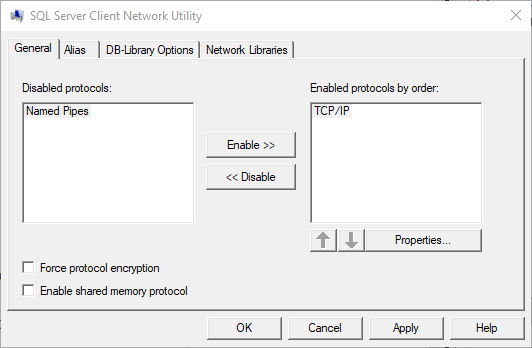
- Select TCP/IP from the list and click Enable >>.
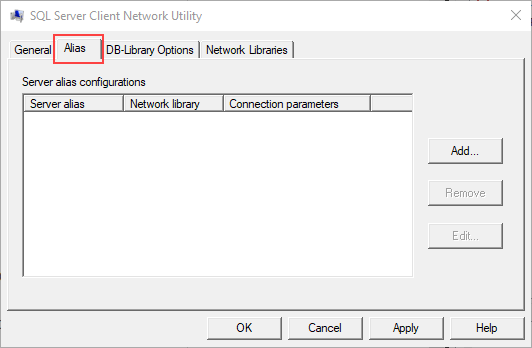
- Select the Alias tab and click Add.
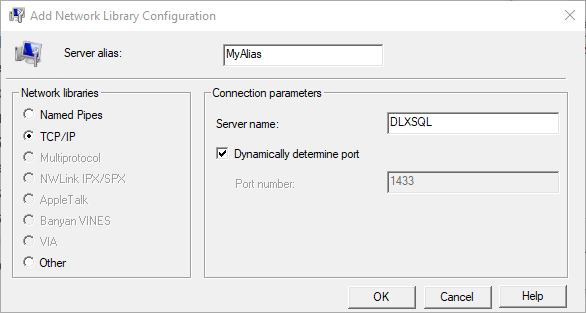
- In the Add Network Library Configuration window, do the following:
- Enter an alias in the Server Alias box
- Select TCP/IP in the Network Libraries section
- In the Connection parameters section, enter your SQL Server name
- If the machine is not using the default port (1433) deselect the Dynamically determine port checkbox, type in the correct port number and click OK to continue
- The alias is now listed and accessible in the Alias tab. Click OK to finish.
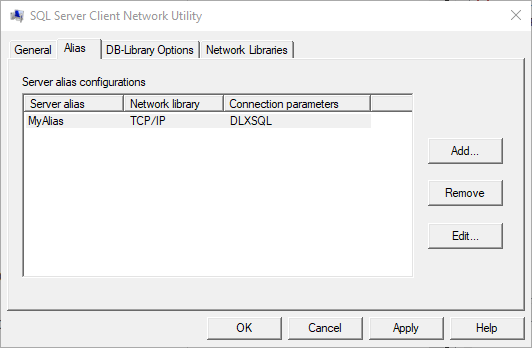
Making a connection to the SQL alias now directs you to the actual name of the SQL Server.
You can also confirm the Alias by checking these registry keys:
- HKEY_LOCAL_MACHINE\SOFTWARE\Microsoft\MSSQLServer\Client\ConnectTo
- HKEY_LOCAL_MACHINE\SOFTWARE\WOW6432Node\Microsoft\MSSQLServer\Client\ConnectTo