1. Add the Expense Claim Categories
In this step, you will launch the Designer, then add categories for your Expense Claim application. Categories are folders where you store the artifacts you will create throughout this tutorial. (Artifacts include views, forms, SmartObjects, and workflows.) Categories keep your application projects organized and are especially useful if you have more than one person working in your the Designer environment.
- Add the following categories to the All Items node in the the Designer explorer.
- K2 Learning
- Expense Claim
- Forms
- SmartObjects
- Views
- Workflow
- Expense Claim
The main K2 Learning category keeps all your learning tutorials organized in one place. If you have many users accessing the same environment to build tutorials, consider making the category name unique to you by adding your initials to the category name K2 Learning YourInitials (for example K2 Learning LM).Expense Claim Categories
Adding your initials helps you identify which category contains the tutorials you created and keeps your applications separate from other users' work. It also helps if you want to delete the applications and artifacts that you created.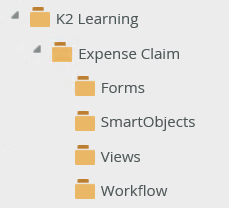
- Launch the the Designer site.
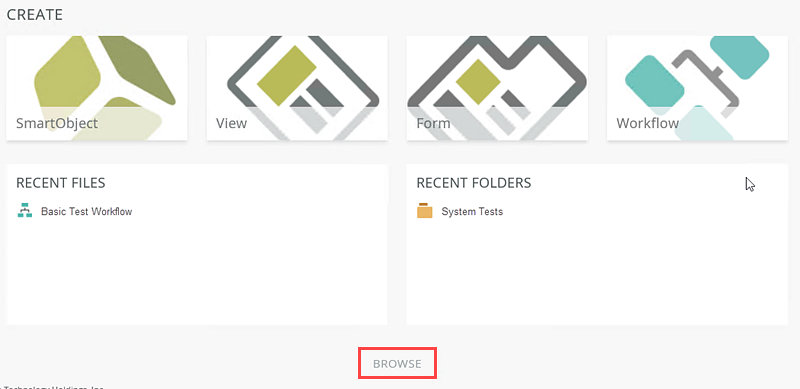
- the Designer launches on the landing page. Here, you will find links to recent items and recent folders. (After you begin building your application, you can use these links for quick access to your artifacts.) For now, click BROWSE to open the category explorer and designer.
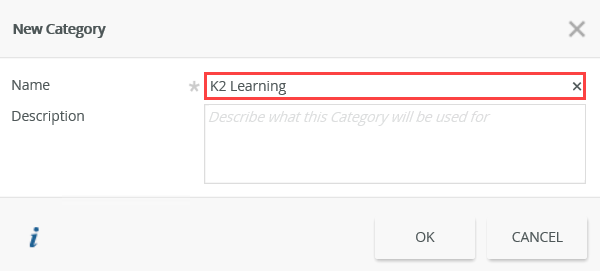
- From the left-side explorer column, right-click All Items, then select New Category. Name the new category
K2 Learning
then click OK. If the K2 Learning category already exists, continue to the next step.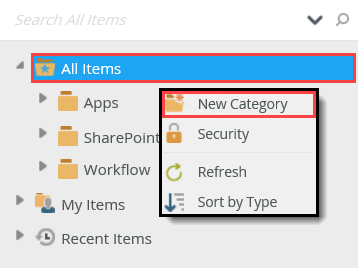
- Right-click K2 Learning, then select New Category. Name the new category
Expense Claim
then click OK. - Right-click Expense Claim, then select New Category. Name the new category
Forms
then click OK. Repeat this step and add the remaining Expense Claim categories.
SmartObjects
Views
Workflow
If you are unsure of how to launch the Designer, see Accessing Sites.Your Expense Claim category structure should look like the image below.
- K2 Learning
Review
In this step, you created the Expense Claim categories that will store your application artifacts. Categories help to keep your projects organized and are especially useful if you have more than one user accessing the designer environment.
In the next step, you will launch the Management site and create a new role that will be used in the Finance Processing step of the workflow.