Nintex RPA Robot Installation
To access the RPA Studio installation file:
-
Navigate to Customer Central.
-
Click on Product Releases from the left menu.
-
Select Nintex RPA in the search boxes.
-
Click the Download/Access icon for the latest available RPA version.

-
Navigate to the Client/ folder on the directed website.
-
Select an installation file type from the list.
The available list of downloads will vary depending on your selected version.
When installing the Nintex RPA Server, the installer generates JSON files that contain a list of parameters with predefined values, by default at: C:\Nintex\RPA Clients.

After the server installation is complete, move the JSON Source Files to the same location as the RPA client installer files (MSI or EXE files) and edit the JSON file parameters as needed.
When you start the client installer wizard, it will read the parameters from the JSON file and automatically populate the values in the installer input fields. By clicking the Customize button in the installation wizard, you can see that the input values are the same as in the JSON file.
Without configuring the JSON file parameters, it is still possible to change these values by editing the user input fields in the installer user interface during customization.
Once you have edited your JSON file parameters according to your organization's needs, run the installation wizard for your downloaded RPA Robot.
To begin the installation wizard with the default parameters:
-
Run the Nintex Robot EXE file as an administrator.

-
Start the installation wizard.

-
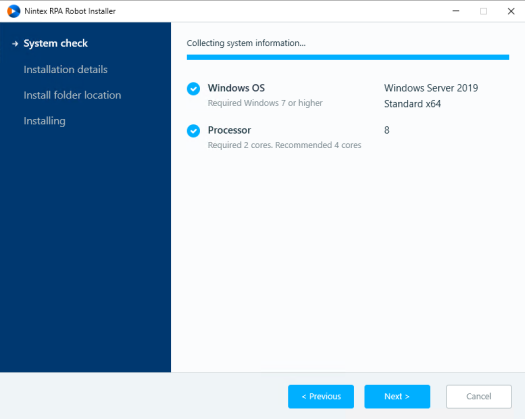
Click Next after the System check.
-
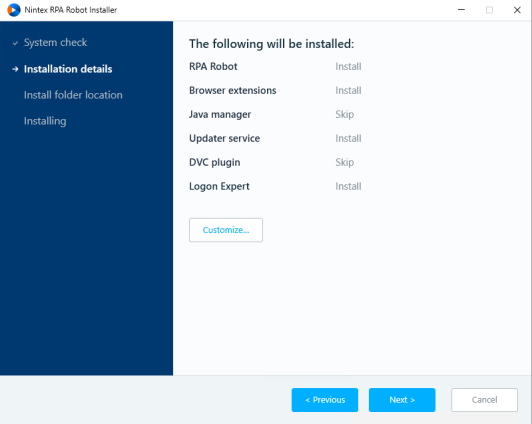
Click Next after the Installation details are listed.
If you are installing with the default settings, Skip will be automatically input next to the services that are currently installed on your machine.If you would like to edit settings or review JSON parameter changes, select and follow these steps.
-
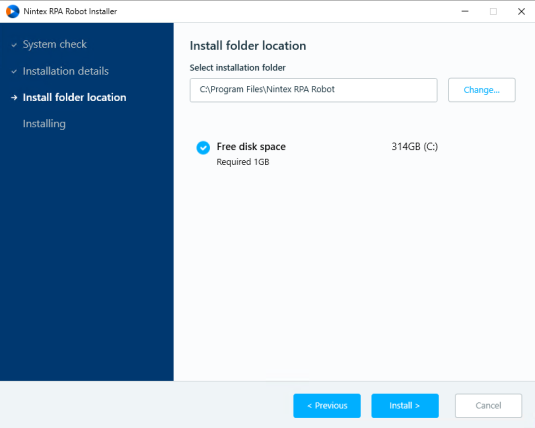
Click Install after selecting the installation folder location.
-
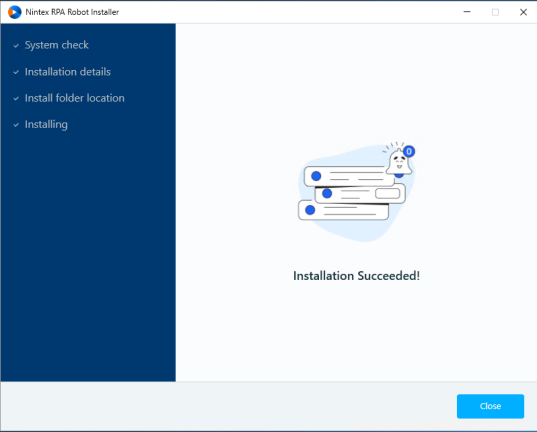
The wizard executes the installation. Click Close when the installation is complete.
Once you have edited your JSON file parameters according to your organization's needs, run the installation wizard for your downloaded RPA Robot. By default all the required parameters are created during the Nintex RPA Server installation.
-
Run the Nintex Robot EXE file as an administrator.

-
Start the installation wizard.

-
Click Next after the System check.

-
Click Customize under the listed Installation details.
Here you can customize parameters for the first time, or review JSON parameter changes that you previously edited after the RPA server installation.
-
Select which components you want to install and click Next.
Components that are currently installed on your computer will automatically be unchecked.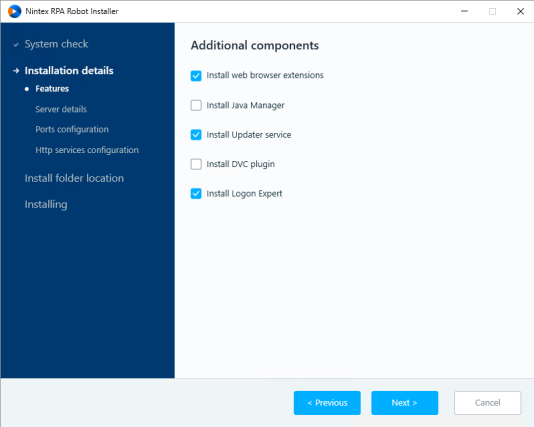
-
Select the RPA Server details and click Next.
-
RPA Server FQDN: These details are automatically populated from the json file.
-
Cluster servers FQDNs: List the FQDNs of the cluster servers separated by commas.
-
Load Balancer FQDN.

-
-
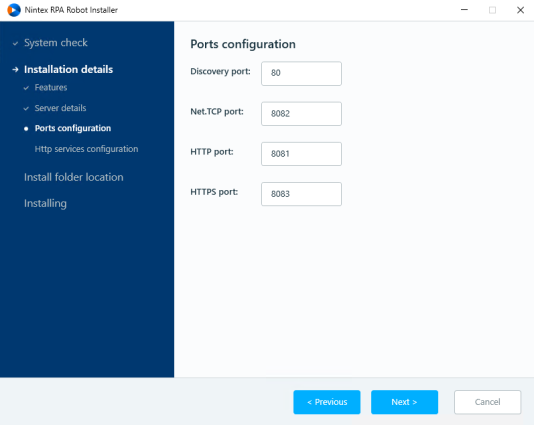
Ports configuration is automatically populated from the json file. Edit the port details if necessary and click Next.
-
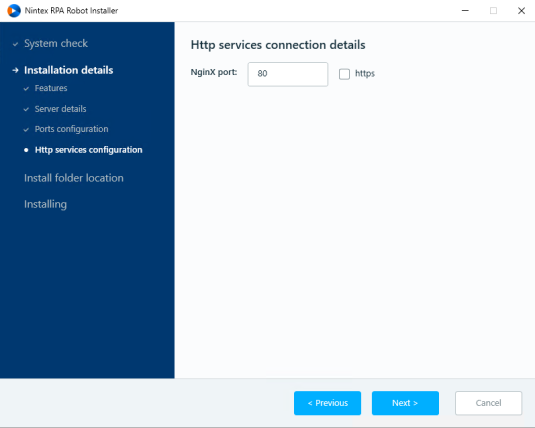
Select if you are using an https connection, edit the NginX port, or keep the default, and click Next.
-
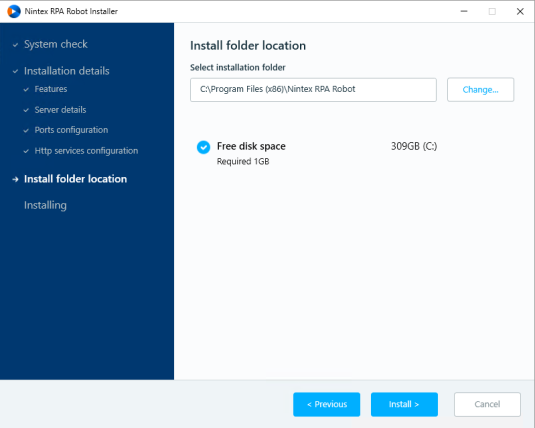
Click Install after selecting the installation folder location.
-
The wizard executes the installation. Click Close when the installation is complete.
