Views
You can find views in the category where they were created or deployed, and you can see a view’s properties and perform other actions on the view.
Members of the security administrators role can apply View Authorization to views. For more information see Authorization Overview.
| Field | Description |
|---|---|
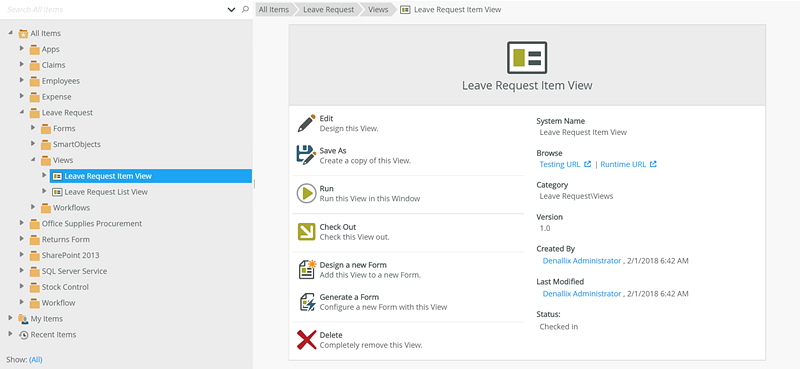
| Delete | Delete the view. |
| Move | Move the view to another category. |
| Copy | Make a copy of the view in another category. |
| Design | Edit the view in K2 Designer. |
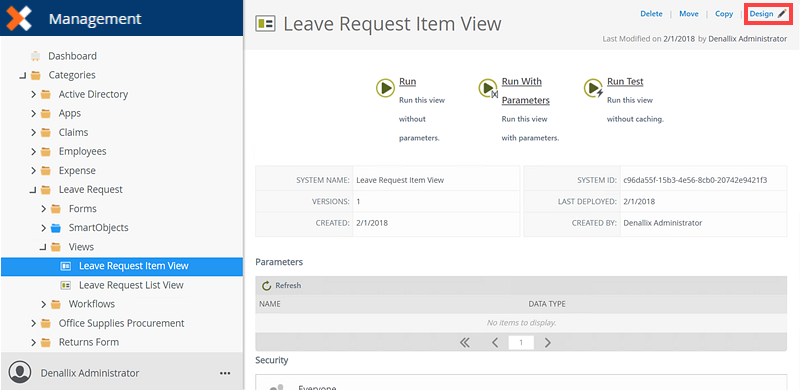
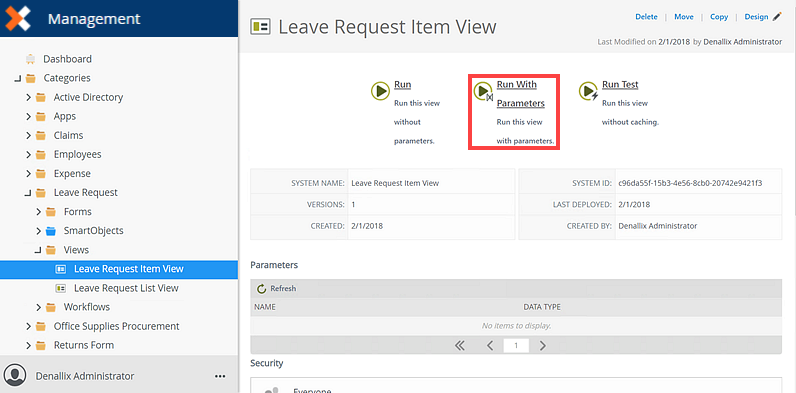
| Run | Run the view without parameters. |
| Run with Parameters | Run the view with parameters. |
| Run Test | Run the view without caching. |
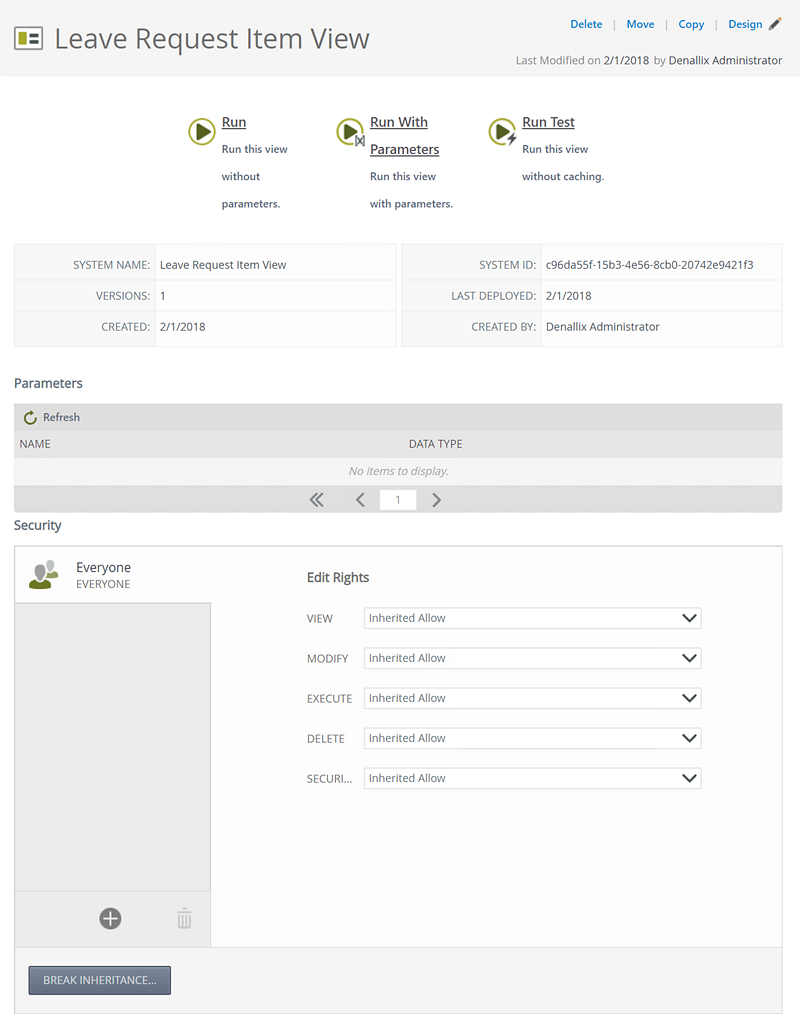
| System Name | Displays the view's system name. |
| Versions | Displays the version history of the view. |
| Created | Displays the date that the view was created. |
| System ID | Displays the unique view ID (GUID). |
| Last Deployed | Displays when last the view was deployed to the server. |
| Created By | Displays the user who created the view. |
| Parameters | Displays the parameters defined for the view, in a list. This list can be refreshed to show any changes to the parameters associated with the view. |
| Security | Configure view security. |
To delete a view, follow the steps below:
- Select a view from a category and click Delete.
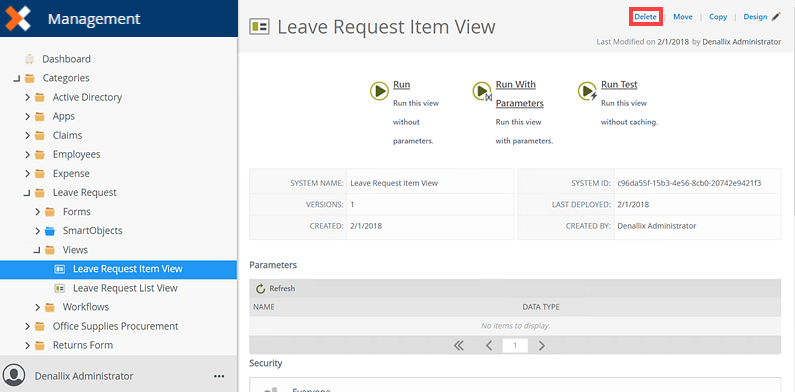
- The Delete View dialog opens. Click OK to confirm.
To move a view, follow the steps below:
-
Select a view from a category and click Move.

- The Move View dialog opens. Using the tree view, select a destination folder for the view, and then click OK.
- Click OK on the dialog message to confirm.
-
Refresh the Categories node by right-clicking the destination folder and clicking Refresh Menu. Note that the is now in the destination category..

To make a copy of a view, follow the steps below:
-
Select a view from a category and click Copy.
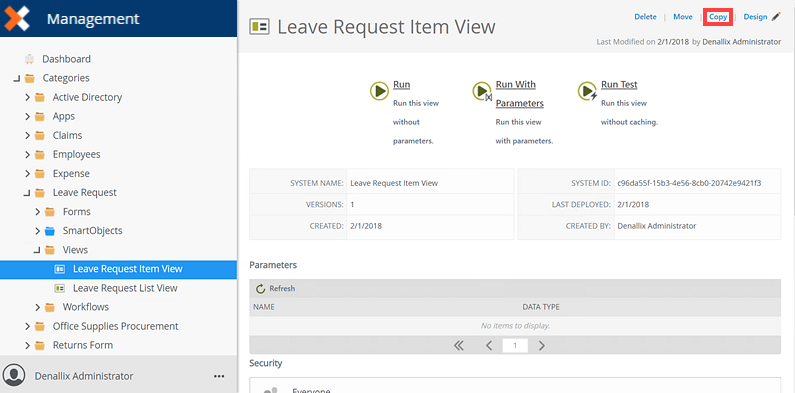
- The Copy View dialog opens. Specify the view's new name and category, and then click OK.

- Click OK on the dialog message to confirm.
- Refresh the Categories node by right-clicking on the destination folder, and then clicking Refresh Menu. Note that the view is now in the destination category.
To design (edit) a view, follow the steps bellow:
- Select a view from a category and click Design.
- The view opens in K2 Designer.
To run a view, follow the steps below:
-
Select a view from a category folder and click Run.
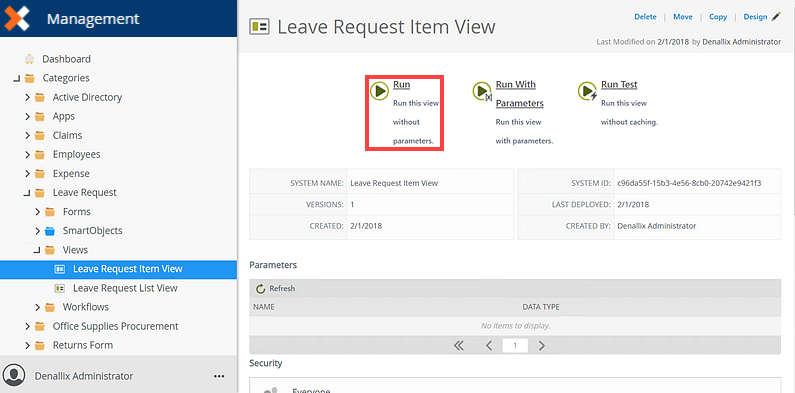
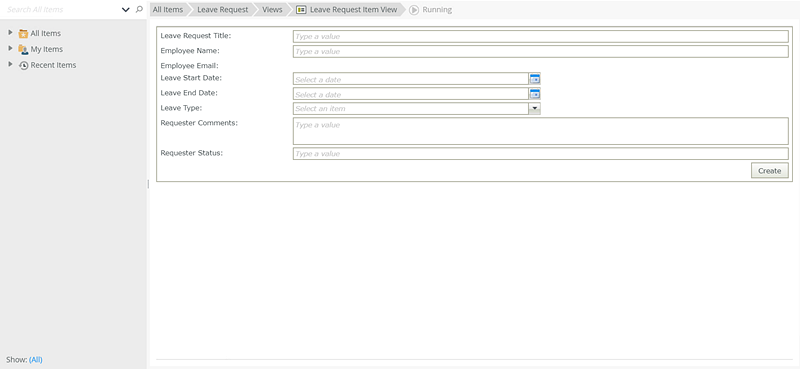
- A new browser tab or window opens, displaying the view as if you opened it using the view's URL.
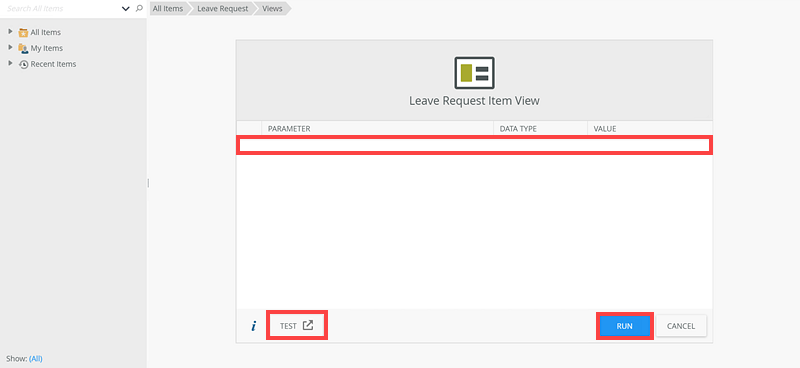
Some views may require you to provide parameters before the view can open. To run a view with parameters, follow the steps below:
-
Select a view from a category and click Run With Parameters.
- The view opens in a new tab where you can enter values for the parameters. Once you’ve entered values, click Run. You can also run a test of view with parameters using the Test option.
You may want to test a view without relying on any previous caching that may have been done on the server for that view. To test a view, follow the steps below:
-
Select a view from a category and click Run Test.
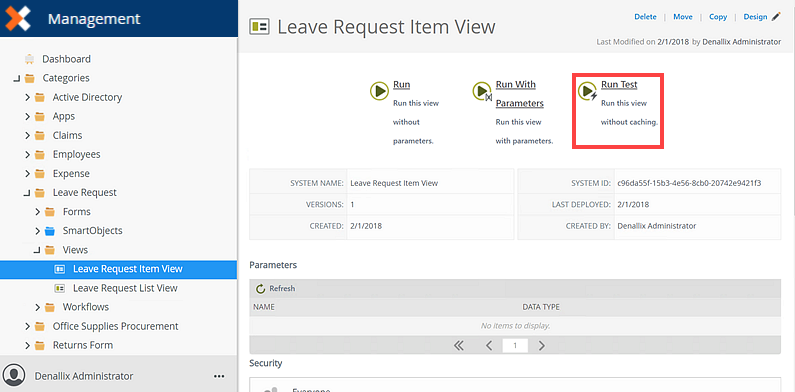
- A new browser tab or window opens displaying the view as if it were opened directly using the view URL without any previous caching.
If you’ve changed a view’s parameters, update the parameters by clicking Refresh.

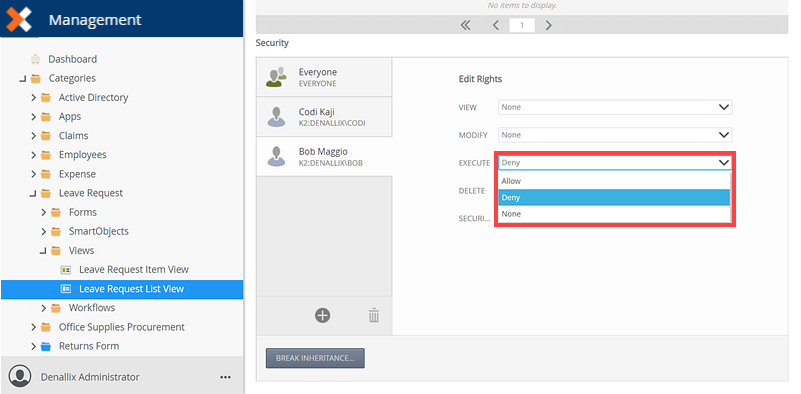
View Authorization allows members of the security administrators role to apply authorization on Views in the Categories node. This allows you to control which users, groups, and roles can view, modify, execute, delete, and apply security to views. For more information see Authorization Overview.

| View Rights | Applies to: | Allows user/group/role to: |
|---|---|---|
| View | K2 Designer | Browse to, view, and use the view on a form in K2 Designer. |
| Modify | K2 Designer, K2 Management | Edit, rename, and move views in the K2 Designer. Move or copy the view in K2 Management. |
| Execute | Runtime | Open and run (execute) the view (and forms that contain the view) at runtime. |
| Delete | K2 Designer, K2 Management | Delete the view in K2 Designer and K2 Management. |
| Security | K2 Management | Manage the view's security, including setting View, Execute and Security rights. |
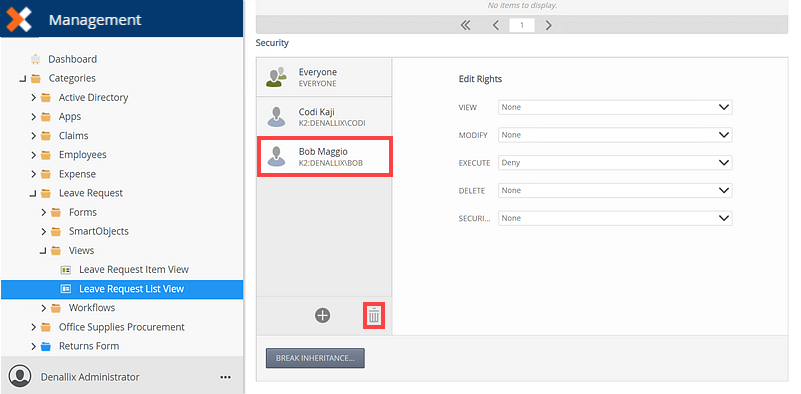
Follow these steps to add authorization to a View:
- Select a view from the Categories node.
- On the Security page add a user, group or role by clicking Add.
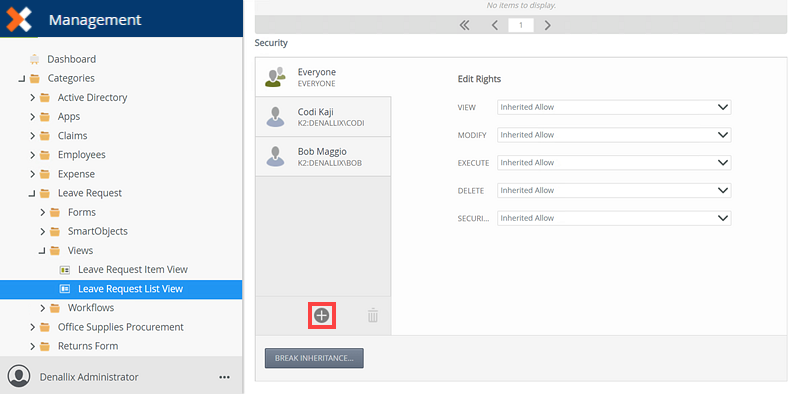
- On the Add Users, Groups, And Roles page, search and add a user, group or role. Click OK.

- Specify the user, group or role's View, Modify, Execute, Delete, and Security rights. If the View is inheriting rights from the parent folder, the following rights are available: Allow, Deny and Inherited Allow. If the inheritance is broken the following rights are available: Allow, Deny and None.
- Add more users, groups and roles to the Security page if desired. Click Close.
When specifying users, groups and roles for View security, the Everyone Role is added during installation, providing all authenticated users, the ability to view the View. Best practice would be to modify the Everyone Role's view rights to None on the Categories folder, and grant permissions to users, groups and roles according to your organizations requirement on the View.
Follow these steps to edit authorization in a View:
- Select a View from the Categories node.
- On the Security page, add a new user, group and role or edit existing users and rights.
Follow these steps to remove authorization in a View:
- Select a view from the Categories tree.
- Select a user, group or role from the Security section and click Remove.