How To: Configure an editable list view with required fields and rows
You can configure an editable list view to check for a required field, and that a row is not blank. The required field prevents someone from saving an entry to the editable list view and shows a message until they add the required field. The empty row configuration prevents someone from saving or leaving rows blank in the editable list view and shows them a message.
For example, suppose you have an order entry editable list. You want to define data validation so that each row in the order details must contain a value for the Item field. You also want to define validation so that at least one item is added to the editable list view.
Configure an editable list view for required fields and rows
Scenario
In the following scenario, you use rules to configure required field validation for a specific field. You also configure a rule to verify that at least one item is added to the editable list.
Steps
In the steps below, you create a SmartObject called Order. You generate an editable list view based on the Order SmartObject and create a form called Purchase Order. You then add the view to the Purchase Order form and configure view and form level rules to check if the required field is empty or a row is blank.
Setup Steps
The following steps set up the scenario from start to finish. If you want to skip the setup steps and view the topic step, go to Configure the View and Form Rules.
- Create the SmartObjects
- Open K2 Designer and create new category folder called Purchase Order.
- From the K2 Designer, create the Order SmartObject as shown below.
Order
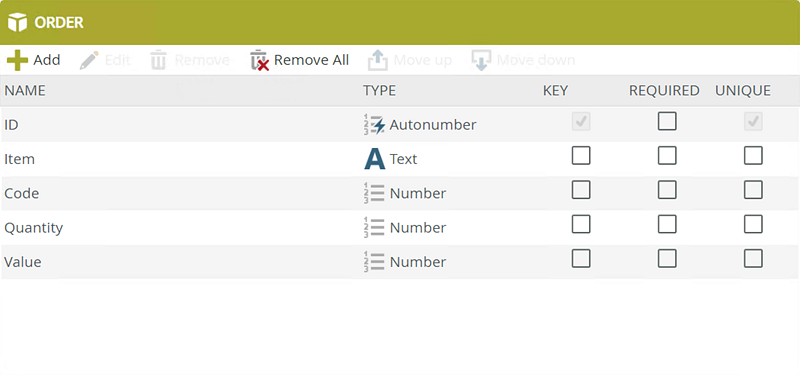
Properties Type Key Required Unique ID Autonumber Yes No Yes Item Text No No No Code Number No No No Quantity Number No No No Value Number No No No
- Generate View
- On the Order SmartObject, generate an editable list view.
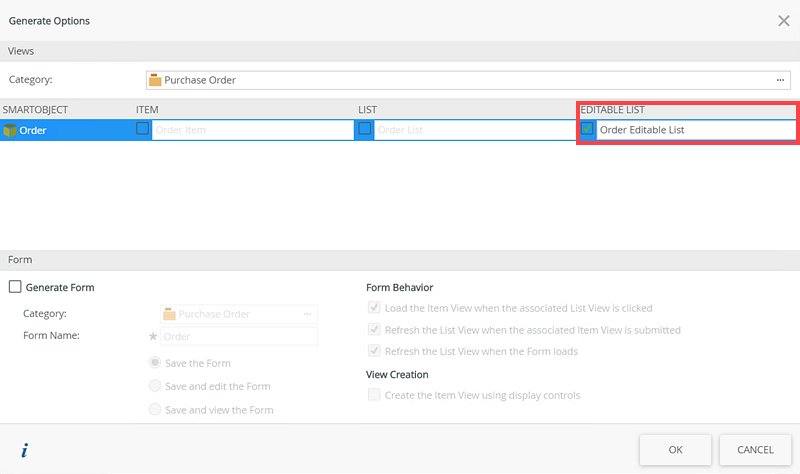
- On the Order SmartObject, generate an editable list view.
-
Configure the Order Editable List View
- Open and edit the Order item view.
- Select the ID column and remove the column.
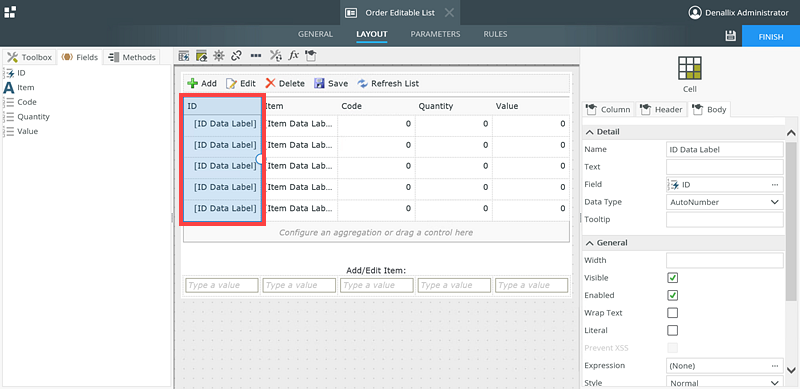
- Select the Item column and click Count in the Aggregation section. The purpose of the Count is to count how many rows are in the Order view. Later in this how-to, you will use the count option in a rule; if the count is 0, a message will display.
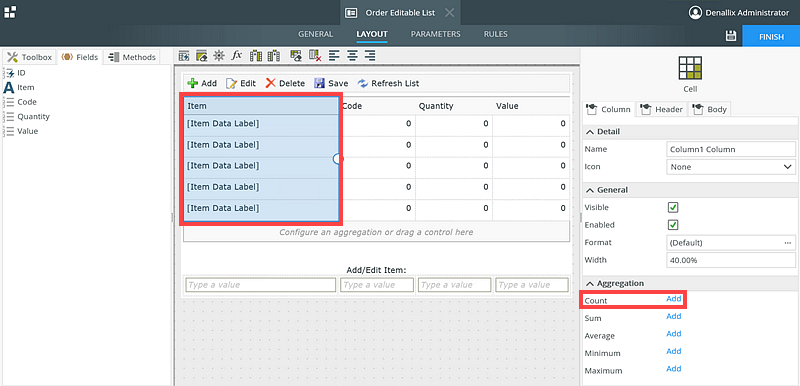
- Click Finish and check in the view.
- Open and edit the Order item view.
-
Create the Purchase Order Form
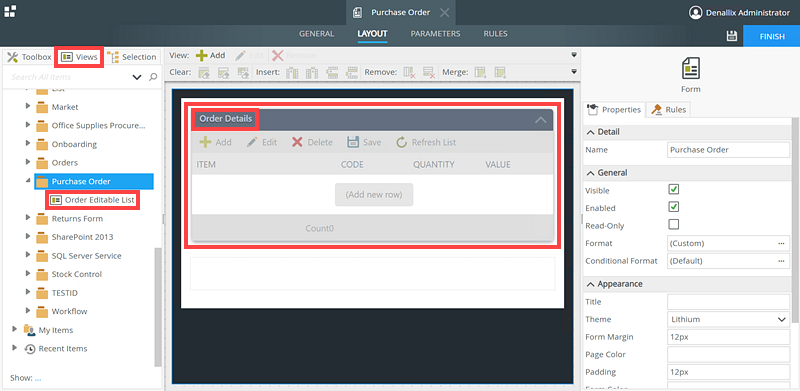
- Open K2 Designer and create a new form called Purchase Order.
- Add the Order view to the Purchase Order form. Enter Order Details as the view title.
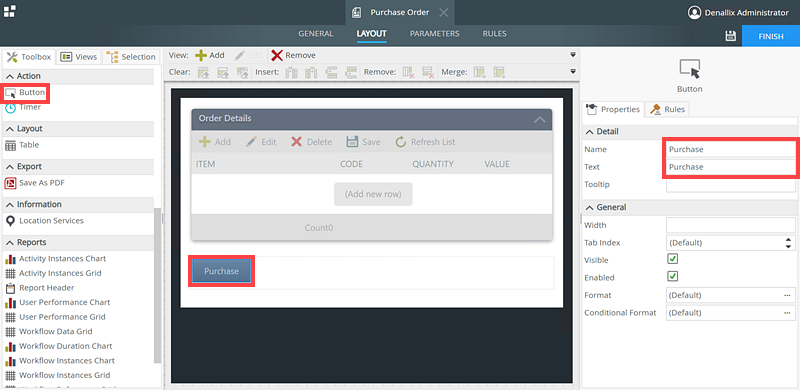
- Add a Button control to the Purchase Order form and rename it to Purchase.
 i
i - Click Finish and check in the form.
- Open K2 Designer and create a new form called Purchase Order.
Configure the View and Form Rules
In this step you configure the rules for the Order Details view and the Purchase Order form.
- Configure the View and Form Rules
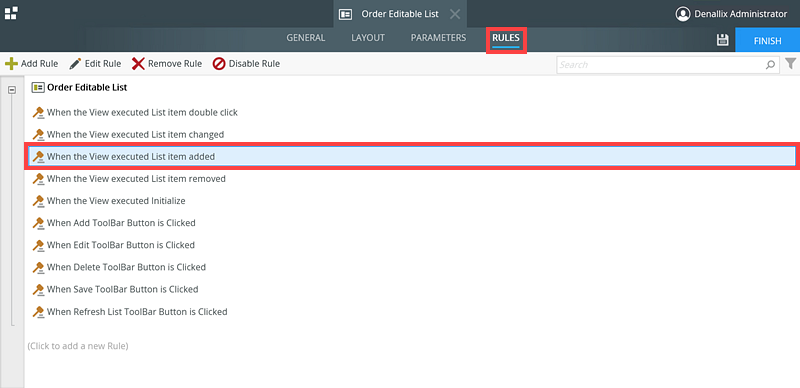
You now configure the When the View executed List item added and When the View executed List item changed rules. These rules determine if the Item field is empty when a row is added or changed on the Order Details view. If the item field is empty, a message displays
- Open and edit the Order editable list view.
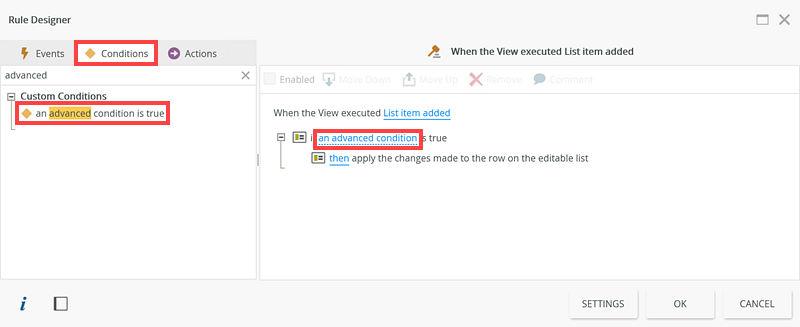
- Select the Rules tab and edit the When the View executed List item added rule.
- On the Rule Designer page, select the Conditions tab and add the an advanced condition is true condition. Click an advanced condition to configure it.
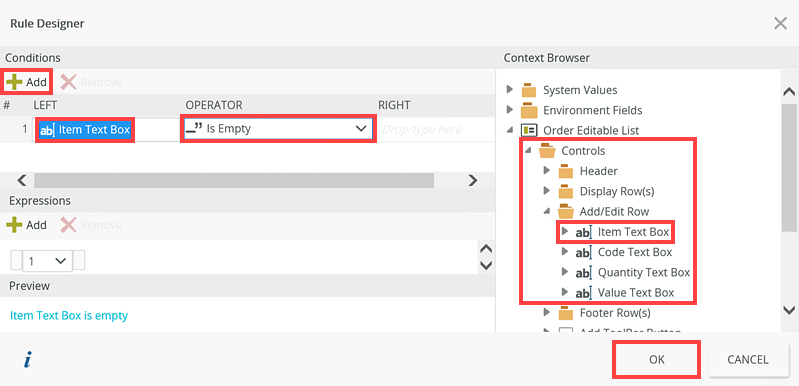
- On the Rule Designer page, click Add.Add the Item Text box from the Controls > Add/Edit Row in the Context Browser. In the Operator section select _" Is Empty. Click OK.
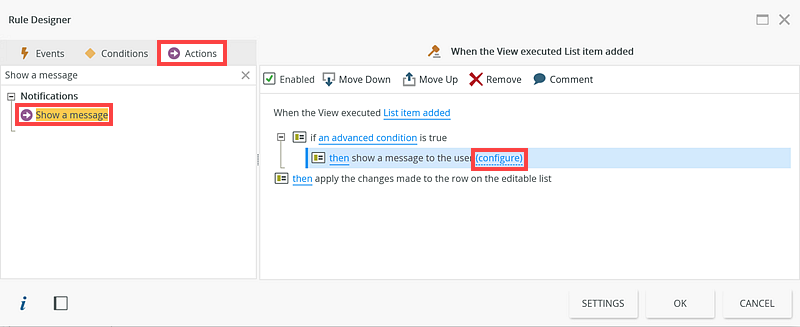
- Select the Actions tab and add the Show a message action and click configure.
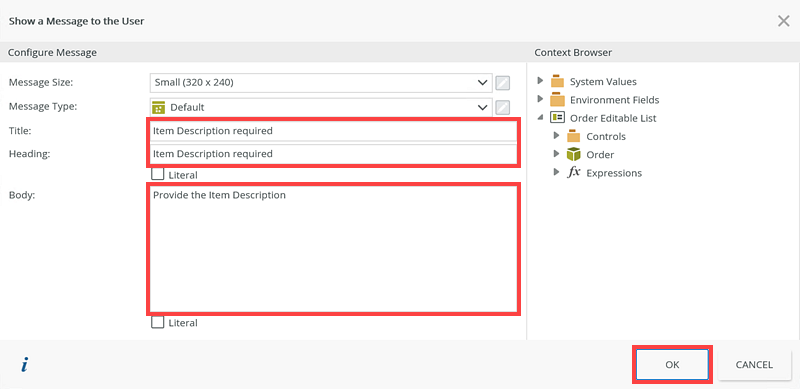
- On the Show a Message to the User page configure the Title, Heading and Body as shown below. Click OK.
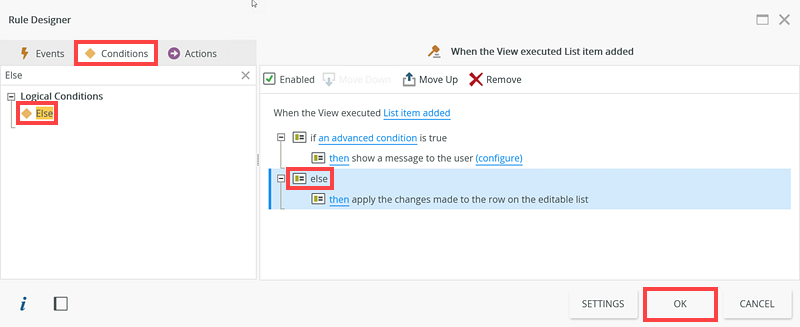
- Select the Conditions tab and add an Else condition to the rule as shown below. Click OK.
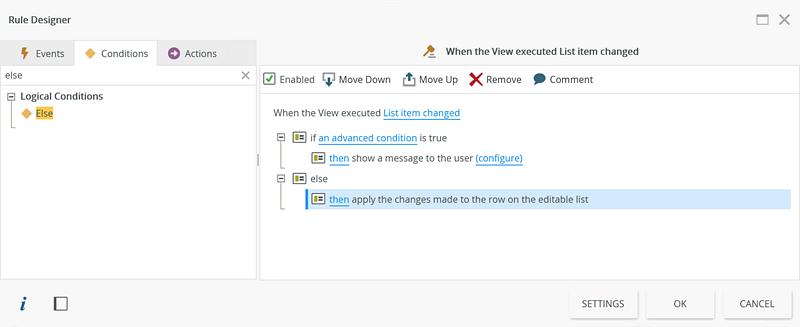
- Repeat the above steps on the When the View executed List item changed rule.
- Click Finish and check in the views.
- Open and edit the Purchase Order form.
- Select the Rules tab and click Add Rule.
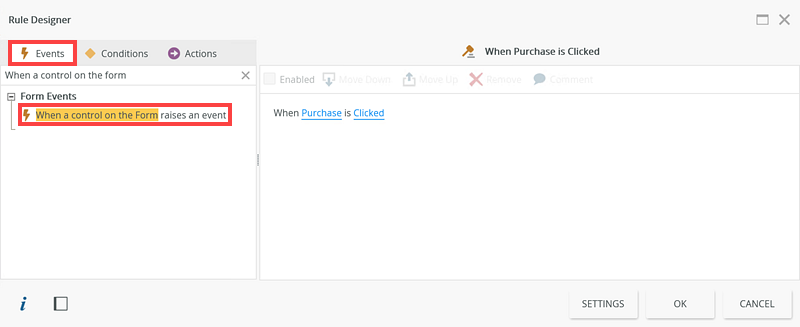
- On the Rule Designer page select the Events tab and add the When a control on the Form raises an event event.
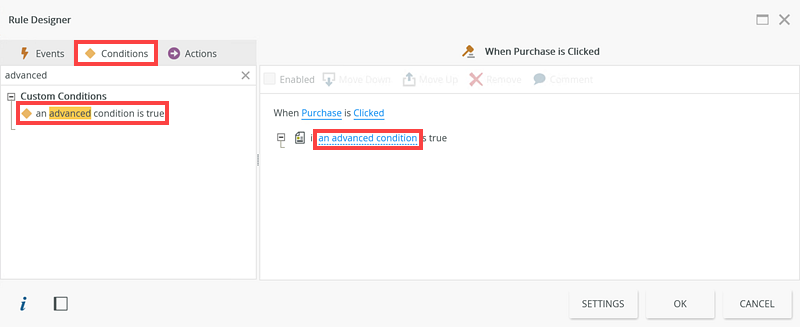
- Select the Conditions tab, add the an advanced condition is true condition and click an advanced condition to configure it.
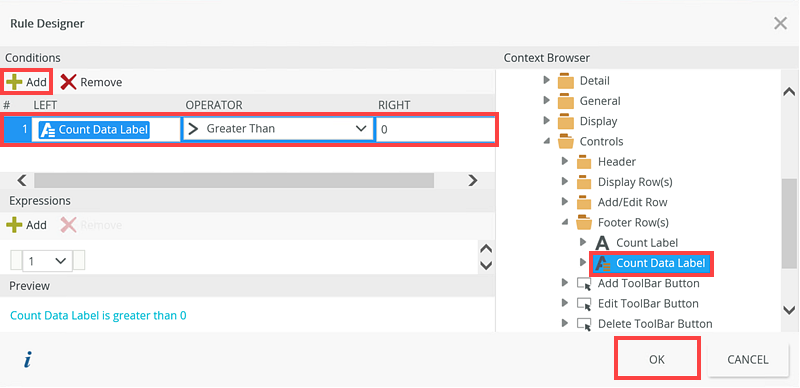
- On the Rule Designer page click Add. Add the Count Data Label from the Order Editable List > Controls > Footer Rows in the Context Browser. In the Operator section select > Greater Than and add 0 in the Right section. Click OK.
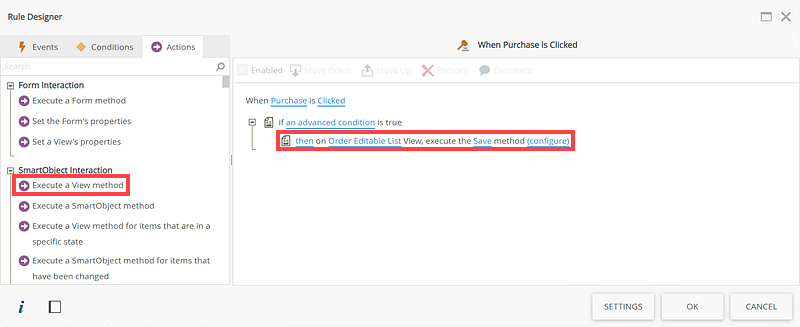
- On the Rule Designer page select the Actions tab, add another Execute a View method rule and click select View. Select the Order Editable List view and click select Method. Select the Save method and click configure.
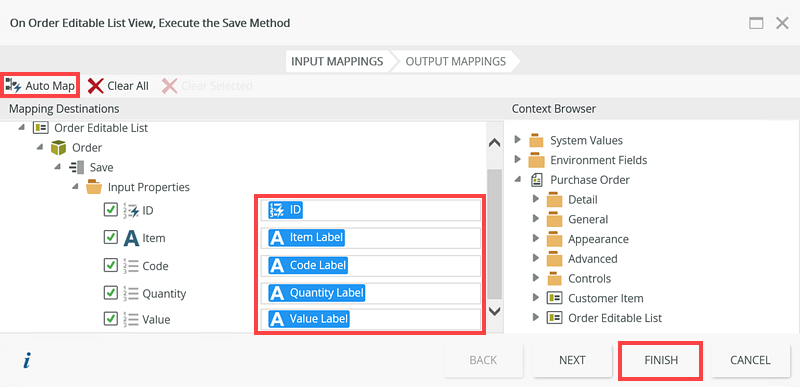
- On the On Order Editable List View, Execute the Save Method page, click Auto Map in the Input Mappings section and click Next. There are no Output Mappings, click Finish.
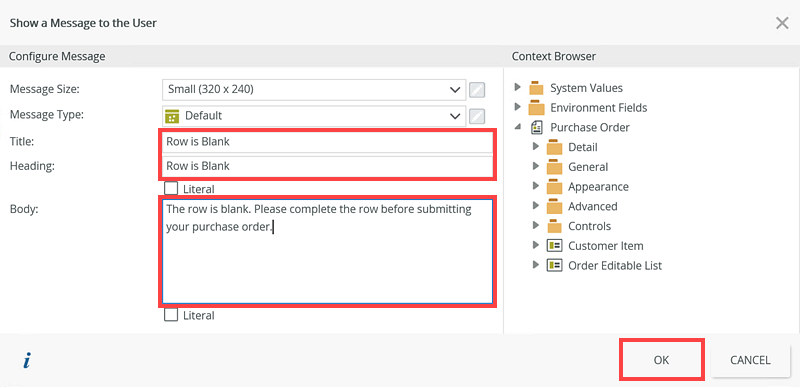
- On the Rule Designer page select the Conditions and add the Else condition. Select the Actions tab and add a Show a message action and click configure.
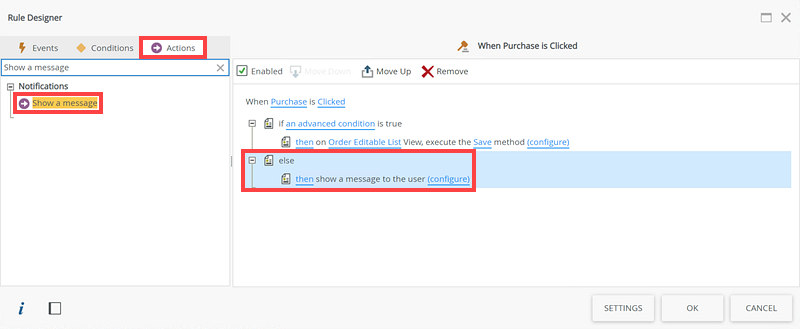
- On the Show a Message to the User page, add Row is Blank to the Title and Heading fields and add The row is blank. Please complete the row before submitting your purchase order. in the Body field. Click OK.
- Click OK again, click Finish and check in the form.
You now configure the form rule for the Purchase button. The form rule uses the count option you added to the Item column of the Order Details view. If the count is greater than 0, then row is saved, if the count is less than 0, a message is shown, stating that the rows are blank.
-
Test the SolutionIn this step you create a new Purchase Order and add items to your order.
- From the K2 Designer, locate the Purchase Order form and click Run.
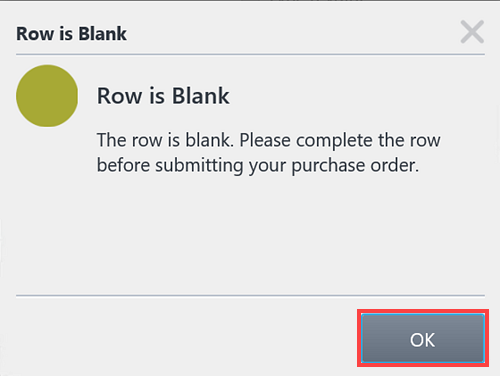
- On the Order Details view, click Add or (Add new row) and do not add any information in the new row. Click the Purchase button.
- Notice the Row is Blank message displays, because the Count aggregate is 0 on the Order Details view.
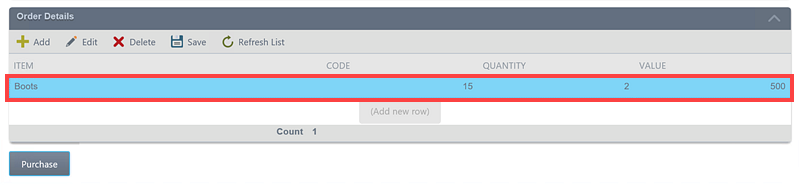
- Complete the newly added row and click Save then Purchase. Notice the row is saved because the Count aggregate is greater than 0.
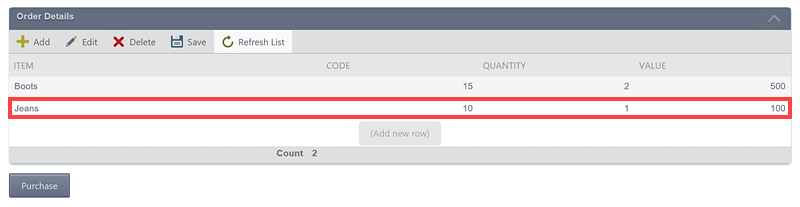
- On the Order Details view, add a new row and only enter information on the Code, Quantity and Value fields and click Save or click out of the newly added row.
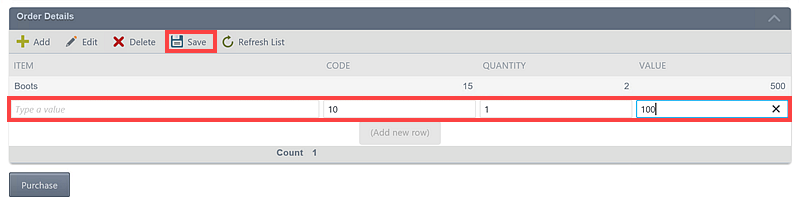
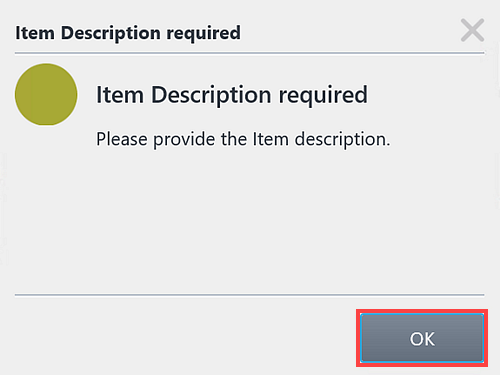
- Notice the Item Description Required message displays because the Item field on the Order Details view is empty. Click OK.
- Provide an item description in the Item field and click Save again. Notice the row is saved successfully because you completed the required Item field.
Review
You created a SmartObject called Order Details. You then generated a editable list view, created a form and added the view to the form. You configured rules on the view level which determined if the Item field was empty, then a message showed stating the Item field is required. You then configured a form rule on the Purchase button that if the count is less than 0 on the Order Details view, then show a message stating the row is blank.