How To: Add Lookup Information to a Form
Use the Lookup control to select a value from a dialog window containing a list of values. For example, you may have a SmartObject that contains a list of items. As part of your form you want to be able to show a subview with the list of items (lookup information), and then select an item to populate data on the form.
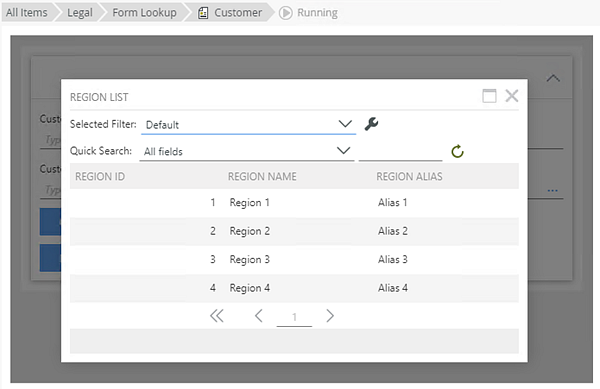
Runtime example of the Region lookup list
Scenario
Your organization uses a form to capture customer information. To make it easier to complete the form, you want to show a dialog box so that the form user can search for and select a region for the new customer.
Steps
In this scenario, you begin by building two SmartObjects called Customer and Region that stores customer and region details. Next, use the Customer SmartObject to create an item view and from the Region SmartObject generate a list view. You use the item view to capture the data on the form and the list view as the lookup reference. Edit the Customer item view and change the Region ID text box to a Lookup control. Then configure the Region ID field to use the Region SmartObject as the data source for the lookup list. Add a rule to the Customer item view to open the Region list view in a subview. Add another rule to populate the Region ID field with the selected item when you double click on it. Finally, add some data to the Region SmartObject and test the solution.
Setup Steps
The following steps set up the scenario from start to finish. If you want to skip the setup steps and view the topic step, go to Edit and configure the Region ID field.
-
Create two new SmartObjects called Customer and Region.
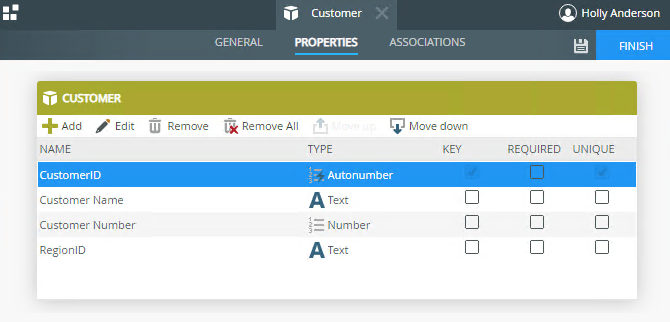
- From the K2 Designer, create the Customer SmartObject as shown below.
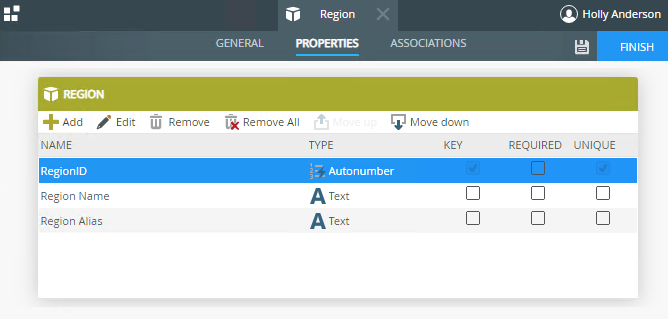
- Do the same and create the Region SmartObject as shown below.
If you are not familiar with creating a SmartBox SmartObject, see How To: Create A SmartBox SmartObject.
- From the K2 Designer, create the Customer SmartObject as shown below.
-
Generate two views, an Item view from the Customer SmartObject and a List view from the Region SmartObject.
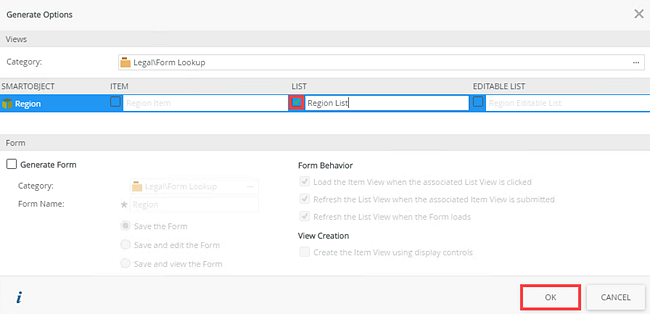
- From K2 Designer, right click the Customer SmartObject, select Generate view and check the Item check box to generate the Customer Item view. Click OK.
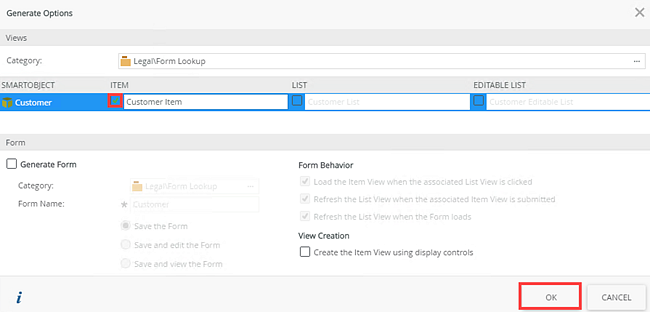
- To generate the second view, from K2 Designer, right click the Region SmartObject, select Generate view and check the Item check box to generate the Region List view. Click OK.
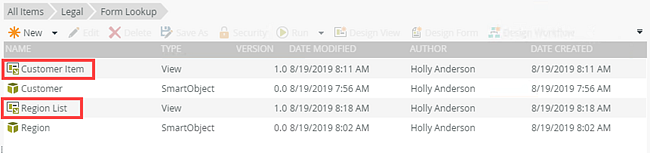
- The generate views show as below.
If you are not familiar with creating views, see How To: Create an Item View and a List View.
- From K2 Designer, right click the Customer SmartObject, select Generate view and check the Item check box to generate the Customer Item view. Click OK.
Edit and configure the Region ID field
In this scenario, you edit the Customer Item view and change the Region ID text box to a Lookup control, and specify the Region SmartObject as the data source. On the Customer Item view, add two rules: One rule to open the Region list view in a subview when you click the Region lookup and another rule to transfer data to the Region ID when you double click an item on the Region List subview.
-
Change the Region field to use a lookup control and edit the control's properties
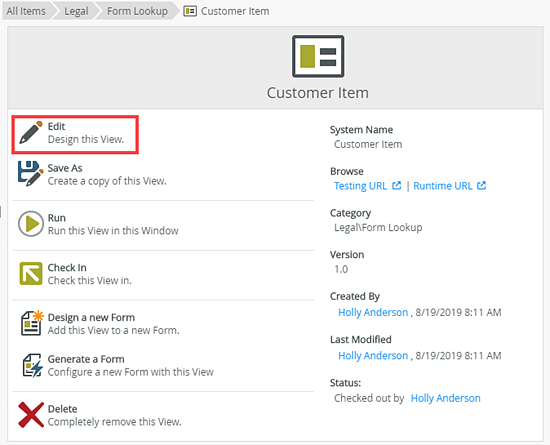
- From the K2 Designer, locate the Customer Item view and select Edit.
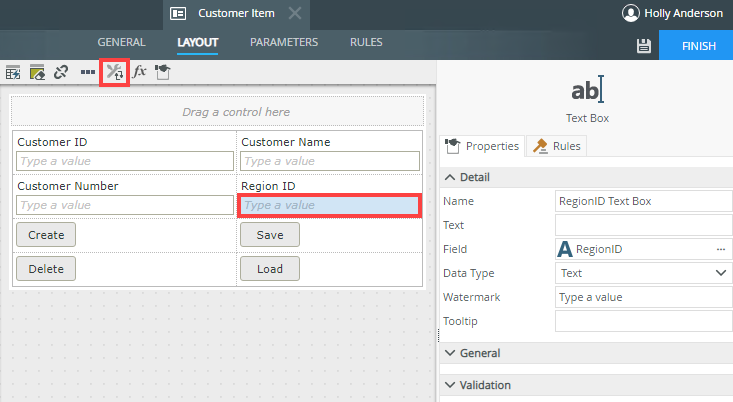
- Select the Region ID field and click the Change Control icon.
- On the Change Control: RegionID Text Box page select Lookup and click OK.
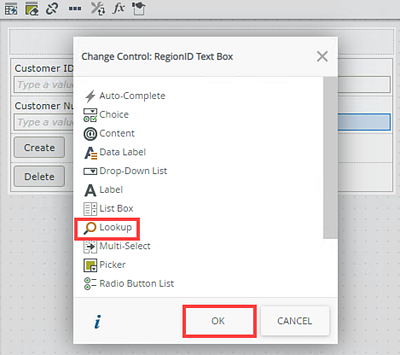
- You changed the Region ID field from a Text Box to a Lookup field.
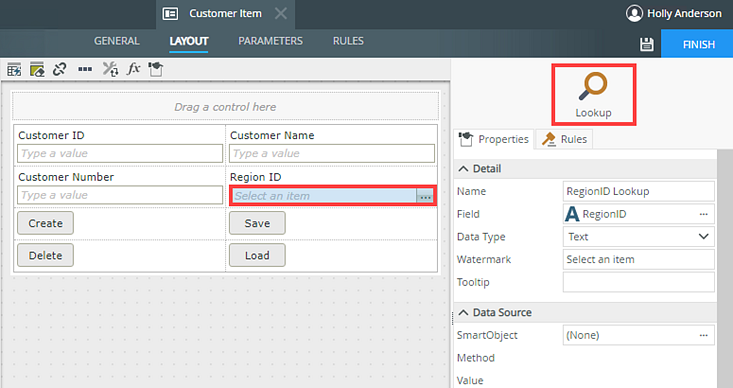
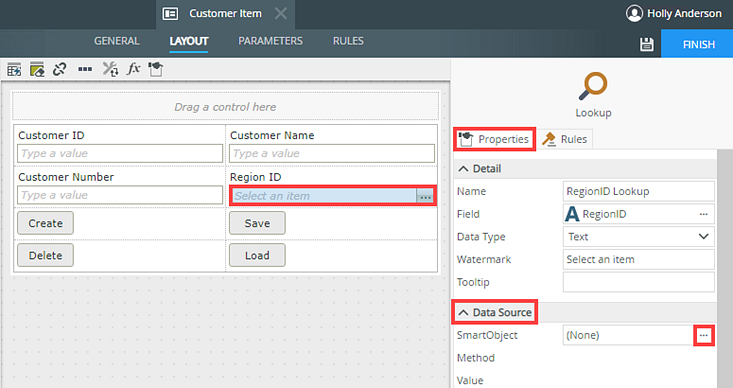
- Next you need to configure the data source for the Region ID lookup field. Select the Region ID field, on the Properties tab in the Data Source section click the SmartObject ellipsis.
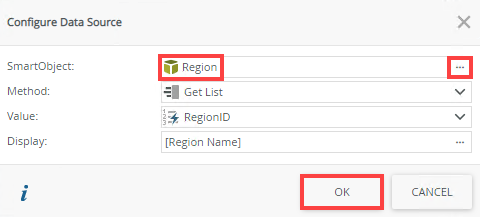
- On the Configure Data Source page, click the SmartObject ellipses button, browse to and select the Region SmartObject. The Method, Value and Display is populates as shown below. Click OK.
- Still on the Customer Item view, select the Rules tab and click Add Rule.
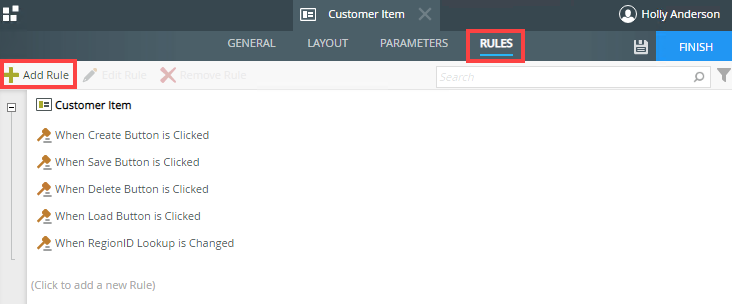
- On the Rule Designer page, in the search field type when a control, locate the Control Events section, and select When a control on the View raises an event.
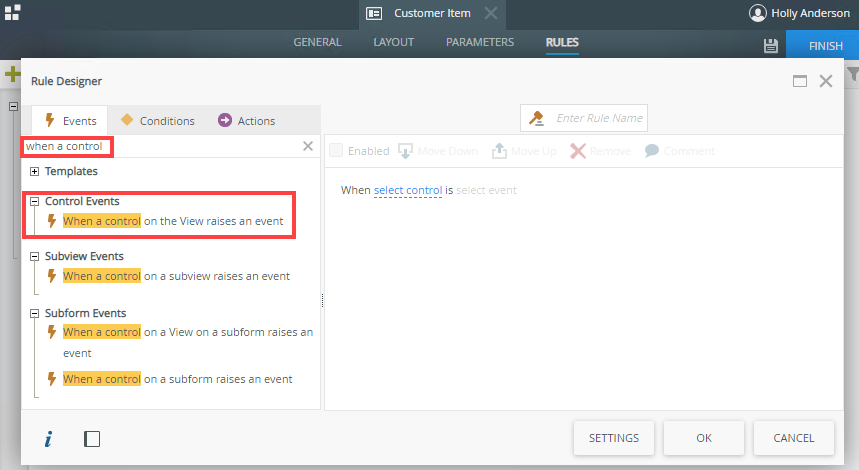
- Click the select control link and select RegionID Lookup as the control. Click the select event link and select Clicked as the event.
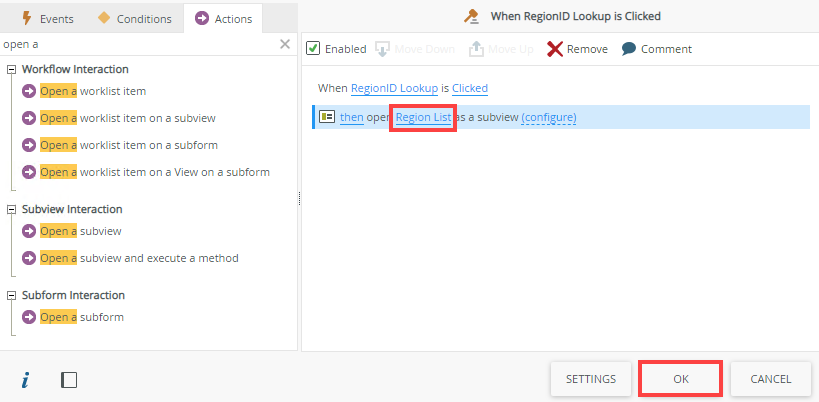
- Select the Actions tab. In the search field type open a, locate the Subview Interaction section, and select Open a subview.
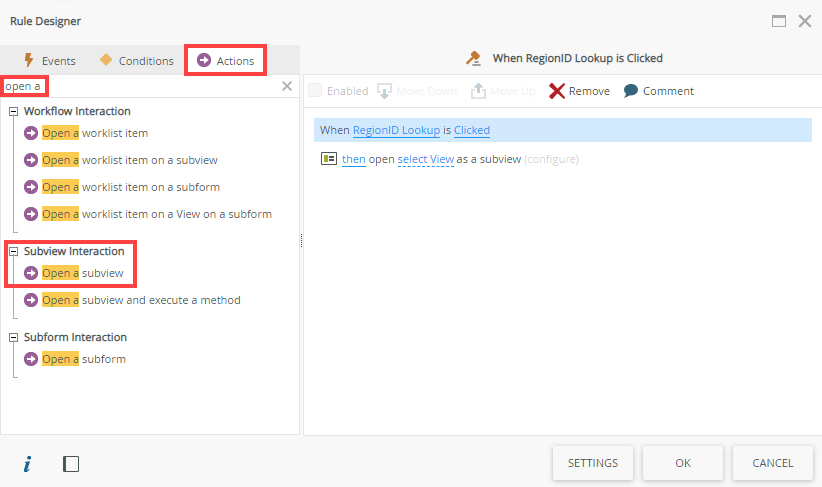
- Click the select View link, browse to and select the Region List view. This rule opens the Region List view in a subview when you click the RegionID lookup control. Click OK.
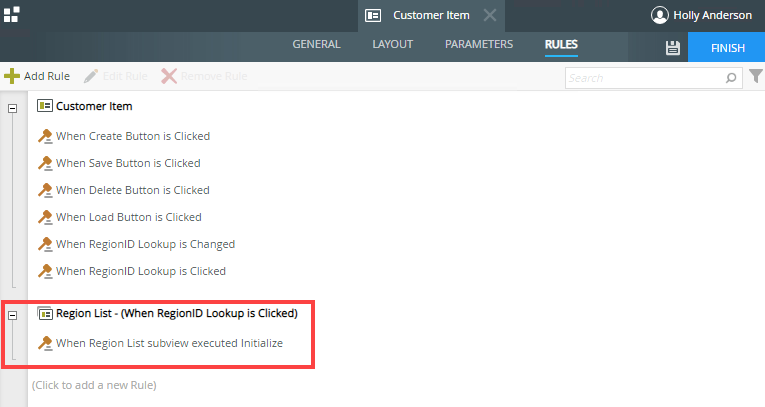
- Note that the Region List subview executed Initialize rule is added automatically when adding the rule. This rule populates the Region List subview.
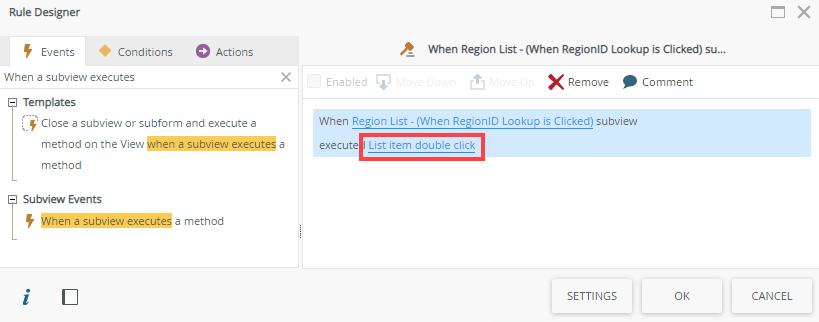
- Click Add Rule again. On the Rule Designer page, in the search field type When a subview executes, locate the Subview Events section, and select When a subview executes a method.

- Click the select method link and select the List Item double click option.
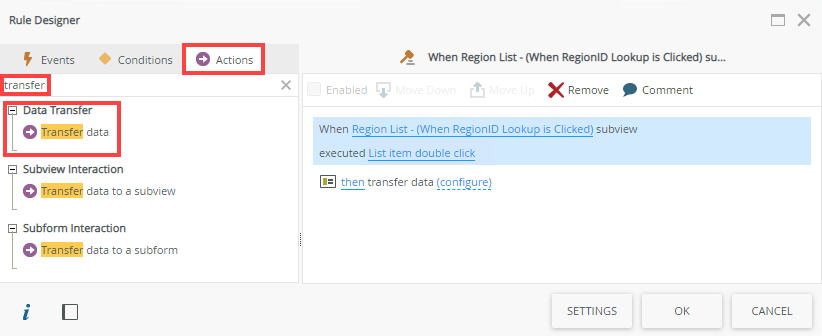
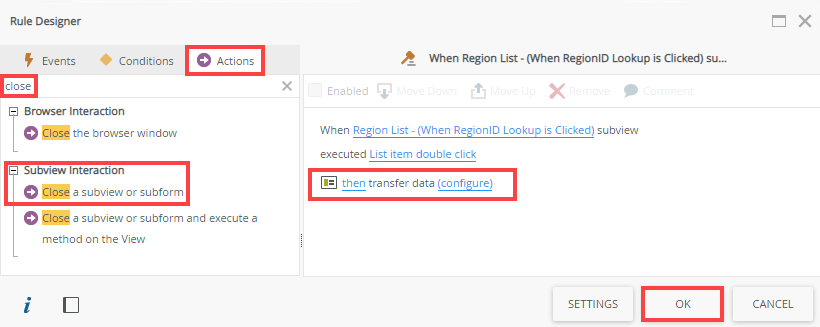
- Select the Actions tab. In the search field type transfer , locate the Data Transfer section, and select Transfer data.
- Click the Configure link. On the Transfer Data page, expand the Region SmartObject in the Context Browser. Drag the RegionID property into the RegionID Lookup field. Click OK.

- Still on the Actions tab, in the search field type close, locate the Subview Interaction section, and select Cloase a subview or subform. Click OK and Finish to save the view. This rule transfers data from the Region List subview to the Customer View when an item is double clicked on the subview, and then the Region List subview closes. Click OK to close the Rule Designer.
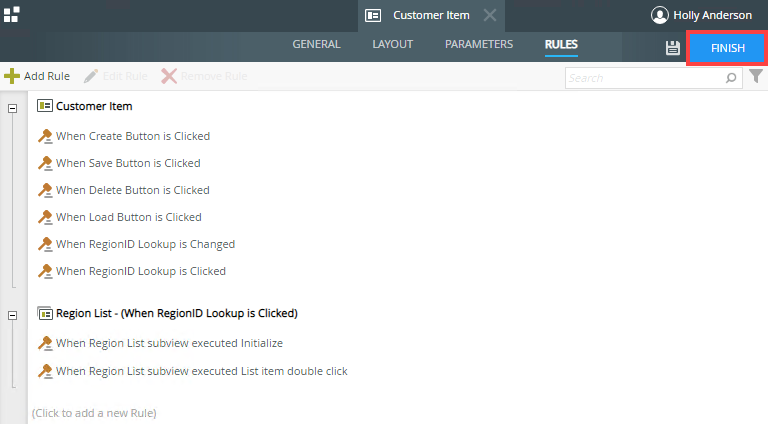
- The Customer Item view rules should look like the screenshot below. Click Finish to close the view.
- From the K2 Designer, locate the Customer Item view and select Edit.
-
Generate an editable list view and add data to the Region SmartObject. Also generate the Customer form.
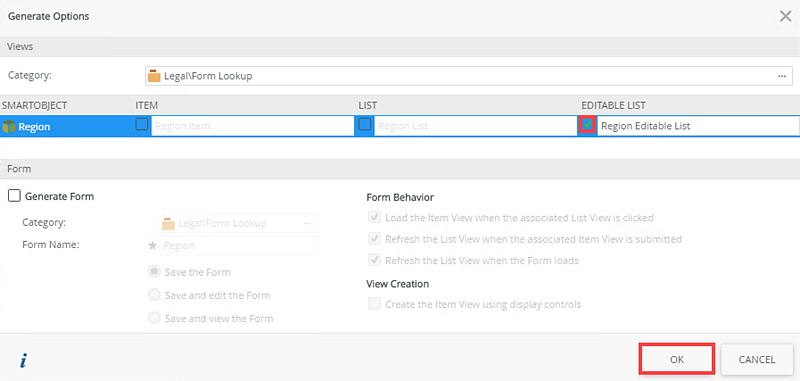
- From K2 Designer, right click the Region SmartObject, select Generate view and check the Editable List check box to generate the Region Editable List view. Click OK.
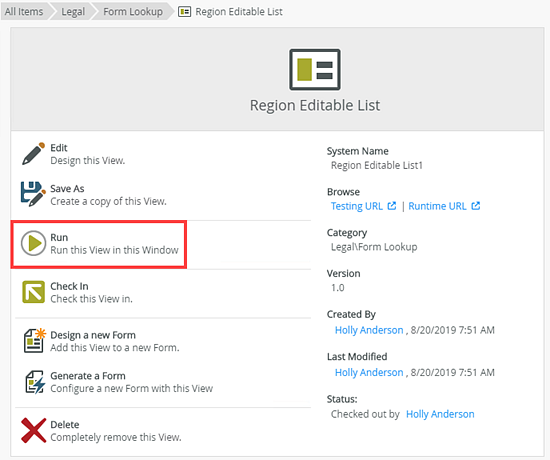
- Select the generated form and click Run.
- Add data to the Region SmartObject as shown below.

- From K2 Designer, right click the Customer Item view, select Generate Forms. On the Generate Forms page, type Customer as the form name and click OK.
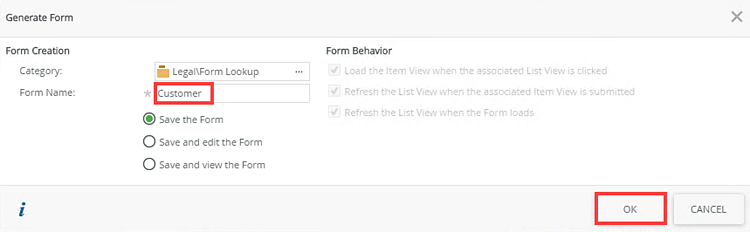
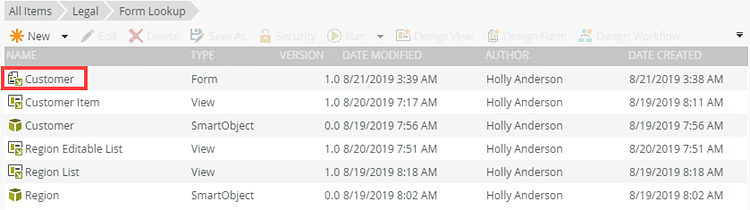
- You should see the generated form in the list of artifacts, as shown below.
- From K2 Designer, right click the Region SmartObject, select Generate view and check the Editable List check box to generate the Region Editable List view. Click OK.
-
Test the solution by running the Customer form, clicking the Region ID field and selecting an item from the subview.
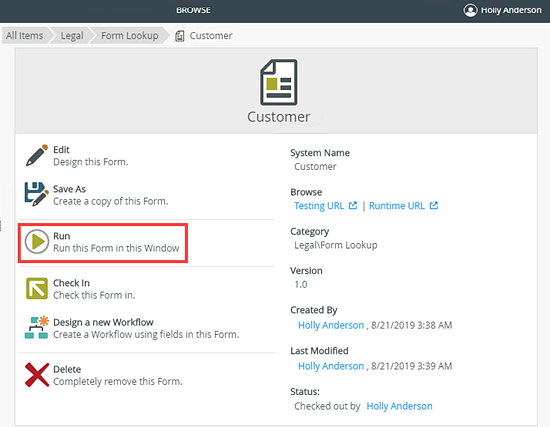
- From K2 Designer, select the Customer form and click Run.
- To test the Region lookup control, click the ellipsis in the Region ID field.
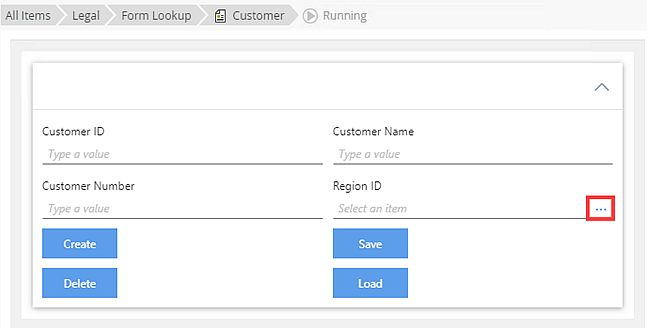
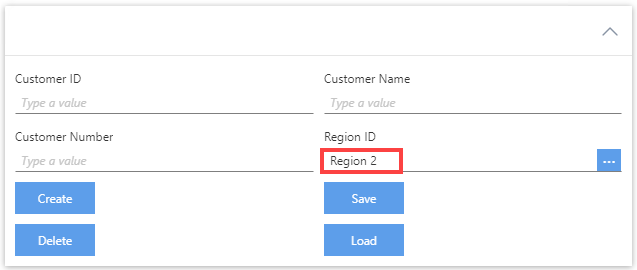
- The Region List opens as a lookup list. Double click Region 2 to select it from the list.
- Region 2 gets added to the Region ID field.
- From K2 Designer, select the Customer form and click Run.
Review
You learned how to use the Lookup control on a form to show a subview with the list of items (lookup information) and then select an item to populate a field on the form.