How To: Use the Count Function
This article illustrates how to use the Count function in a workflow to return the total number of items in a SharePoint list. In this demonstration, the workflow starts when you add a new item to the SharePoint list. The workflow sends an email informing the recipient of the new addition, along with a current total of items in the list. Note that you can use the Count function with any SmartObject list method as long as you configure the function as shown in this article.
The count function configuration
Scenario
You have volunteered to organize a pot luck lunch for your department. You created a SharePoint list to keep track of pot luck items other employees are bringing. To keep you up-to-date, you created a workflow that sends you an email each time an employee signs up. The email includes a total count of employees attending, which you use to set up the lunch room.
Steps
In this demonstration, you begin by building a SharePoint list, then create K2 application elements (such as SmartObjects, forms, and a workflow). After configuring and deploying the workflow, you test the application by adding items to the SharePoint list, then reviewing the emails sent by the workflow.
Setup Steps
The following steps set up the scenario from start to finish. If you want to skip the setup steps and view the topic step, go to Add a Count Function to the Workflow.
-
Create a custom list in SharePoint called Employee Pot Luck. Change the Title column value to Employee Name. Add a new column called Pot Luck Dish (single line of text).
- In SharePoint, create a custom list called
Employee Pot Luck
then access the list settings page. Edit the Title column and change its value to
Employee Name.
Add a new column called
Pot Luck Dish
that is a single line of text.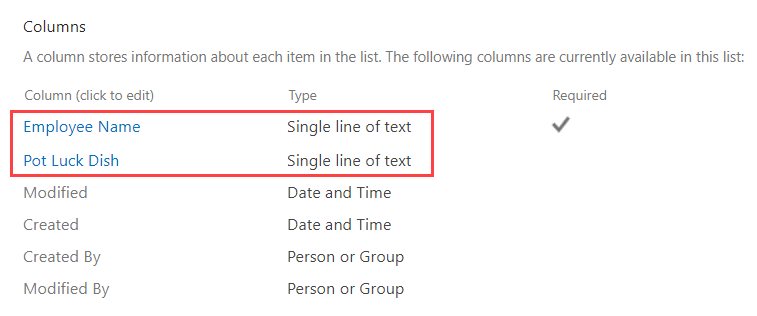
- In SharePoint, create a custom list called
-
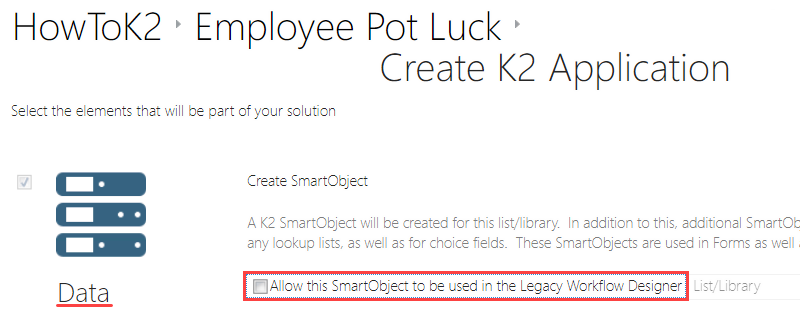
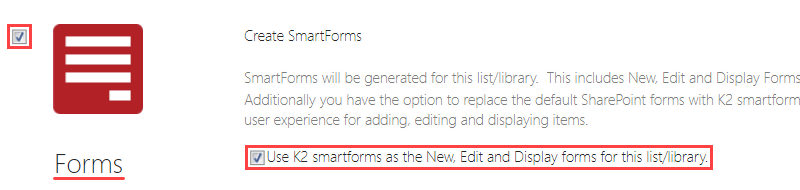
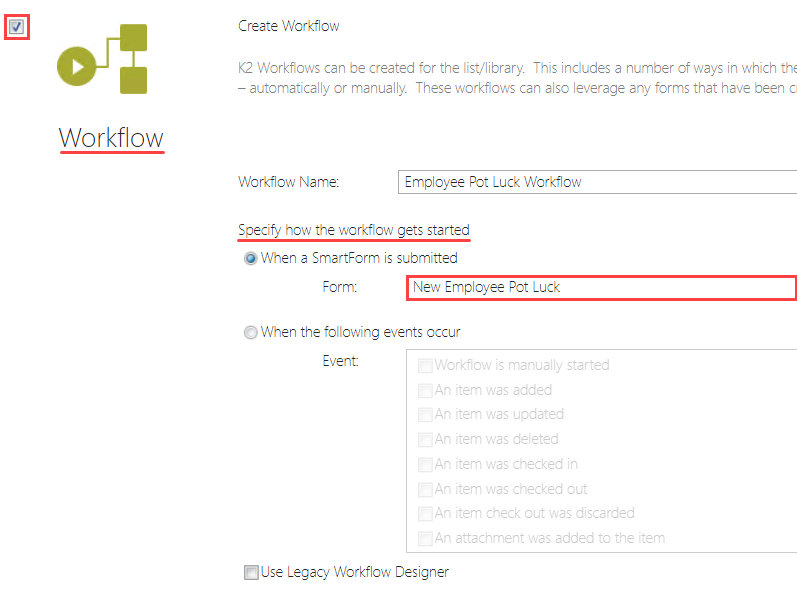
Generate the following K2 application elements for the list: Data, Forms, and Workflow. For Data, uncheck the legacy designer option. For Forms, use SmartForms as the new, edit, and display forms. For Workflow, start the workflow when the New Employee Pot Luck SmartForm is submitted.
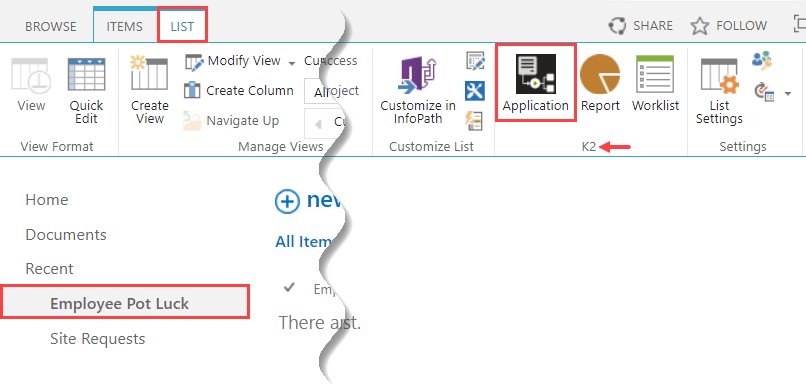
- Return to the Employee Pot Luck landing page. Click the List tab. Click the Application icon in the K2 group.
- On the Create K2 Application page, locate the Data, Forms, and Workflow sections. In the Data section, uncheck the option to Allow this SmartObject to be used in the Legacy Workflow Designer.
- Select the Forms option. Check the box to Use K2 smartforms as the New, Edit, and Display forms for this list/library.
- Check the Workflow option. Keep the default workflow name. Use the New Employee Pot Luck SmartForm to start the workflow. (Leave the legacy option at the bottom of the section unchecked.) Click OK at the bottom of the page to create the elements. After K2 generates the elements, the workflow designer launches.
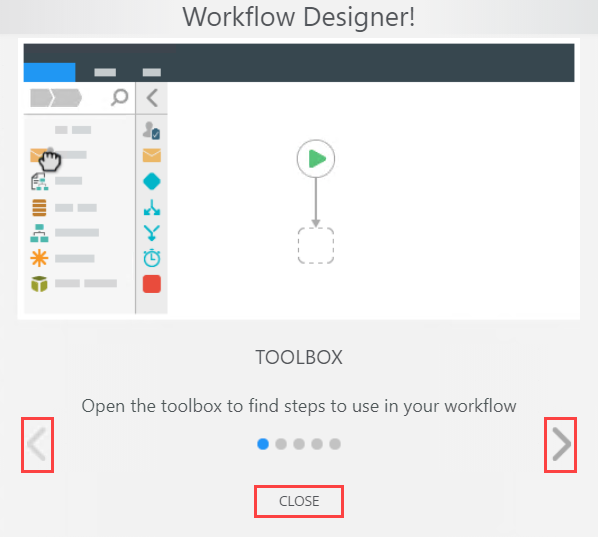
You see a Welcome screen with an interactive panel. You can click the right and left arrows to learn more about the workflow designer. Click Close to proceed to the design canvas.
- Return to the Employee Pot Luck landing page. Click the List tab. Click the Application icon in the K2 group.
-
Configure the workflow Start step to use the Save button action to start the workflow. There are no other changes to the start rule settings.
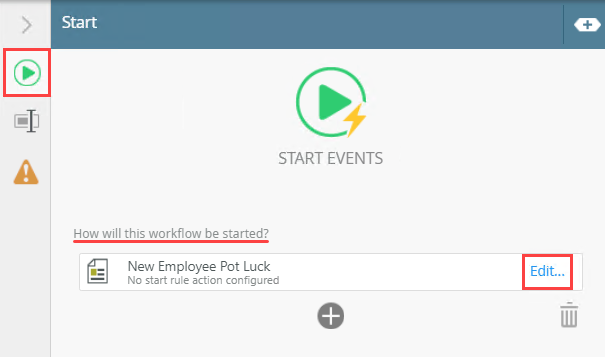
- You begin by completing the rule that starts the workflow. Select the Start button and expand the Configuration Panel.The Configuration Panel allows you to configure and customize the steps you add to your workflow.
- You specified the New Employee Pot Luck form as the form from which the workflow starts. However, you still need to configure an action that triggers the workflow. In this case, the action is when you click the save button on the form. Click Edit.
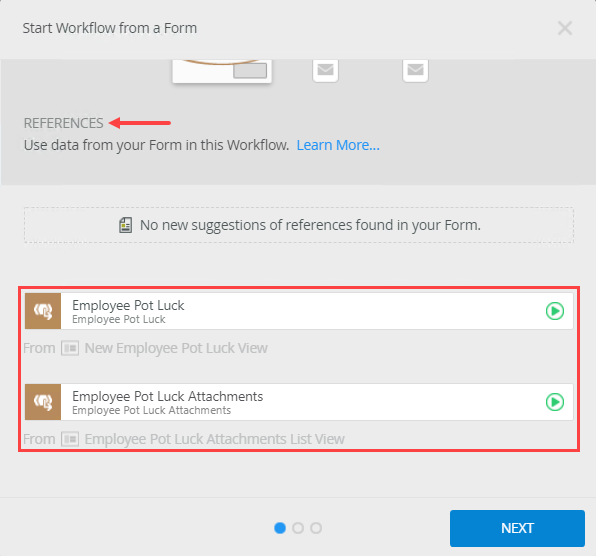
- You are on the References screen. K2 creates references to associated data sources so that you can use the properties and methods from within the workflow. There are no changes to this screen, so click Next.
- On the Start Rule screen, click Help me configure it. This option walks you through each setting so you can customize your configuration. Click Next.

- On the Form State screen, there are no changes. Click Next.
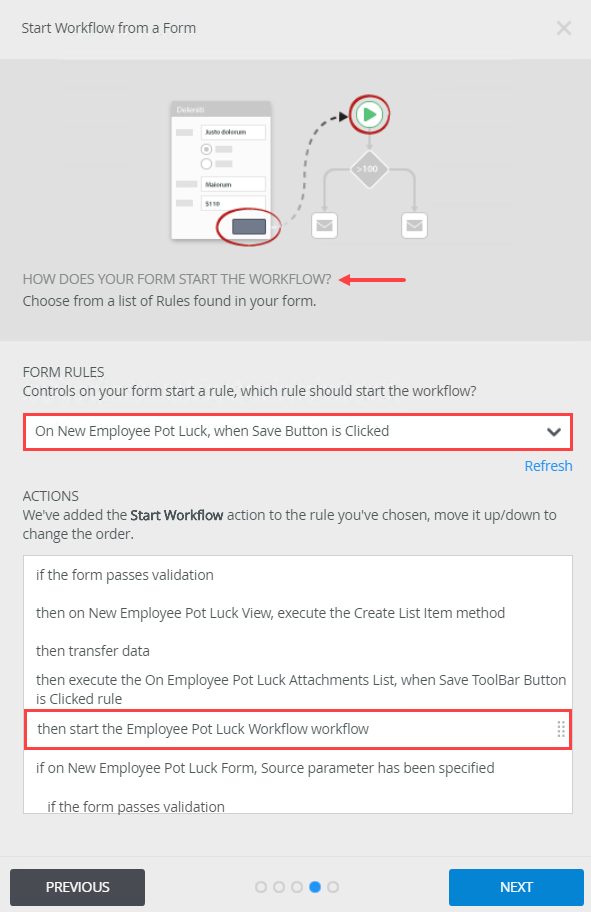
- You are now on the How does your form start the workflow? screen. By default, K2 uses the save button to start the workflow. Click Next.
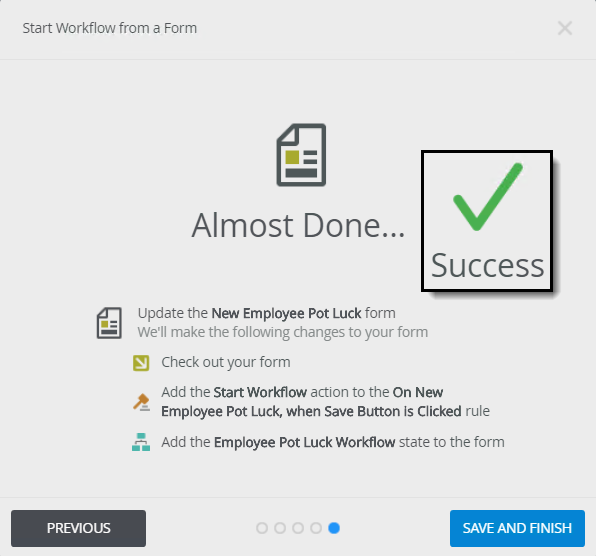
- The final screen displays a summary of the changes K2 makes to your form for the workflow start rule. Click Save and Finish. When you see the success icon, click OK.
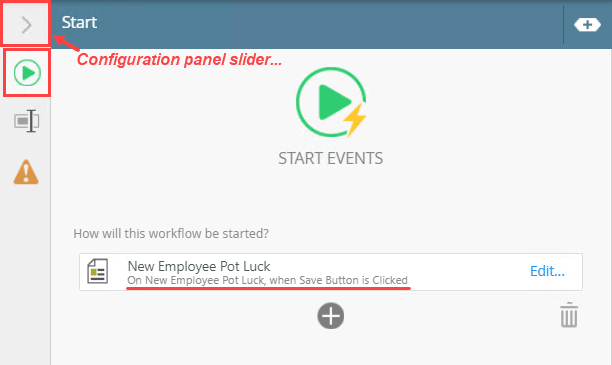
- Notice now, the start events reflect the save button action. Collapse the Configuration Panel by clicking the slider.

- You begin by completing the rule that starts the workflow. Select the Start button and expand the Configuration Panel.
-
From the Toolbox > Basic menu, add a Send Email step. Enter your own content for the subject line. In the message body, enter Employee Name, Pot Luck Dish, and Total Number of Attendees on separate lines. From the Context Browser > References > Employee Pot Luck node, drag the Employee Name and Pot Luck Dish variables to their corresponding lines. You will configure the variable for the total number in the next step.
- Next you add a send email step that contains the count function. From the Toolbox > Basic menu, drag a Send Email step into the empty placeholder on the design canvas.

- Select the Send Email step (if it is not already) and expand the Configuration Panel. For the Subject, enter
New Pot Luck Lunch Item.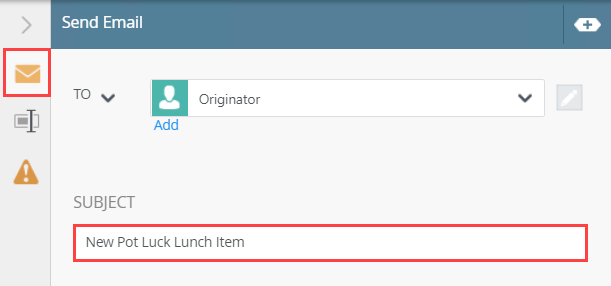
- For the message body, enter
Employee Name:
and
Pot Luck Dish:
Skip a few lines and enter
Total Number of Attendees:
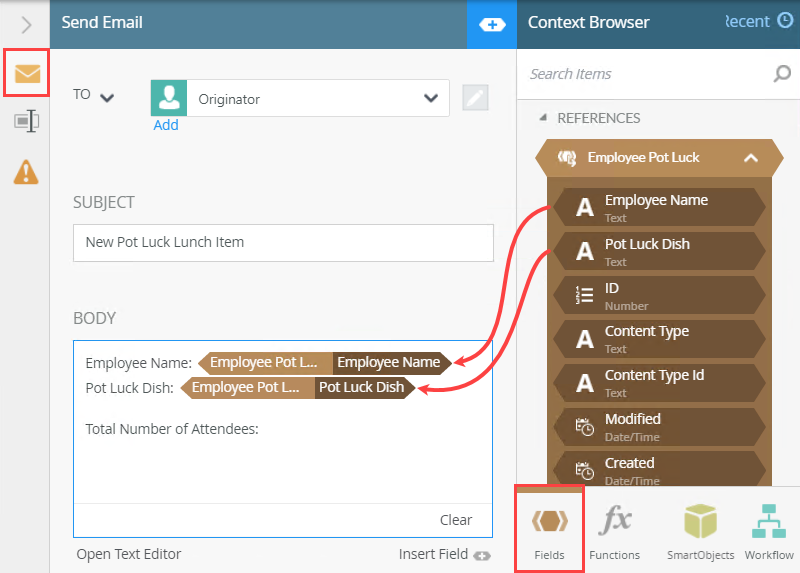
- Now, you use references to personalize your message. At runtime, K2 replaces the references (also called variables) with live data from the current SharePoint list item. Expand the Context Browser.
- Expand the Employee Pot Luck reference. Drag the Employee Name property into the message body and align it with the corresponding text. Drag the Pot Luck Dish property into the message body and align it with the corresponding text.
- Next you add a send email step that contains the count function. From the Toolbox > Basic menu, drag a Send Email step into the empty placeholder on the design canvas.
Add a Count Function to the Workflow
In the next step, you use a count function to display the total number of list items in the Employee Pot Luck list.
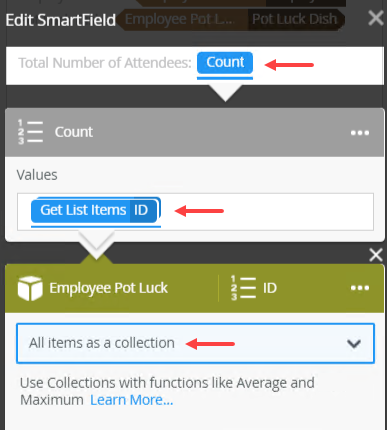
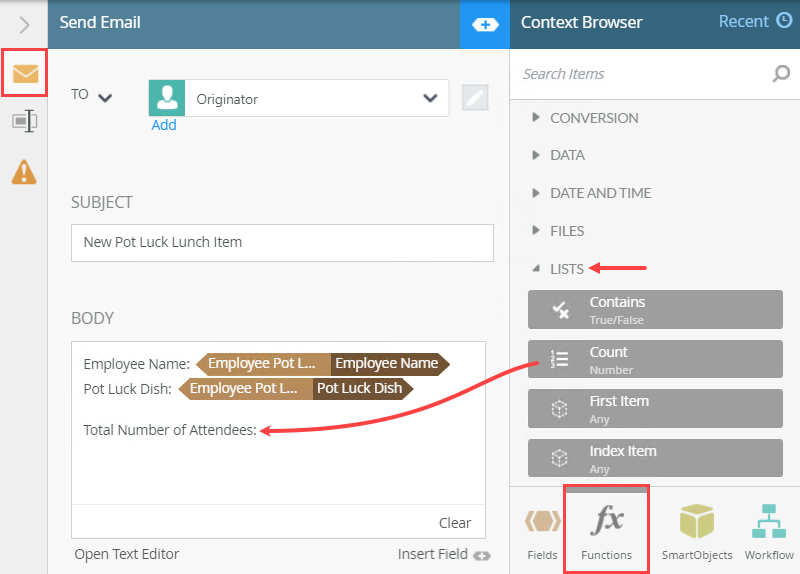
- Add a Count Function for the total number variable. From the Functions tab, drag a Lists > Count function into the message body and align it with the corresponding text. The SmartField editor opens. Navigate to the Employee Pot Luck SmartObject > Get List Items method. Use the ID property for the Values value. Change the method to All items as a collection. Add an End step.
- Now, you are ready to add and configure a function that returns the total number of attendees. Click the Functions tab. Expand the Lists node and drag the Count function into the message body, aligning it with the total number line. The SmartField editor opens.
- K2 needs a value from the SmartObject to return a count. In this demonstration, you use the SmartObject ID. Click the SmartObjects tab. Navigate to the Employee Pot Luck list. In the image below, the path is SharePoint 2013 > [site] > Sites > [subsite] > Lists > Employee Pot Luck. (Your path may be different depending on your environment and naming conventions.)

- Expand the Employee Pot Luck (list) and Employee Pot Luck SmartObject. Expand the Get List Items method. Locate the SmartObject > ID property for this method.
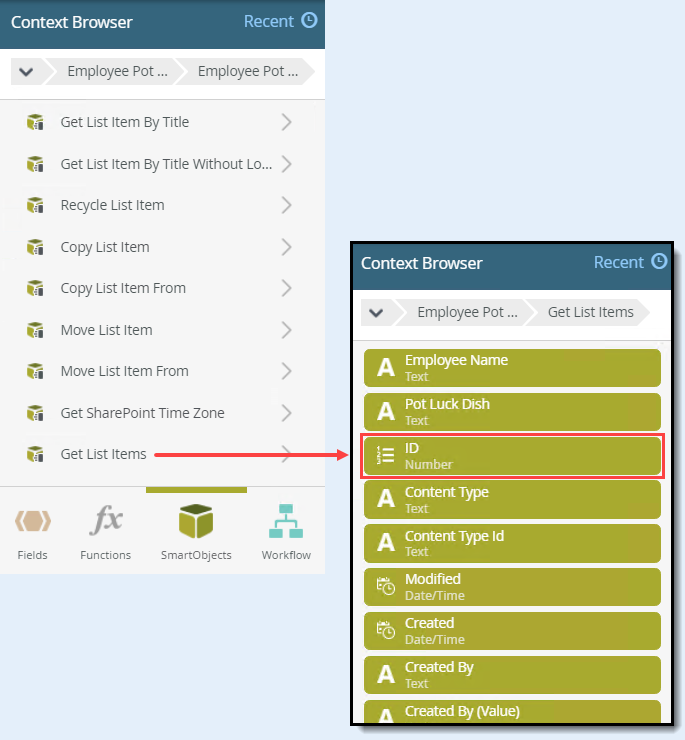
- Drag the ID property into the Values text box. Change the method so that it runs All items as a collection. This method returns a list of items, not just the first list item. Click the exit icon to close the SmartField editor.

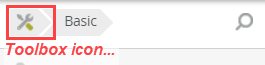
- Add an End step to complete the workflow. From the Toolbox > Logic menu, drag an End step just below the Send Email step. Connect the two steps.Use end steps to complete workflow outcomes. You can configure end steps to terminate the workflow or use them as visual indicators that there are no more steps to follow. In this demonstration, the end step provides a clean end to the workflow.To return to the Toolbox main menu, click the Toolbox icon (after expanding the Toolbox pane).
 To connect two steps, hover over the border of the first step until you see a handle. Click the handle and drag it into the second step. Click the design canvas to set the line.
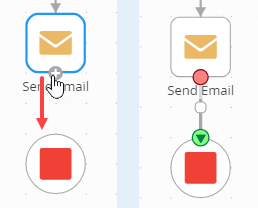

- Now, you are ready to add and configure a function that returns the total number of attendees. Click the Functions tab. Expand the Lists node and drag the Count function into the message body, aligning it with the total number line. The SmartField editor opens.
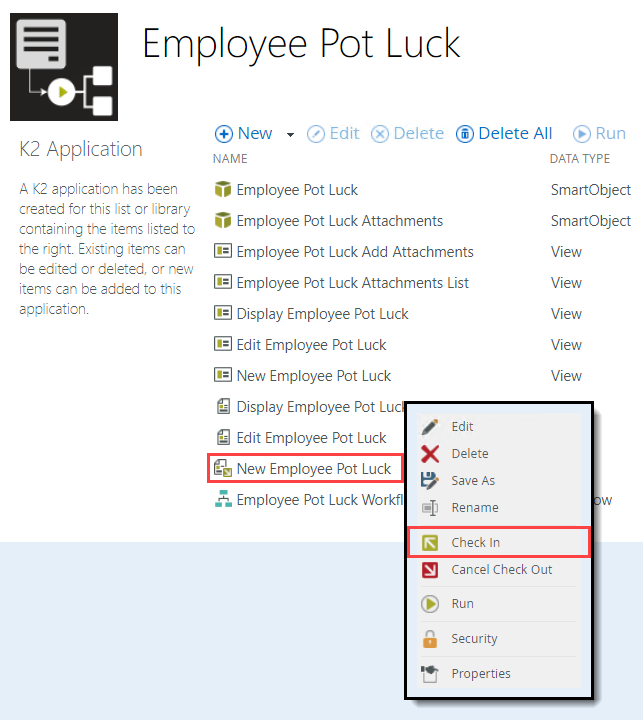
- Deploy the workflow. Check in the New Employee Pot Luck form. Return to the list landing page.
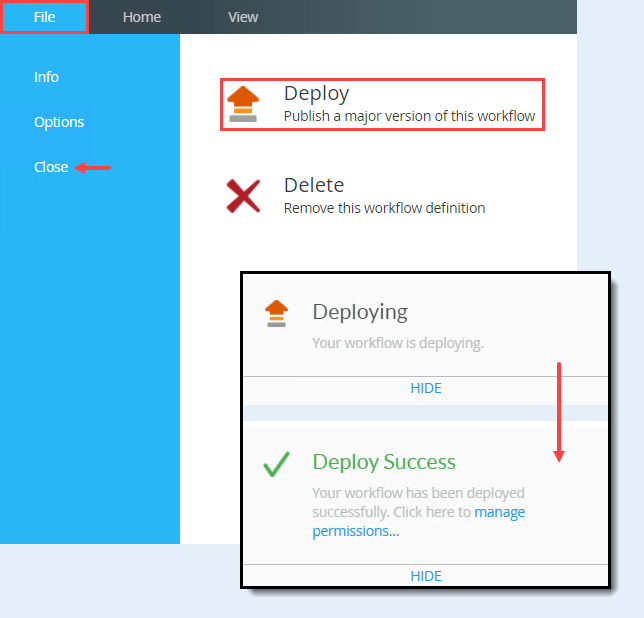
Before you can use the workflow, you must deploy it to the K2 server. Deploying a workflow publishes it and makes it available to other elements, such as forms. If you change the workflow, you must deploy it again so that the server has the latest version.
- Click File > Deploy. When you see the success dialog, click File > Close to return to the application elements page.
- Right-click the New Employee Pot Luck form and select Check In.
- Click the Employee Pot Luck title (at the top of the page) to return to the list landing page.
The application elements page displays all the artifacts for the application. Artifacts include the SmartObjects, forms, views, and workflows generated by K2. K2 created most of the artifacts when you selected the Data, Forms, and Workflow elements in Step 2. However, you can add artifacts at a later time. Notice the New Employee Pot Luck form is checked out. (Checking out a view or form locks it for you so no one else can edit it.) K2 checked the form out to add the start rule. You must check it in so the server has the latest version.
- Click File > Deploy. When you see the success dialog, click File > Close to return to the application elements page.
-
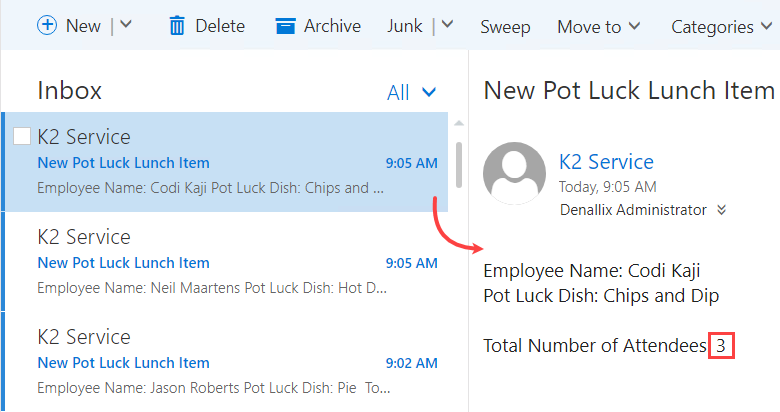
The last step in this demonstration is to see the count function in action! Add at least three new items to the Employee Pot Luck list. Open your email client and review the three emails sent by the workflow. Each email displays the current count of items in your SharePoint list.
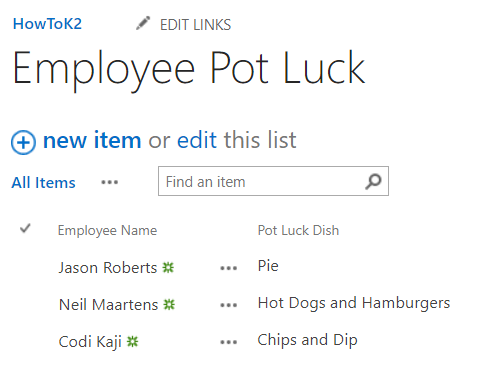
- To test the count function, click the new item link on the Employee Pot Luck landing page. Enter an employee's name and the dish they are bringing. Click Save. Add at least two more employees to the list.

- Open your email client. If on a K2-provided VM, click the OWA or Outlook link found in the Favorites bar. Sign into Outlook as Denallix Administrator.
Domain\user name: Denallix\Administrator
Password: K2pass!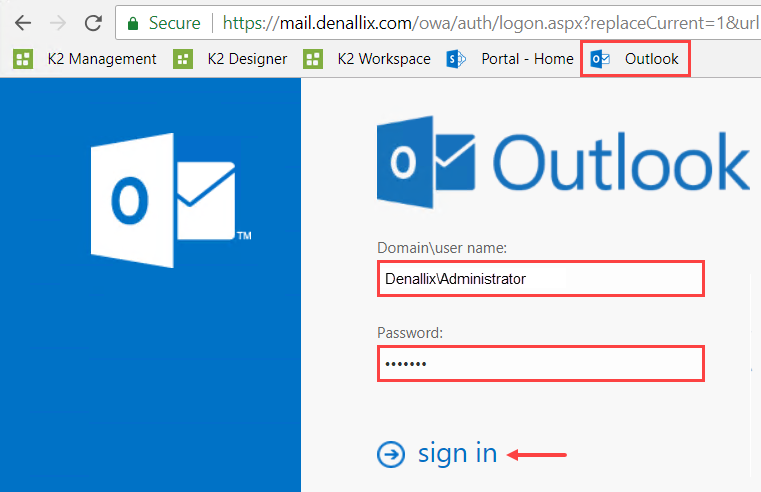
Review the three emails sent by the workflow. Notice the total number value changes with each additional email.
- To test the count function, click the new item link on the Employee Pot Luck landing page. Enter an employee's name and the dish they are bringing. Click Save. Add at least two more employees to the list.
Review
In this demonstration, you learned how to use the count function from within a workflow step, returning a total number of list items found in a SharePoint list. You can use the count function with any SmartObject list method - it does not have to be a SharePoint list. The key points are to provide a property from the SmartObject that K2 can count (in this case, you used the ID property) and change the method so that it uses all items as a collection rather than the first list item.