Custom Workspaces
Use the Custom Workspaces node to Add, Edit, Delete, Copy, Set as Default, and Hide/Show additional workspaces in the K2 Workspace site.
A workspace is a set of links and pages configured within the K2 sites system that provides easy access to your most used business functions. Additional workspaces can be SmartForms or external web sites used within your organization. The default K2 Workspace is added during the K2 installation. You can add your sites using this page. Create the workspace, and then add links to your workspace menu. Those links will show as a menu on the left frame of your workspace, and when clicked on, the links display in the right side of the workspace page.
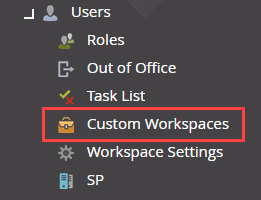
Click Custom Workspaces in the Users menu.

The Workspaces list displays.

| Menu Option | Action |
|---|---|
| Add | Click Add to add a new Workspace site configuration |
| Edit | Select a Workspace site configuration and then click Edit to change its settings |
| Delete | Click Delete to remove a Workspace site configuration from the list |
| Copy | Select a Workspace site configuration and then click Copy to create a new copy of that site |
| Refresh | Click Refresh to reload the list after making changes |
| Set As Default | To change the default workspace site, select the new default workspace from the list and click Set As Default |
| Hide/Show | Use the Hide/Show option to set the visibility of a workspace in the list of available workspaces on the K2 Workspace apps |
| List Option | Description |
| Name | The name of the workspace |
| Description | A brief description of what the workspace provides |
| Default | Shows if the workspace has been set as the default site. |
| Visible | Shows if the workspace is configured to be visible |
Click the forward or back arrows to navigate the list of workflows when the list is longer than a single page.
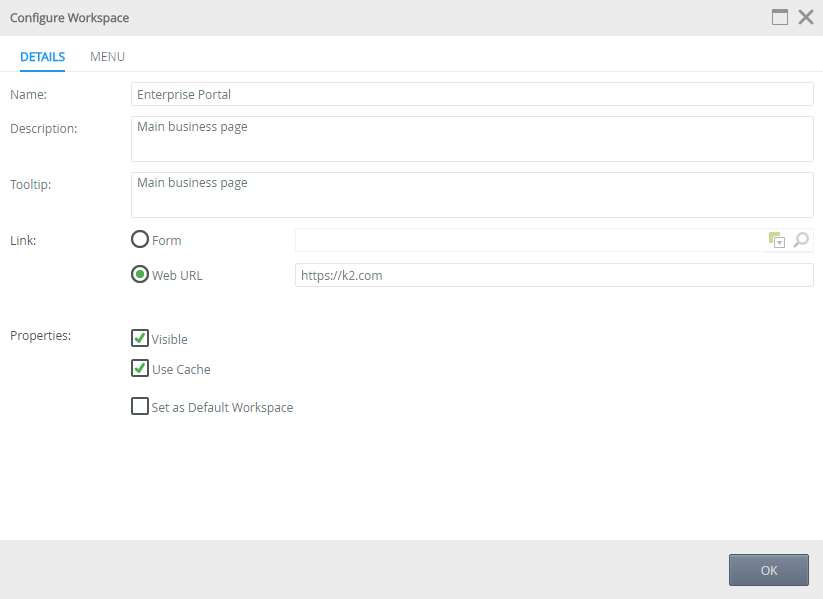
Click Add or select a workspace and click Edit to open the Workspaces page. These options configure the main page of this workspace.

| Option | Description | |
|---|---|---|
| Name | Type a name to identify this workspace | |
| Description | Type a description for what this workspace provides | |
| Tooltip | Type a tooltip (this text will show on mouse-over in the apps list) | |
| Link | Form Name | Select a SmartForm from the drop down if this workspace is a SmartForm. The workspace is either a K2 smartform or a Web address (URL) |
| Web address (URL) | Type the URL of the web site that this workspace will load. The workspace is either a K2 smartform or a Web address (URL) | |
| Properties | Visible | Only de-select the Visible check box when you want this workspace to not appear in the apps list |
| Use Cache |
Select this option to configure this link to use the site cache when selected. With site cache enabled, if you navigate away from this page and navigate back to it from within workspace, the content pane will not reload but opens on the last session of the page. Double click the menu item to refresh your site.
|
|
| Set as Default Workspace | Enable this check box to set this workspace as the default K2 system workspace | |
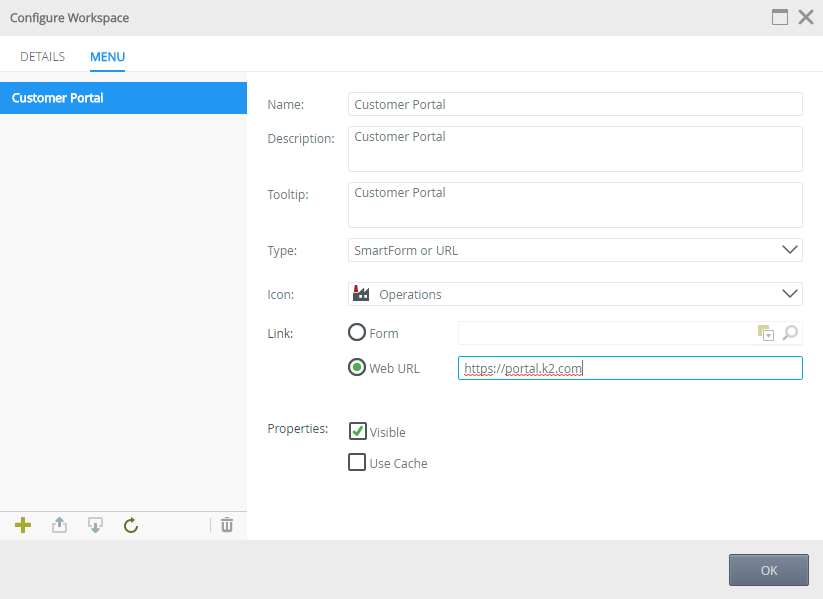
Click the Menu tab to configure Links on this workspace. Links configured here display on the workspace's left side menu.

| Link Menu Option | Action | |
|---|---|---|
| Add | Click the plus icon to add a new link to this workspace | |
| Move Up | Select a link and then click the up arrow to move that link higher in the list | |
| Move Down | Select a link and then click the down arrow to move that link lower in the list | |
| Refresh | Select a link and then click the refresh icon to reload the details of that link configuration | |
| Delete | Select a link and then click the trash can icon to delete that link | |
| Link Option | Description | |
| Name | Type a name to identify this link | |
| Description | Type a description for what this link provides | |
| Tooltip | Type a tooltip (this text will show on mouse-over in the links list) | |
| Type | Select the type of link from the drop down. Use the Header option to configure this link entry as a simple header on the workspace menu. Use the SmartForm or URL option to set this as an external link to a site or SmartForm. Use the Task List option to add the K2 Tasks page as this link. Use the Application Forms option set this link  |
|
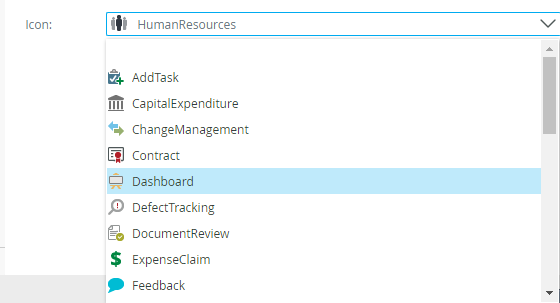
| Icon | This sets the icon in the workspace's menu. click the drop down and select an icon that matches the function of this link.  |
|
| Link | Form | Use this option to select an Application Form from the K2 Category tree |
| Web URL | Use this option to enter the URL of an external site of K2 smartform | |
| Properties | Visible | This option is enabled by default. De-select this option to hide the link on this workspace page |
| Use Cache |
Select this option to configure this link to use the site cache when selected. With site cache enabled, if you navigate away from this page and navigate back to it from within workspace, the content pane will not reload but opens on the last session of the page. Double click the menu item to refresh your site.
|
|
Click the OK button when you have configured the options.
See How to create a Custom Workspace for an example of creating a custom workspace.
Troubleshooting
Links within iframes in forms and custom workspaces may not display.
- K2 Workspace cannot open prohibited iframe links. For example, custom URLs or task links from another domain may prohibit being opened in an iframe. A "Blocked URL" error message will be displayed within the iframe.
- Mixed security links (for example, an SSL page with a non-secure link) will not display. A "Blocked URL" error message will be displayed within the iframe.