How to: Use the K2 Workflow REST Feed with Microsoft Flow to Redirect a K2 Task
This is preview functionality. For more information see the Preview topic.
Exposing K2 workflow data through the Workflow REST API provides powerful integration with third party tools like Microsoft Flow. This topic shows you how to configure the service in Microsoft Flow, use the service to redirect a Task when that Task email arrives in an Outlook folder
These links take you directly to the scenarios. Make sure to read the Before you Begin section before following the steps in the scenarios:
Scenario - How to redirect a workflow Task in Microsoft Flow using an Outlook trigger
Before You Begin
If you have not done so already,
- enable the Workflow REST API in the K2 Management site
- download the Swagger file that you'll use in the connector configuration (see Workspace REST API for more information)
Then create a custom connector in Microsoft Flow using these steps:
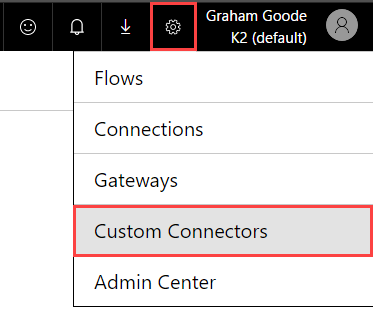
- In Microsoft Flow, click on the settings icon and select Custom Connectors.
-
Upload the swagger file saved from the K2 Workflow REST API page, and then add a description for this connector.
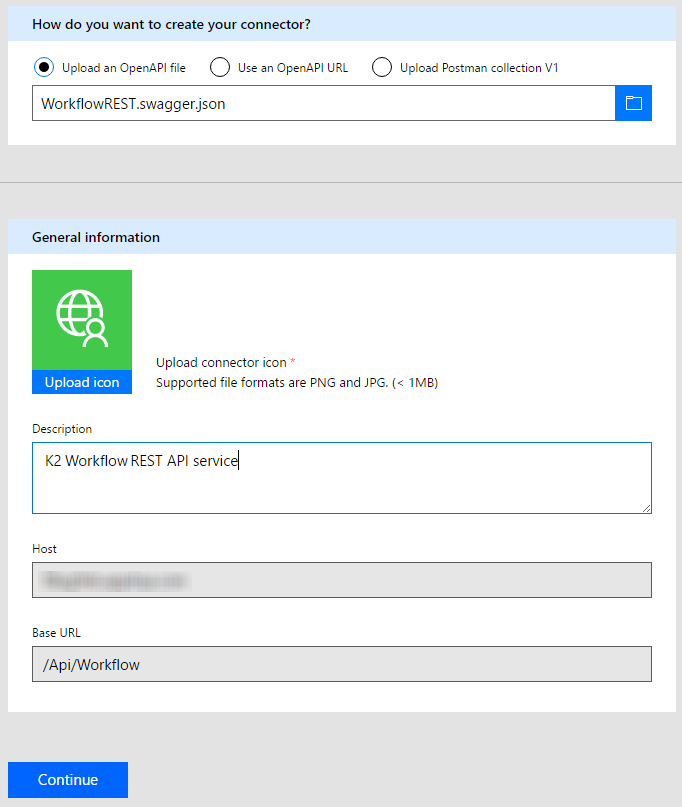
- Click on Continue.
- The Authentication type needed is Basic authentication. The swagger file pre-configures these settings. You can leave the authentication labels as they are.

- Click on Continue.
- The Definition tab loads information from the swagger file, so you can leave these values as they are.
- Click on Create Connector at the top of the Microsoft Flow page.
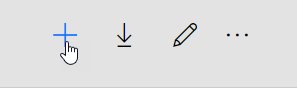
- Click on the plus sign of the K2 Workflow API custom connector.
- Enter the username and password configured for the K2 Workflow REST API service.
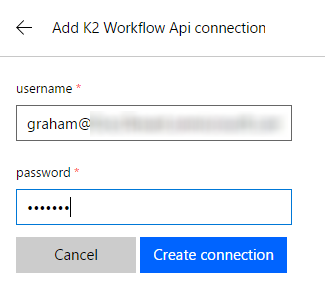
- Click on Create connection.
- The K2 Workflow REST API endpoint is now configured to be used in Microsoft Flow

Scenario - How to redirect a workflow Task in Microsoft Flow using an Outlook trigger
In this scenario, you create a blank Microsoft Flow and configure it to start a K2 workflow when a K2 Task email is sent to a folder in Outlook, in this case a leave request email gets routed to the Leave Tasks folder in the HR inbox using an Outlook rule.
The workflow has been configured to send a custom notification that sets the email Subject to the serial number of the task. This is what Flow will use to identify which task gets redirected. In the subject of the notification email of the task within your workflow definition, use the taskSerialNumber field from the Workflow Context of the Context Browser within a Replace Inline Function to remove the SN= portion of the serial number object. Flow just needs the actual number.
High level steps
- Create a blank flow.
- Use the Outlook.com – When a new email arrives trigger.
- Select the K2 Workflow API - Task_Get as the first step of the action.
- Set the K2 Workflow API - Tasks_PostRedirectAction as the second step, configuring it to use the Subject of the email to provide the serialnumber
- Save your flow.
- Run your flow.
Detailed steps
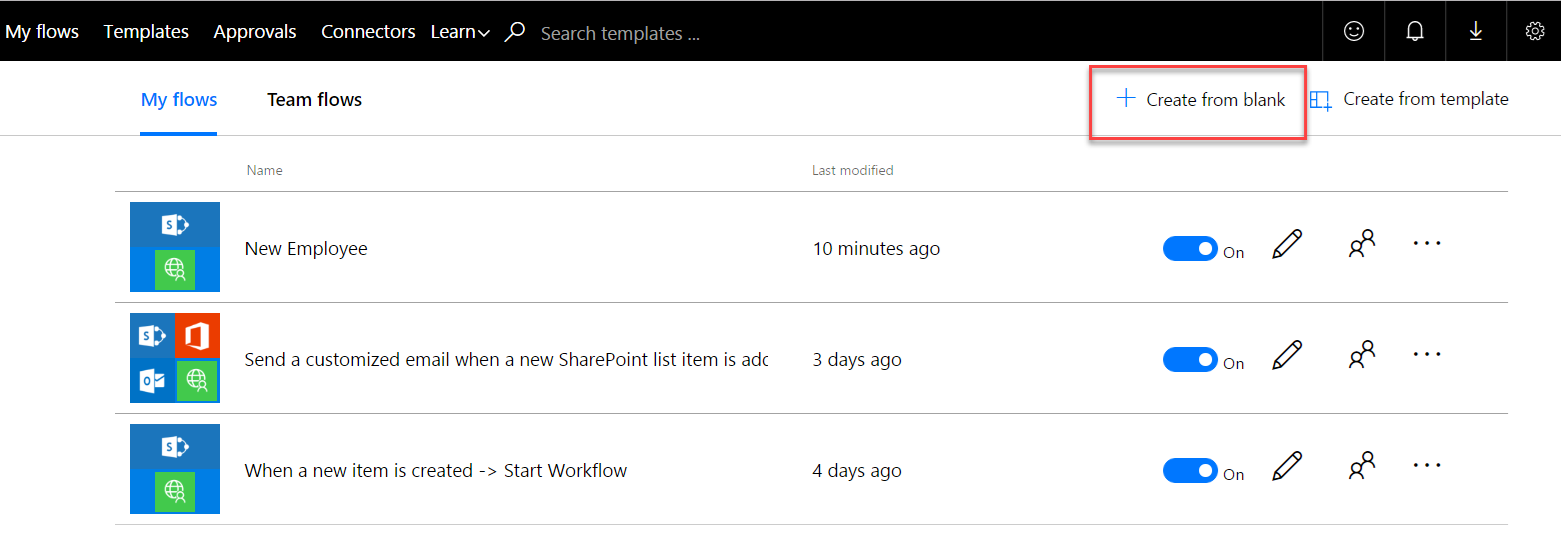
- Open Microsoft Flow.
- Click Create from blank.
- Click Outlook.com and select When a new email arrives.
- If prompted, sign in to Outlook.com.
- Select the folder In this example it is the Leave Tasks folder. Outlook has an email rule that examines the body of an email for the words "Leave Request Task" and then moves that email into this folder.

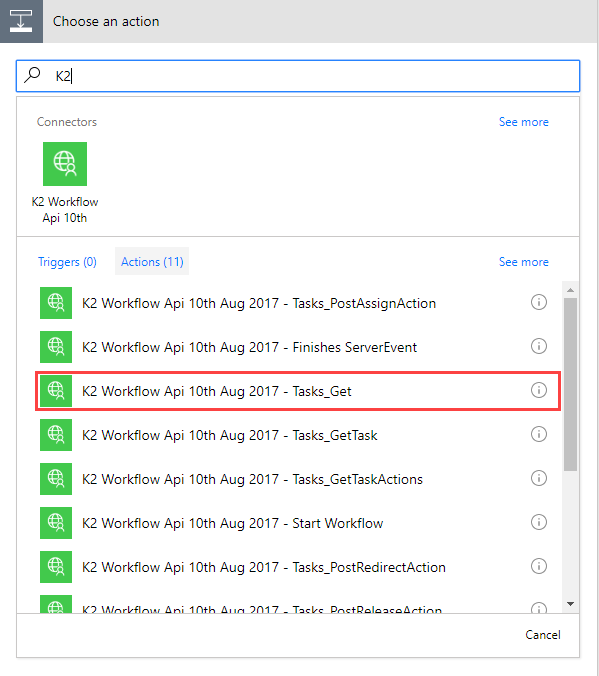
- Click Add an action.
- Search for the K2 custom connector you created. Click K2 Workflow Api – Task_Get action.
- From the state drop down select Allocated.

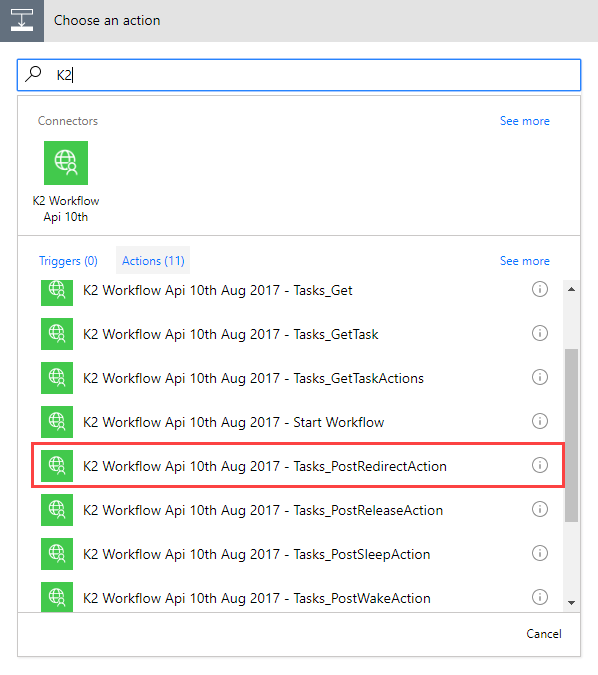
- Click Add an action.
- Search for the K2 custom connector you created. Click K2 Workflow Api Preview – Task_PostRedirectAction action.
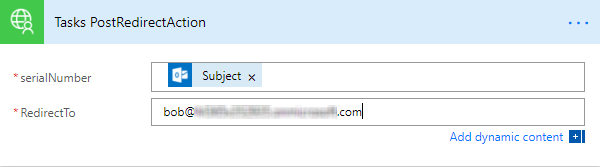
- Click theserialNumbertext box and select theAdd dynamic contentlink. Scroll down the Dynamic content list and selectSubject.
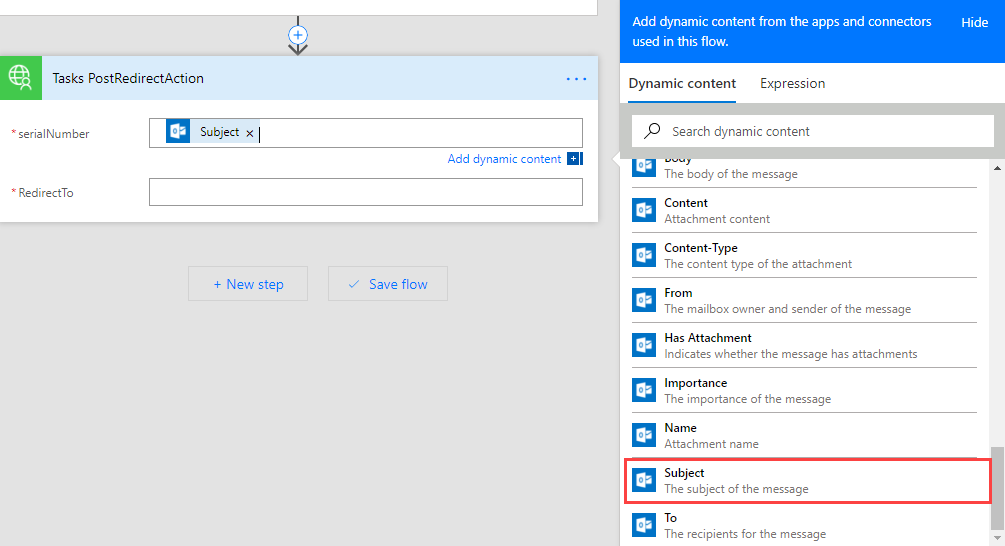
- Select theRedirectTotext box and enter the email address of the person that this task is redirected to.
- Click Save flow and you see a message stating your flow was created.
- Test the flow you created by starting the workflow. The task notification email (with the serial number of the task as the Subject) will arrive in the inbox and be routed to the Leave Tasks folder. That starts the flow and the task is redirected to the person configured in the RedirectTo text box.