Data Source Wizard - Choose your Data Connection
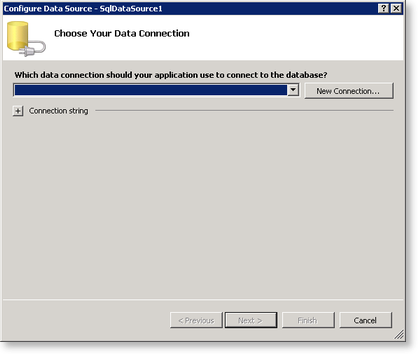
The Choose your Data Connection screen allows the developer to select an existing connection or create a new connection. In creating a new connection the server details and data source is specified.
| Feature | What it is |
|---|---|
| Which data connection should your application use to connect to the database? | Select an existing data connection from the drop-down list |
| Connection String | Click the + sign to display the connection string. The string will display which SmartObjects have been selected as the data source |
| Buttons | |
| New Connection | Allows the configuration of a new SQL data source |
An existing Data Connection can be edited by selecting the data connection from the drop-down list and clicking the "New Connection" button.
New Connection button
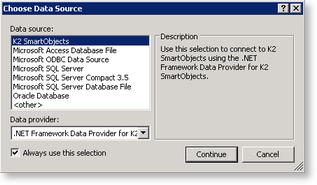
Clicking the new connection button will display a list of available data sources and data providers.
| Feature | What it is |
|---|---|
| Data Source | Select K2 Data Source |
| Data provider | This field will automatically populate with .NET Framework Data Provider for K2 SmartObjects |
| Always use this selection | Will set the data provider to .Net Framework Data Provider for K2 SmartObjects for all future new connections. It is recommended that the check box is unchecked |
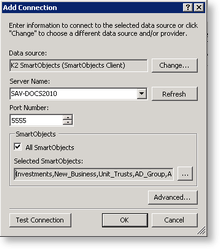
After inserting the Port Number change the focus of the cursor either by clicking on "Refresh" or in the Server Name drop-down box to activate the SmartObject section.
| Feature | What it is |
|---|---|
| Data source | Displays which data source has been selected. To change the data provider click the Change button. |
| Server Name | Insert the K2 server name containing the SmartObject data |
| Port Number | Insert a port number |
| All SmartObjects | Select the All SmartObjects check box to select all the SmartObjects as the data source. |
| Buttons | |
| Refresh | To Refresh the connection to the server click Refresh |
| Select | Click the Select button to open the "Select SmartObjects" screen which displays all the K2 SmartObjects available on the server. For the Data source multiple SmartObjects can be selected or specific SmartObjects can be selected for inclusion in the data source |
| Change | Launches the "Choose a data source" dialog box enabling the user to select a different data provider |
| Advanced | Allows the Behaviour, Connection and Objects properties to be changed |
| Test Connection | Click Test Connection to test for a successful connection to the specified server |
If the AutoAlias property on the Advanced screen of New Connection (default = false) is set to True all the fields will be returned as object_property e.g. Customer_ID
Selecting SmartObjects
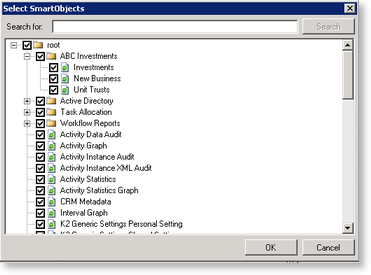
Click on the eclipse next to the SmartObject box to open the Select SmartObject window. Expand the 'root' folder to display the SmartObjects. To select the required SmartObject select the check box of the SmartObject. Multiple SmartObjects can be selected simultaneously. The selection of multiple SmartObjects can be used in the Query Builder where SQL statements are written to display the required fields and information.
- SmartObjects must be deleted from the K2 Object Browser>Environment>SmartObject Server in a visual Studio project otherwise the deleted SmartObjects will still appear in the ADO.NET Data Provider.
- On the "Select SmartObjects" screen * and % can be used as a wildcard in the Search field.