Searching and Filtering List Views
You can search and filter data on list views by using the Quick Search and Selected Filter options at the top of the view. You can also configure custom, reusable filters. To configure custom filters and advanced filter options at design time, see the List View Settings topic.
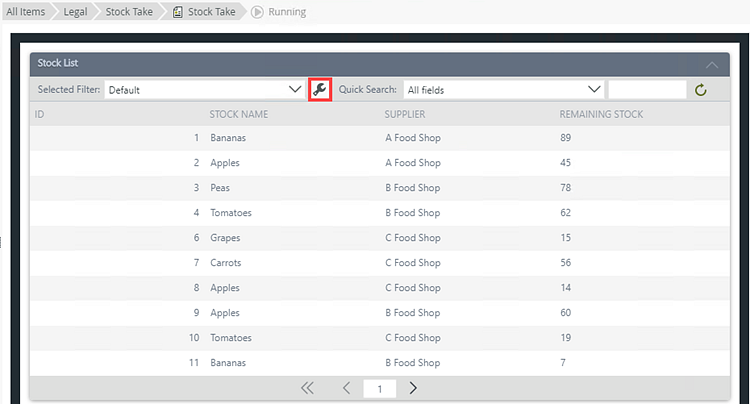
Click the Configure a new filter icon to configure a filter.
The Configure User Filters page contains a list of added filters. You can add, edit, remove and set a filter as default. Click Add to add a new filter.
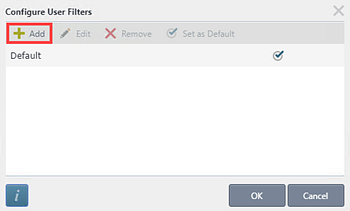
The Configure User Filters page shows.
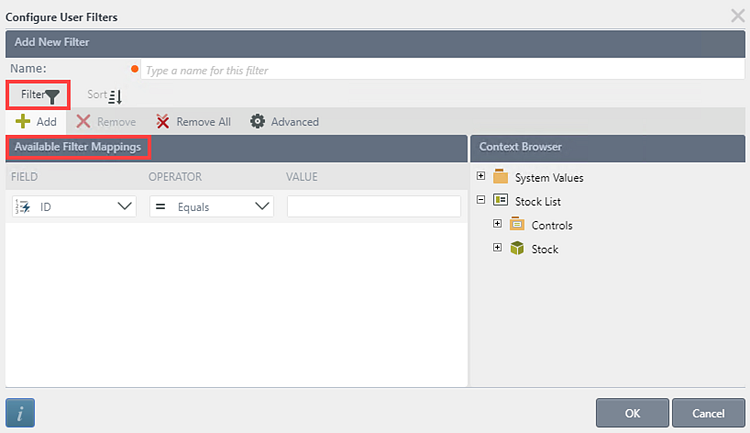
| Feature | Description |
|---|---|
| Add | Adds a new line for you to apply a filter |
| Remove | Removes a filter line |
| Remove All | Removes all the filter lines |
| Advanced | See the Advanced Filter Options section below |
| Field | The SmartObject field to use in the filter |
| Operator | Operator to be used in the filter |
| Value | Value to be used in the filter. Type a value or drag and drop a value from the context browser |
In this example, create a filter to only show stock supplied by A Food Shop. On the Configure User Filters page, type A Food Shop in the Name field. On the Filter tab, click Add to add a row in the Available Filter Mappings section. Select the Supplier field and leave the Operator as Equals. Type A Food Shop in the Value field. Click OK to add the A Food Shop filter.
The fields you see in the Available Filter Mappings represent all columns in this example view, and includes both visible and hidden columns. You can also set the added filter as the default filter that gets applied when you open the view.
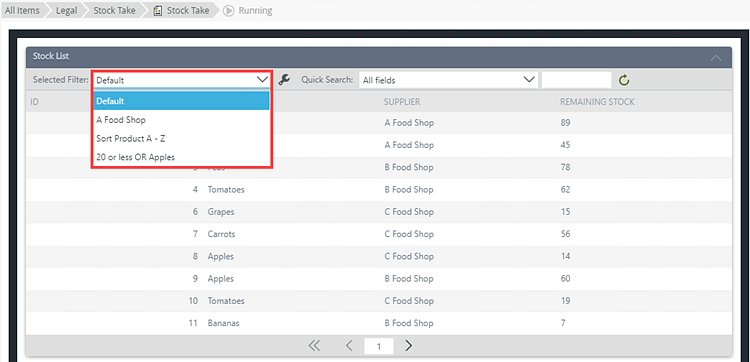
From the Select Filter menu, select the A Food Shop filter to show only A Food Shop stock items.
In this example, create a filter to sort the stock items in an ascending sort order. On the Configure User Filters page, click Add and type Sort Product A - Z in the Name field. On the Sort tab, click Add to add a row in the Available Sort Mappings section. Select the Stock Name field and leave the Sort Order as Ascending. Click OK to add the Sort Product A - Z filter.
From the Select Filter menu, select the sort Product A - Z filter to show sorted stock items.
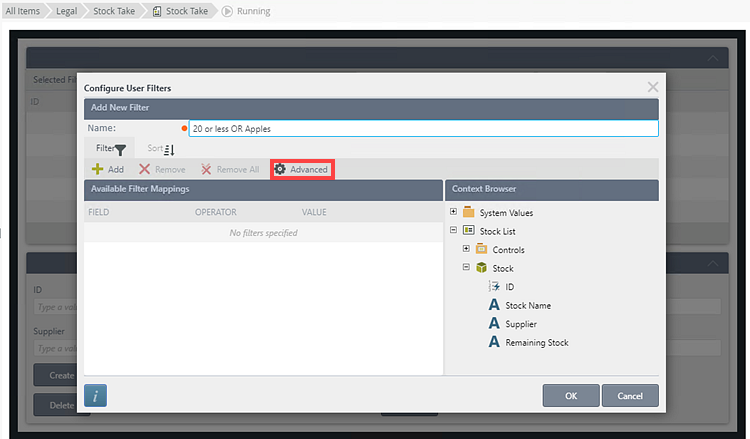
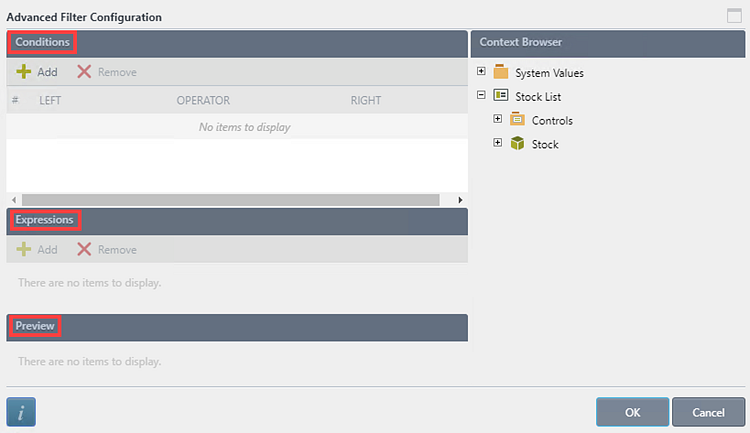
Click Advanced on the Configure Filter Options page to open the Advanced Filter Configuration page. Here you can add and configure expressions for the filter.
The Advance Filter Configuration page shows.
| Feature | Description |
|---|---|
| Conditions |
You can specify conditions containing a value on the left, an operator, and a value on the right. You can type a value or use the context browser to drop a field. As you add conditions, they are listed and given a number on the left. You can use this number to build or edit your expression using the Expressions section. To remove a condition, select the entire condition and click Remove. The following operators are available:
For more information about building expressions see Expression Builder. |
| Expressions | Combines the conditions using logical operators such as And and Or. You can:
|
| Preview | Shows the expression in preview mode |
In this example, create an advance filter to show apples and stock with 20 or less remaining items. On the Configure User Filters page, type 20 or less OR Apples in the Name field and click Advanced. Click Add to add a row in the Conditions section. From the Context Browser, expand the SmartObject and drag Remaining Stock into the Left field. From the menu, select Less Than Equals as the Operator. Type 20 in the Right field. Click Add to add another row and configure the Stock Name equals to Apples. In the Expression section, select OR from the menu. Click OK to add the filter.
From the Select Filter menu, select the 20 or less OR Apples filter to filter the list to show apples and stock with 20 or less remaining items.
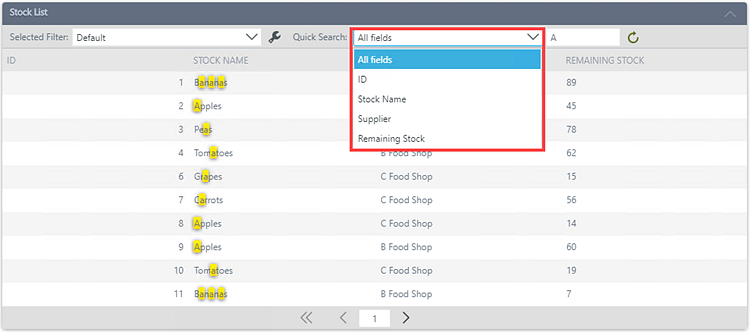
Quick Search is available on list views. The All fields item represents all visible columns on the view. Specify your search criteria and click Refresh.
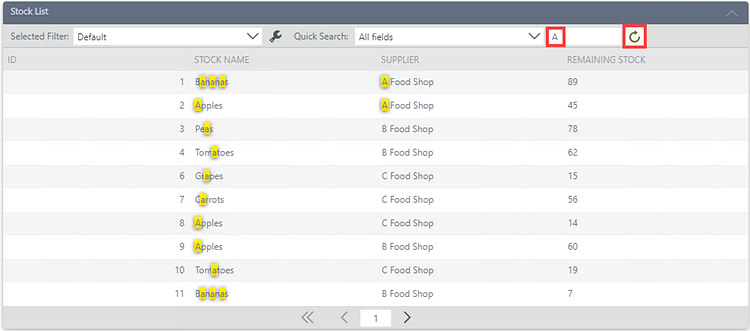
Click on the drop down next to All fields to view the available search fields. Fields are displayed according to the list column order.