How To: Upload a File to a SharePoint Library with the File Attachment Control
-
This content uses the legacy Nintex K2 for SharePoint app. For more information about using the Nintex K2 Cloud (SPFx) app, see Add the app.
In this article you use the File Attachment control in a SmartForm to upload a file to a SharePoint library. You configure a rule on a button with the Upload Document method of the library's SmartObject.
Scenario
Your company creates sales summary documents in Microsoft Word and uses a SharePoint library to store them. You use a SmartForm view to upload the documents to a SharePoint library.
Steps
In this scenario, you create a view and add the File Attachment and Button controls. You configure the button rule with the Upload Document SmartObject method to upload the file to your SharePoint library. After testing the view you add it to a form.
Setup Steps
The following steps set up the scenario. If you want to skip the setup steps and view the topic step, go to Create a new view using your SharePoint library SmartObject.
- Create your SharePoint document library. In this scenario the document library is called SalesDocuments.
- Create an application with Data (artifacts) for your document library. This creates the SmartObjects needed to upload the file. See Creating an Application Through a List or Library for the steps to create artifacts for your library.
Create a view to use a File Attachment control and Button control
Create and configure a view using a File Attachment control. Add a Button control and configure the button clicked event to upload the file to the SharePoint library.
-
Create a new view using your SharePoint library SmartObject.
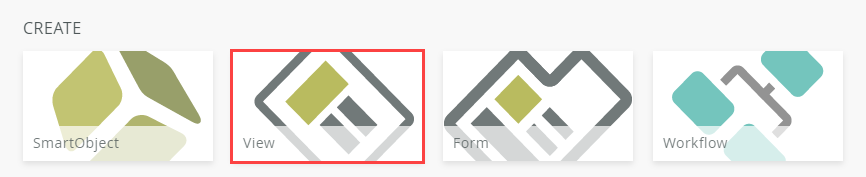
- Create a new view in the Designer. Select the View option and click Create.
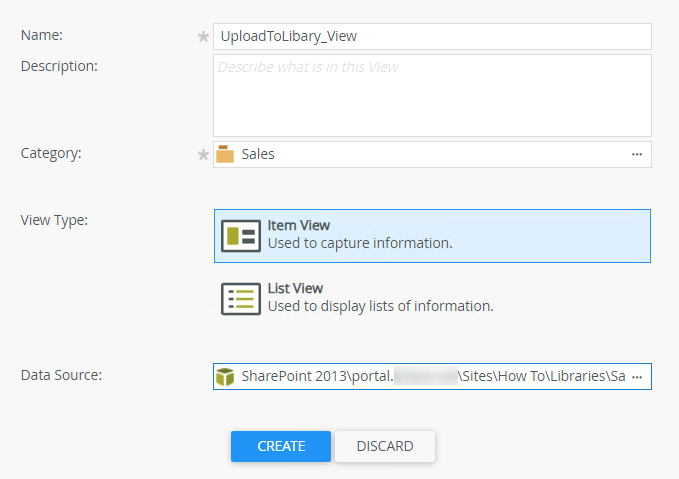
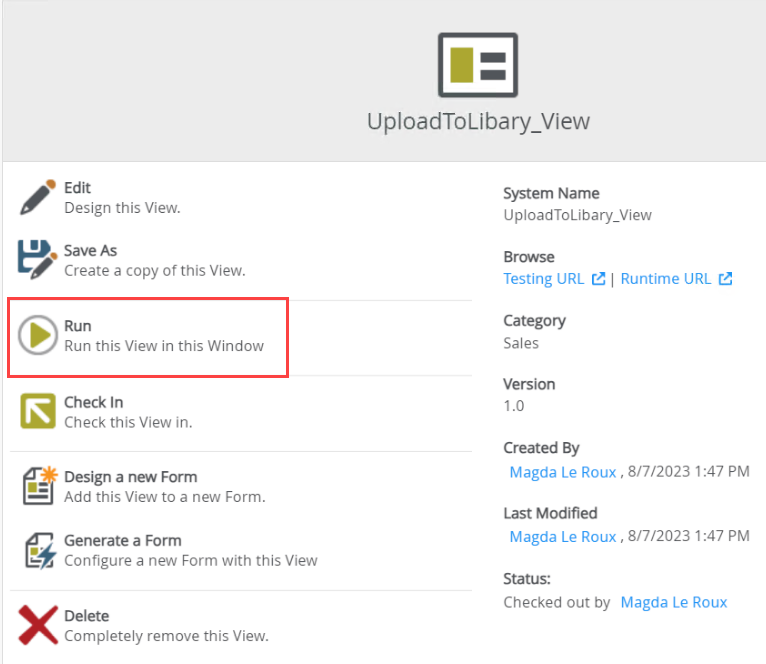
- Name the view UploadToLibary_View. Enter your description.
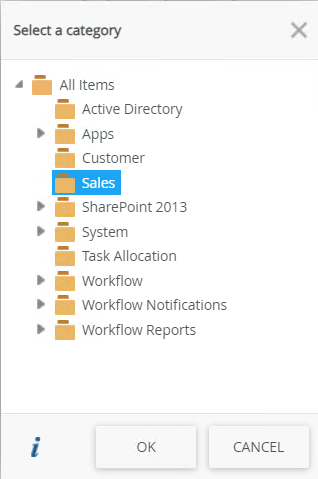
- Select a Category for the view. In this example we created a new category called Sales.
- Select Item View as the View Type.
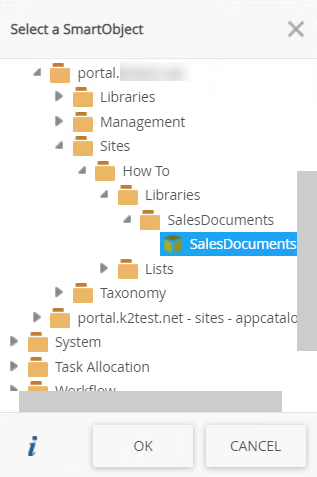
- For the Data Source select your SharePoint library SmartObject. In this scenario the SalesDocuments SmartObject is used. Adding the SmartObject as the Data Source for this view adds the context of the SharePoint library, which you use in later steps.
- Click Create to create the view.
- Create a new view in the Designer. Select the View option and click Create.
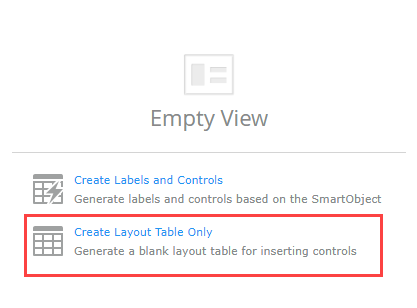
- Configure your view to use the File Attachment control. Use a Label with the File Attachment control to make it easier to locate on your view.
- Select Create Layout Table Only.
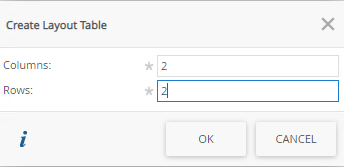
- Configure your view table to have two rows and two columns. Click OK to continue.
- Select the Toolbox tab.
- Drag and drop a Label control into the first cell.

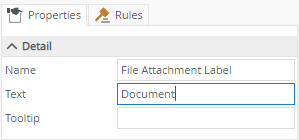
- In the label Properties tab change the Name property to File Attachment Label.
- Specify Document as the Text property.
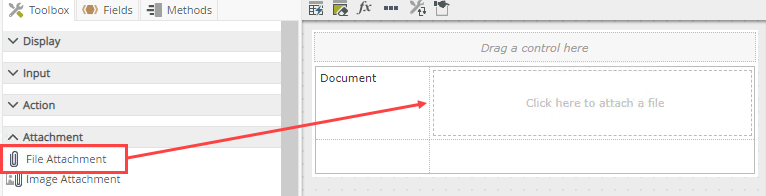
- From the Toolbox tab, drag and drop a File Attachment control to the second cell.
- Select Create Layout Table Only.
- Add a Button control to your view and configure the button clicked Rule to use the Upload Document SmartObject of your SharePoint library.
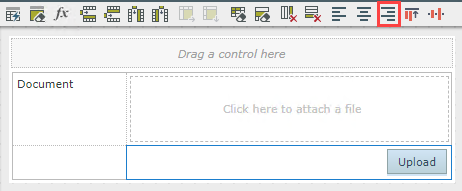
- Drag and drop a Button control from the Action section of the Toolbox to the bottom right cell.

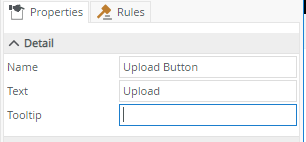
- In the button Properties tab change the Name to Upload Button.
- Specify Upload as the Text property.
- Select the bottom right cell and set the cell formatting to align right.
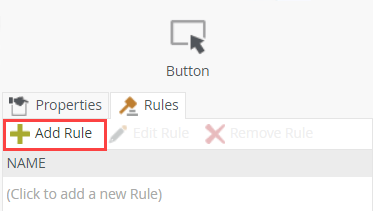
- Select the Upload button and then click the Rules tab.
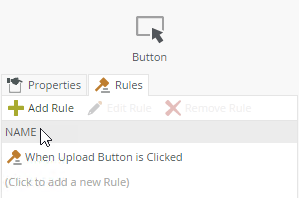
- Click Add Rule.
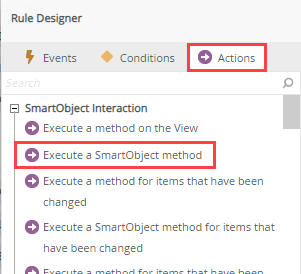
- Select the Actions tab and click Execute a SmartObject Method.
- Click select SmartObject and then select your SharePoint library's SmartObject. In this scenario it is SalesDocuments.
- Click OK.
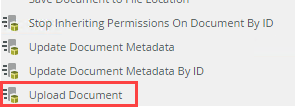
- Click select method and select the Upload Document method.
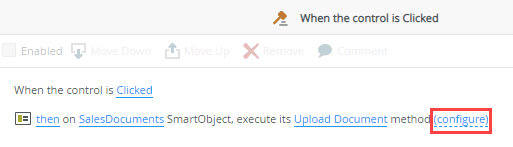
- Click configure.
- In the Context Browser expand the UploadToLibrary_View > SalesDocuments SmartObject.
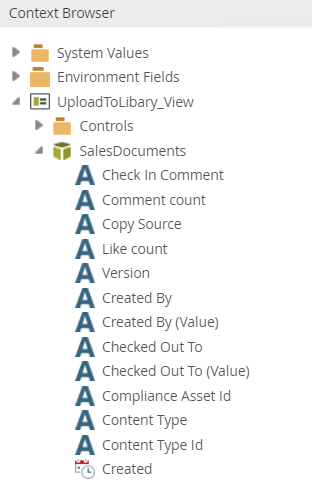
- Scroll down and drag and drop Source Site URL to the Site URL parameter.
- Drag and drop Source Library to the List ID parameter.
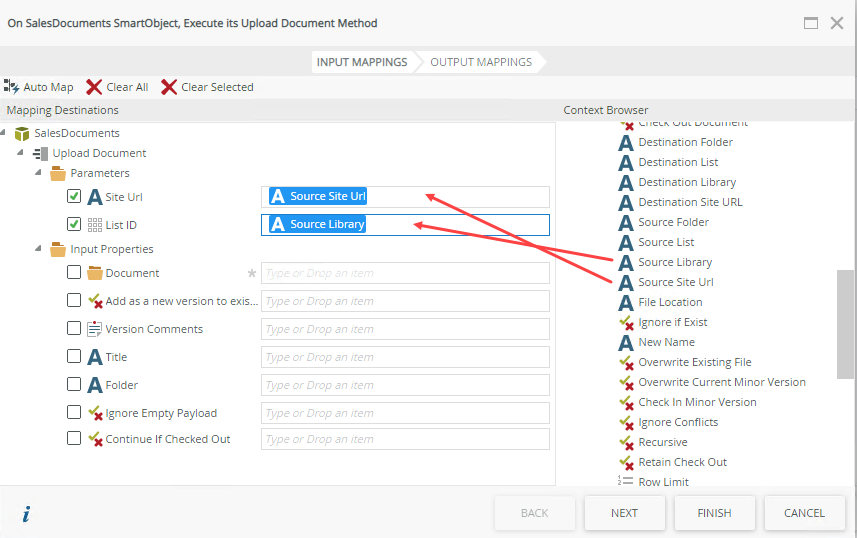
- Expand the UploadToLibrary_View > Controls.
- Drag and drop the File Attachment control to the Document input property.

- Click Finish and OK to save the rule.
- Click Finish to save and exit the view.
- Drag and drop a Button control from the Action section of the Toolbox to the bottom right cell.
- Test your view.
- In the Designer, click Run to run your view.
- Click Click here to attach a file.

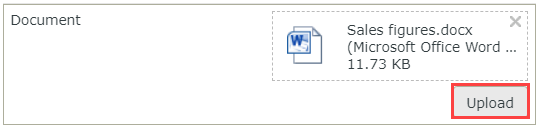
- Navigate to and select your document.
- Click Open.
- Wait for your file to upload. Click the Upload button.
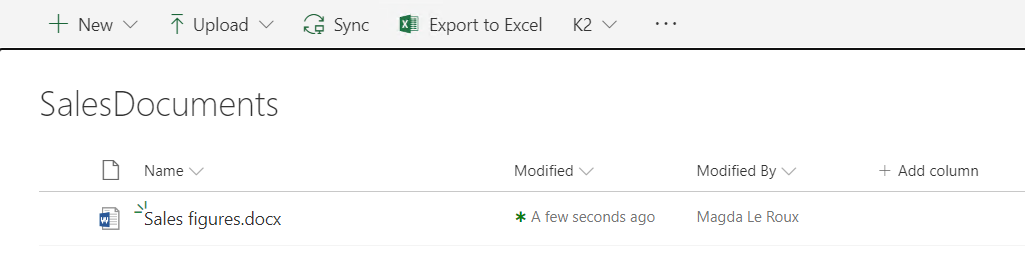
- Go to your SharePoint library and see that the document is uploaded.
- Your view is now ready to be used in a form. If you are not familiar with creating forms, see How To: Create a Form.
- In the Designer, click Run to run your view.
Review
You used a File Attachment control along with a button and rule to upload a file from a view to a SharePoint library.