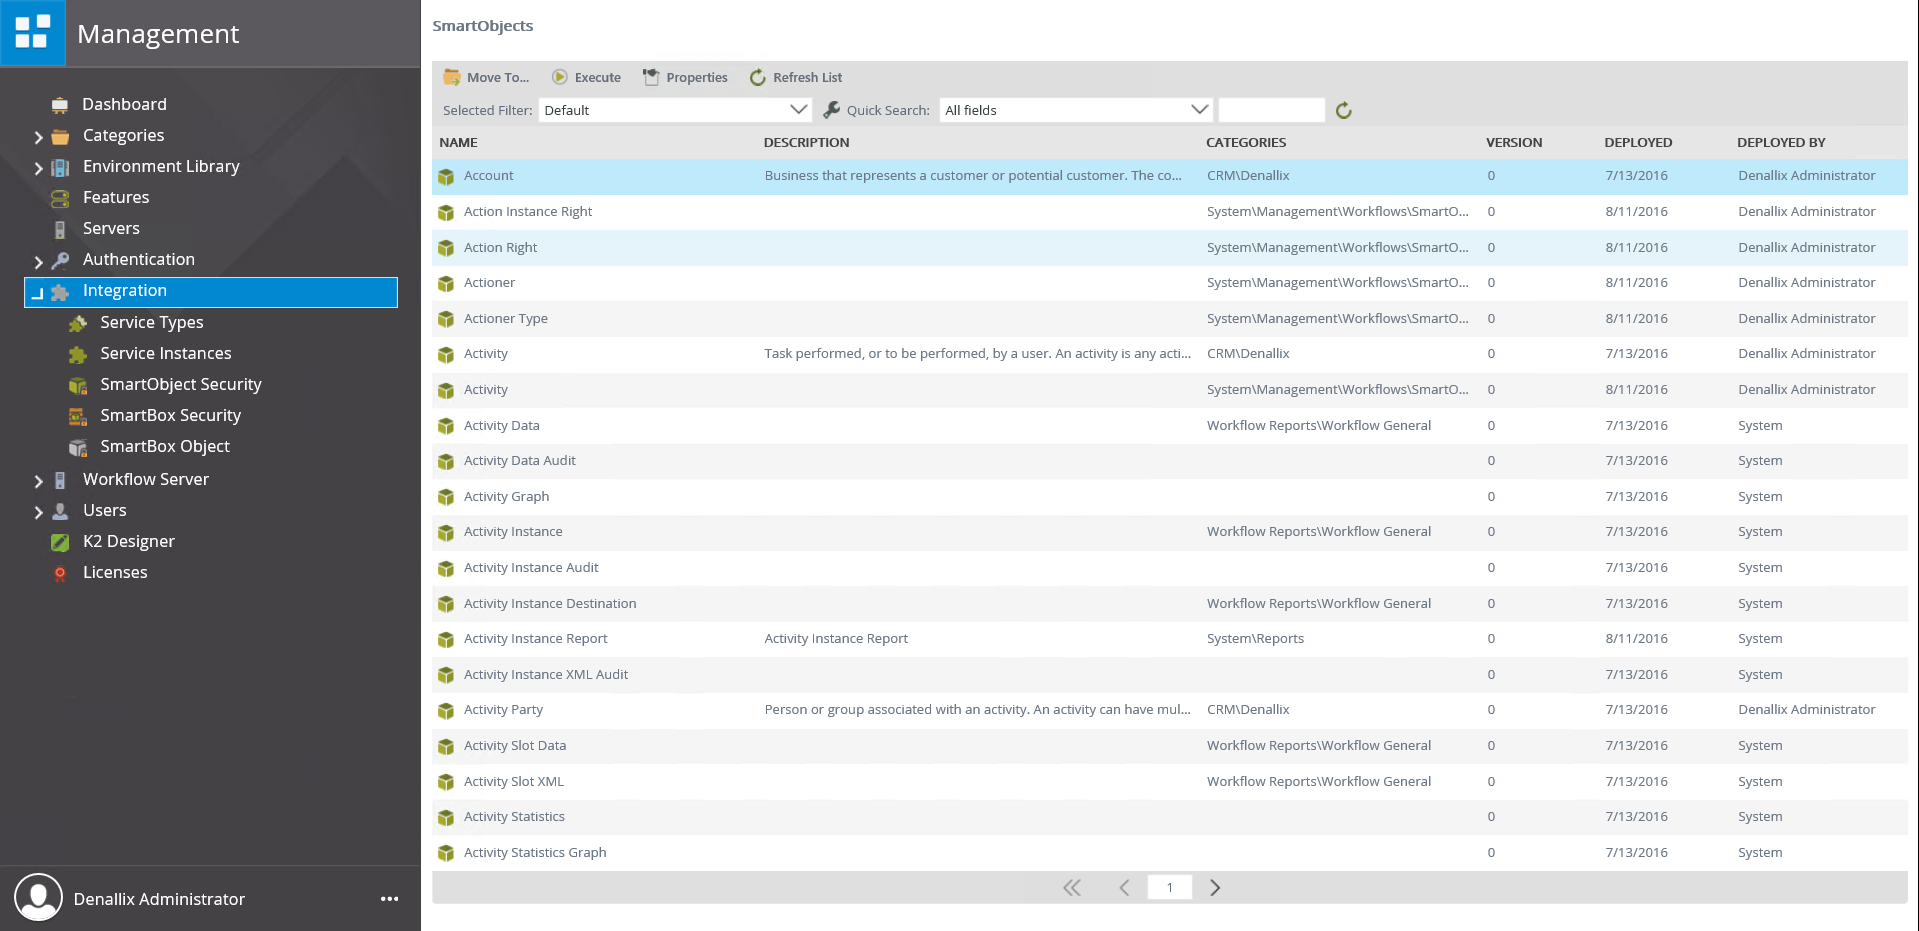
Integration
The Integration node is used to administer K2 SmartObjects and to perform configuration and other administrative tasks that relate to integration between K2 and other systems.
For more information on the nodes within the Integration node, refer to the following topics in this guide:
Working with SmartObjects
When you click on the Integration node, the content section lists all the SmartObjects that exist in the K2 environment. From here, you can move a SmartObject to another category, execute SmartObject methods, view properties for SmartObjects and refresh the list of SmartObjects.
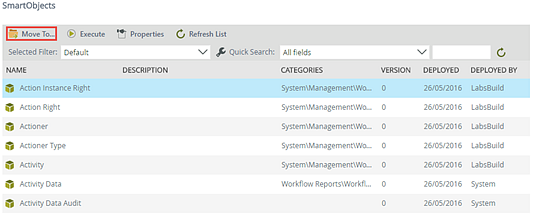
Follow these steps to move a SmartObject to another category:
- Select the SmartObject you want to move by clicking on it. The Move To button is enabled.
- Click Move To.
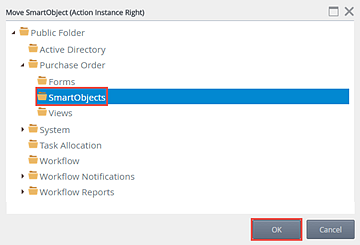
- In the tree view, navigate to and select another category, Click OK to move the SmartObject to the selected category.
- Click OK on the confirmation dialog box to confirm that you want to move the SmartObject. The SmartObject will be moved to the new category and no longer appears in the old category.
From the management site, you can execute SmartObject methods. This feature can be useful when troubleshooting and testing SmartObjects, or to update/create data in underlying data stores without building a form or workflow to call the SmartObject method. .
Follow these steps to execute a SmartObject Method:
- Select the SmartObject you want to execute by clicking on it.
- The Execute button is enabled. Click Execute.
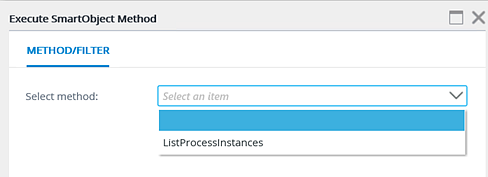
- Select the SmartObject method you want to execute from the drop-down. (The available methods available will depend on the SmartObject you selected in the previous step)
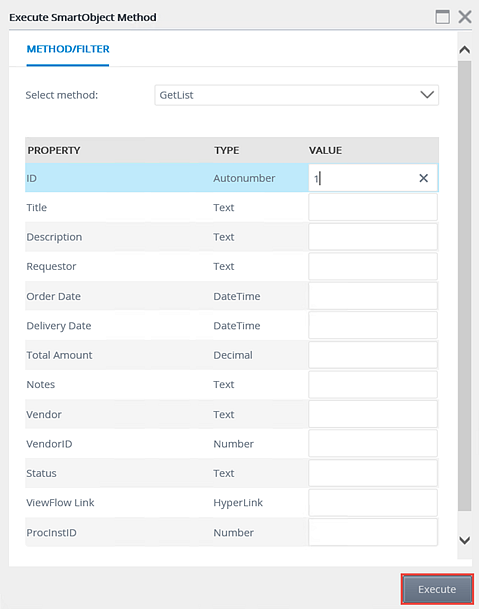
- If the method has properties or parameters, the form will populate with these properties/parameters. If necessary, enter the values required to execute the SmartObject Method and click Execute. Required values are indicated with an asterisk.
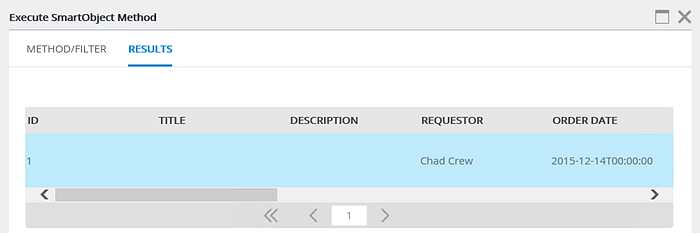
- The Results tab will open displaying the results after executing the SmartObject method. (If no results are returned, the SmartObject might not contain any data or the combination of values provided in the previous step filtered out data)
- Click Done

The Properties button allows a user to view the SmartObject properties per method.
- Select a SmartObject and click the Properties button.
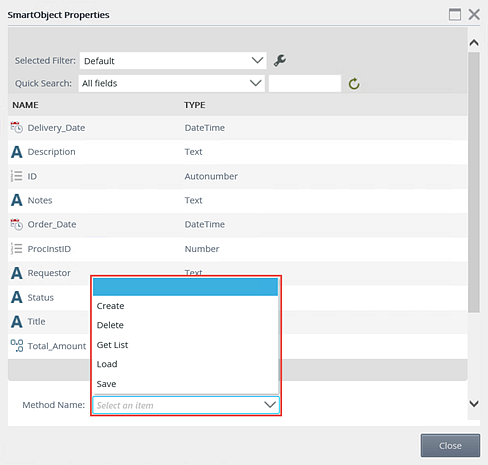
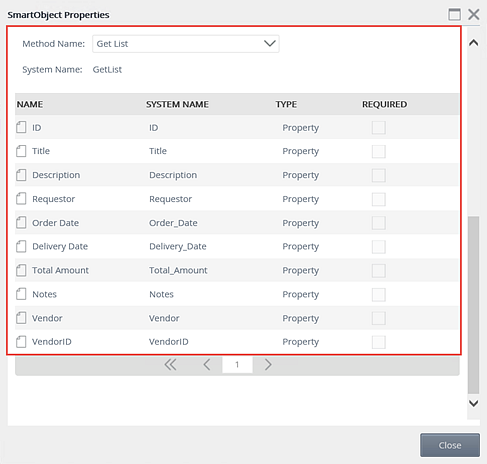
- The SmartObject Properties window will open. You can select or search for a SmartObject property via the quick search of filter feature, or select a method from the Method Name drop down.
- A list of properties will return. The Required column will indicate whether properties are required for the selected method.

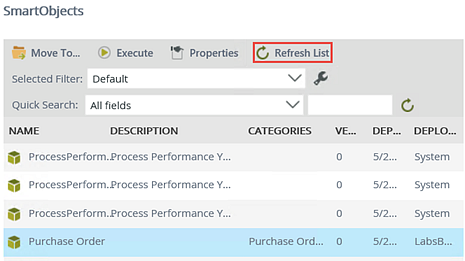
The Refresh List button will refresh the list of SmartObjects displayed for this category. Click Refresh List to view any additional SmartObjects that have been added since the list was last refreshed.
