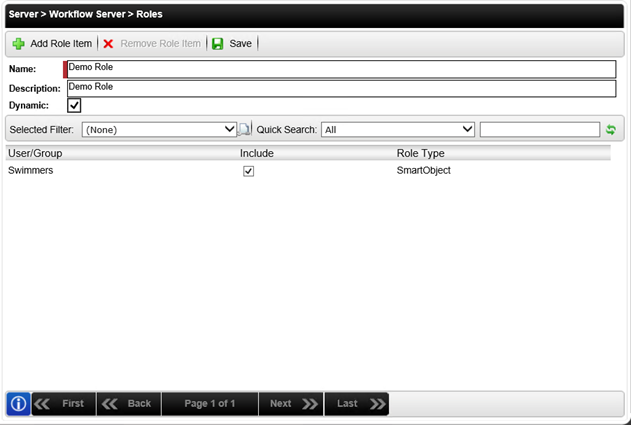
Roles
Roles are essentially “groups” defined in K2, and are most often used for task allocation logic. Sometimes it is not possible to define Groups in Active Directory or SharePoint for task allocation (perhaps the AD or SharePoint administrators are unwilling to define groups for other applications’ requirements, or perhaps you want the Role membership to be dynamically determined by a SmartObject method). In these cases, K2 provides an alternative approach known as “Roles”. K2 developers can use these Roles in the K2 workflow design tools. Roles are defined and stored on a K2 server, and the Role membership can be maintained by K2 administrators without affecting the workflow design.
K2 Roles can contain users and groups from any available K2 security provider (the default providers can leverage users and groups from Active Directory and SharePoint, and it is possible to add custom security providers).
The following steps discuss how to add a new Role:
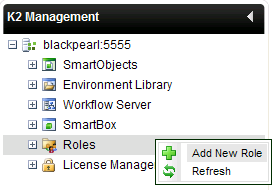
- Right click on the Roles node and select the Add New Role option.
- On the Roles screen, configure the required fields.
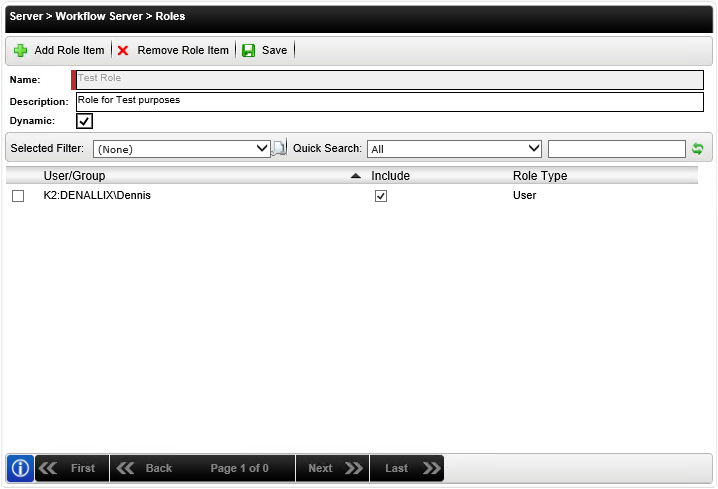
Field Description Name Defines the identity of the Role. Description Further defines the identity of the Role. Dynamic When the role changes, the user receives a worklist item when the worklist refreshes or after they login. User/Group Name Presents the User or Group name. Include Select this option to include the User / Group to the Role. Role Type Presents the Type (i.e User or Group). The number of characters for the Role Name field has been limited to 50
- Click the Save button.
- Click the Add Role Item button to add a new user or group to the Role.
- On the Add Role Item screen in the Users tab, search for required user or group to add to the Role.
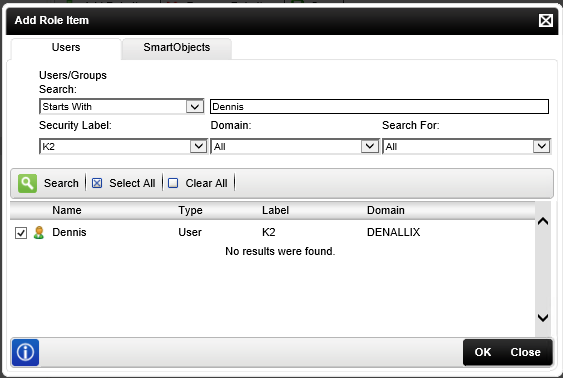
Field Description Sample Value Users Tab Selects the User Search screen. Click on the internal Menu Button. SmartObjects Tab Selects the User SmartObject screen. Click on the internal Menu Button. Search Text Box Allows the user to input the search text string. Enter the name or text string to be searched for. Security Label Provides a drop down selection of the Security Domain. Click on the drop down and select the security domain to search. Domain Provides a drop down selection of the domains. Click on the drop down and select the domain to use in the search. Search For Provuides a drop down selection of search areas, such as Users, Groups or All. Click on the drop down and select the type to use in the search. Search Button Initiates the Search based on the provided variables. Click the Search button to begin the search. Select All Selects all search results. Click the Select All button. Clear All Clears all search results. Click the Clear All button. Name Name of the User or Group. User Reference Type Indidcates whether the searched user is user type or group type. User Reference Label Indidcates whether the searched user or group is part of the chosen security label. User Reference Domain Displays the domain where the searched user or group is part of. User Reference - Click the OK button.
The SmartObjects Tab allows an administrator to select a SmartObject that will return a list of Users to the Role definition.
The following scenario illustrates how the GetList Method of a SmartObject can be used as a Role Item and in addition how a Filter can be applied to the properties of the SmartObject to reduce the amount of records returned.
The following steps discuss how to add a user or group through a SmartObject:
- Navigate to Management Console>Server>Workflow Server>Roles.
- Right click Roles and select Add New Role.
- Click Add Role Item and select the SmartObjects tab.
- Select the SmartObject. The Method Name will be populated with the relevant Methods available for that SmartObject.
- Select a Method, the Property Name will be populated with the Return properties for the selected method.
-
Select a Property Name. This will be the property that will be used by the Role.
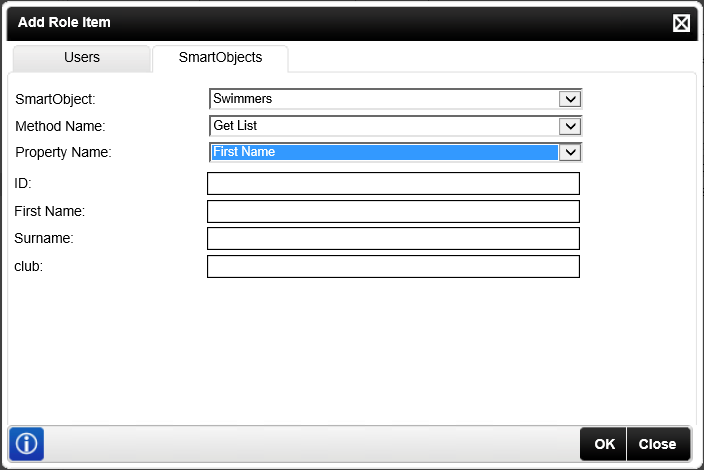
Field Description Sample Value Users tab Selects the User Search screen. Click on the internal Menu Button. SmartObjects tab Selects the User SmartObject screen. Click on the internal Menu Button. SmartObject Presents a list of User SmartObjects that select Users from different areas of the IT system. Click on the drop down and select the User SmartObject required. Method Name Presents the GetList and Load Methods of the SmartObject. Click on the drop down and select the Method required. Property Name Presents a list of Properties of the SmartObject that can be used to retrieve users for the Role. Click on the drop down and select the Property required. -
Click OK, supply a Role Name, select to Include or Exclude the SmartObject and click Save.
