K2 Studio - Creating/Updating SmartObjects
A SmartObject containing the properties and methods for a particular Microsoft SharePoint site can be created by the user. Follow the steps below to create a SmartObject.
 |
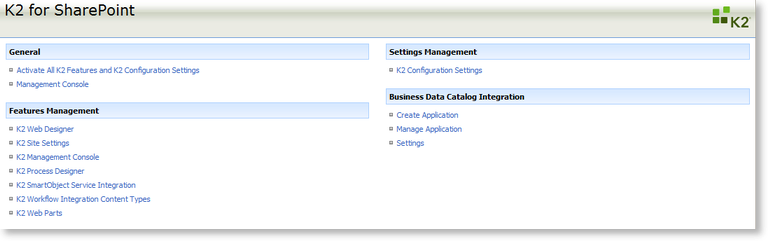
Open the SharePoint Central Administration and select the K2 for SharePoint tab.
Fig. 1. K2 for SharePoint |
 |
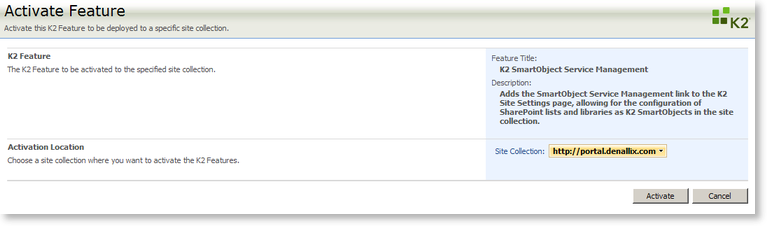
Activate the K2 SmartObject Service Integration and the Add Settings to Site Collection K2 features.
Fig. 2 Activate features |
 |
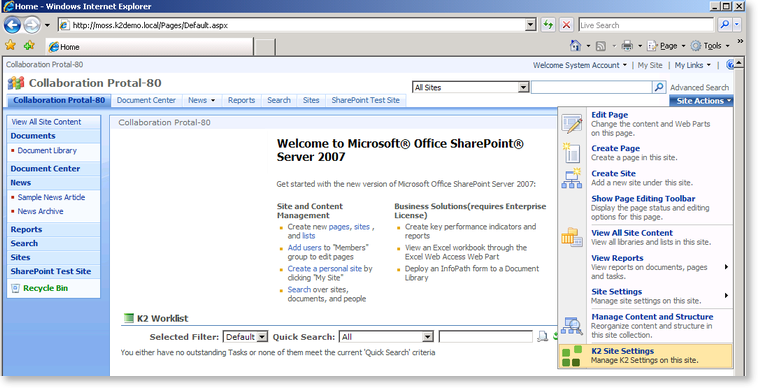
Open the relevant SharePoint site. |
 |
Click on the drop-down arrow on Site Actions |
 |
Click K2 Site Settings
Fig. 3. K2 Site Settings |
 |
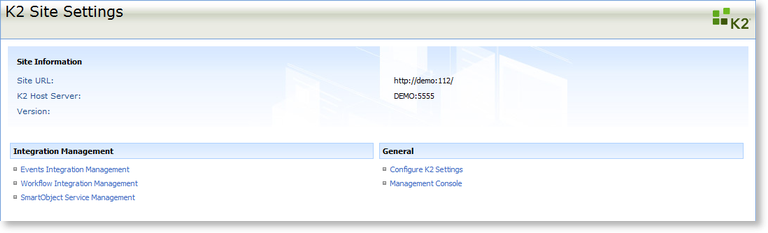
Select SmartObject Service Management from the Integration Management section.
Fig. 4. SmartObject Service Management |
 |
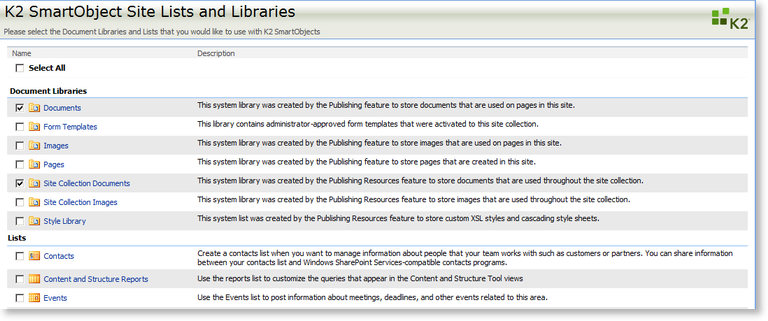
Select the Site Lists and Libraries that must be used to create the SmartObject. Click the Create button.
Fig. 5. Site Lists and Libraries |
 |
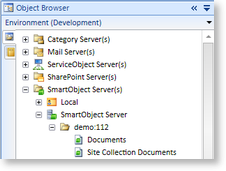
Open the Object Browser in K2 Studio and check in the Environment>SmartObject Server(s)>SmartObject Server for the newly created SmartObject. Expand the SmartObject to view the SmartObject Methods and Properties.
Fig. 6. Object Browser |